
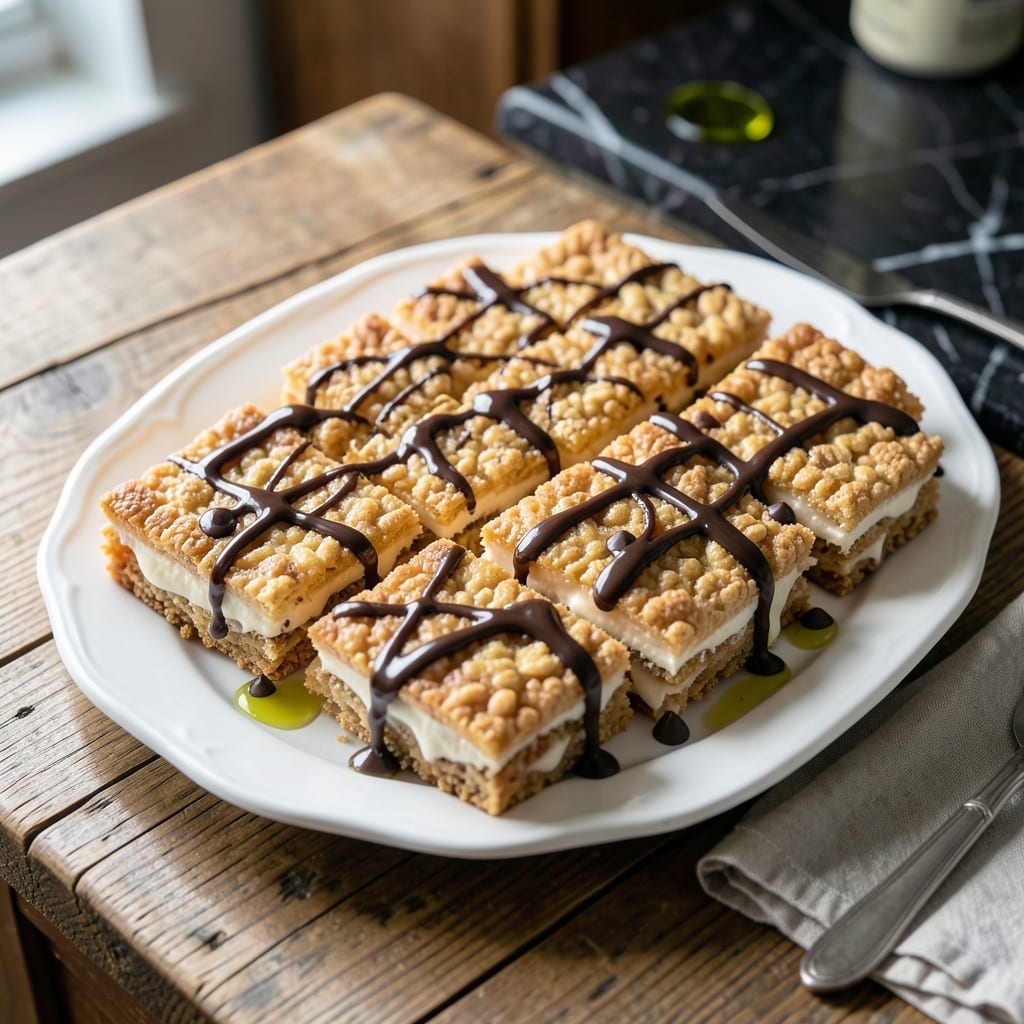
This no-bake treat brings back memories of childhood kitchen adventures. The combination of crispy cereal and gooey marshmallows creates a texture that’s hard to resist.
With just a few simple ingredients and 10 minutes of active time, these squares come together effortlessly. The key is melting the butter and marshmallows until perfectly smooth before mixing in the cereal.
What you’ll get is a batch of classic, chewy squares that hold their shape when cut but melt in your mouth. They’re ideal for parties, lunchboxes, or an easy dessert.
Customize with chocolate chips, sprinkles, or a drizzle of caramel for a modern twist. This recipe delivers every time.
Ingredients for Kellogg’s Rice Krispies Marshmallow
Six ingredients. Ten minutes. Childhood nostalgia in every chewy, crispy bite.
| Ingredient | Amount | Notes |
|---|---|---|
| Kellogg's Rice Krispies Cereal 🥣 | 6 cups | Crispy, uncrushed flakes |
| Mini Marshmallows 🍬 | 10 oz | Fresh for best melt |
| Unsalted Butter 🧈 | ¼ cup | Cubed for even melting |
| Vanilla Extract 🌿 | 1 tsp | Pure for best flavor |
| Pinch of Salt 🧂 | 1 pinch | Balances sweetness |
| Semi-Sweet Chocolate Chips 🍫 | ½ cup | Optional for variation |
| Rainbow Sprinkles 🎉 | ¼ cup | Optional for color |
The marshmallows are the backbone here. Jet-Puffed mini marshmallows melt the smoothest, but store brand works fine too—just avoid stale ones. Kellogg’s Rice Krispies are the gold standard for that signature snap, crackle, pop. The butter should be unsalted so you control the seasoning. I always use Land O’Lakes for consistent quality.
No mini marshmallows? Regular ones work—just chop them roughly so they melt evenly. Swap Rice Krispies for generic crisp rice cereal if that’s what’s in the pantry. The vanilla extract is worth splurging on—McCormick pure vanilla is my go-to. Want it richer? Brown the butter slightly before adding marshmallows (worth the extra minute).
These keep beautifully at room temp for 2-3 days in an airtight container. For longer storage, freeze for up to 6 weeks—thaw at room temperature. Cut with a buttered knife for clean squares (don’t skip this part).
Why You’ll Love This Recipe
- One-Pot Wonder: I melt the butter and marshmallows in one saucepan, stir in the cereal, and we’re done—no fancy equipment or piles of dishes.
- That Crunch & Cream: The crispy Rice Krispies coated in gooey melted marshmallow with a hint of vanilla is the kind of texture combo I crave.
- Party or Pajamas: I’ve served these at birthday parties and eaten the whole batch in my sweatpants at midnight—both scenarios work.
- Pennywise Treat: A box of cereal, a bag of mini marshmallows, and basic pantry staples make a full pan for the cost of a single candy bar.
Step-by-Step Instructions for Kellogg’s Rice Krispies Marshmallow Squares
Master the classic no-bake method with precise technique for perfect chewy texture every time.
Step 1: Melt and Bloom the Marshmallow Base
In a large, heavy-bottomed saucepan, melt the 0.25 cup Unsalted Butter over low heat. The low temperature prevents scorching, which would give your squares a bitter taste. Watch for the butter to fully liquefy and just begin to foam around the edges.
Immediately add all 10 oz Mini Marshmallows and stir constantly with a silicone spatula. The marshmallows will collapse and melt within 3-5 minutes, transforming into a smooth, glossy mixture. Remove from heat as soon as the last marshmallow disappears—residual heat will continue the melting process.
Stir in the 1 tsp Vanilla Extract and 1 pinch Pinch of Salt until fully incorporated. This is where the magic happens: the salt enhances all the sweet flavors, while the vanilla adds depth that elevates the entire batch.
Step 2: Fold in the Cereal with Precision
Working quickly while the marshmallow mixture is still hot, add all 6 cups Kellogg’s Rice Krispies Cereal at once. Use your spatula to gently fold the cereal into the marshmallow mixture, pressing down slightly to ensure every flake gets coated.
This step requires immediate action—the mixture begins to set within 60-90 seconds. Continue folding until you see no more dry cereal, but stop before the cereal starts to lose its crisp texture. The goal is even distribution without crushing the flakes that give these squares their signature snap.
If using variations, now is the moment to fold in the 0.5 cup Semi-Sweet Chocolate Chips or 0.25 cup Rainbow Sprinkles. The heat from the marshmallow mixture will slightly soften the chocolate chips, creating delicious melty pockets throughout.
Step 3: Press and Set for Perfect Texture
Transfer the mixture to a 9×13-inch baking dish lined with parchment paper. Use your spatula or lightly buttered hands to press the mixture evenly into the pan. Apply firm, consistent pressure—this ensures the squares hold together when cut.
Avoid over-compressing, which would yield dense, hard squares instead of the desired chewy texture. The surface should look uniform with no visible gaps, and the top should glisten from the marshmallow coating. For the chocolate chip variation, you’ll see the chips beginning to melt into the surface.
Let the mixture set at room temperature for 1-2 hours until completely firm to the touch. The squares are ready when the top feels slightly tacky but holds its shape when pressed. This resting period allows the marshmallow to fully bind with the cereal.
Step 4: Cut and Serve with Professional Finish
Once fully set, lift the entire slab from the pan using the parchment paper and transfer to a cutting board. Use a sharp chef’s knife to cut into 16 equal squares. Wipe the knife blade clean between cuts for the most professional presentation.
For clean edges, run the knife under hot water and dry it between each cut. This prevents sticking and gives you those bakery-style perfect squares. Each piece should have a glossy surface with visible cereal texture throughout.
The finished squares will keep their shape when picked up, with a satisfying chew that gives way to the crisp cereal texture. Store in an airtight container at room temperature for up to 3 days, though they’re best enjoyed fresh when the marshmallow is at its most pliable.
Pro Tips For Making Kellogg’S Rice Krispies Marshmallow
- Melt Butter Low: Use medium-low heat when melting the butter to avoid browning it—burnt butter will give your treats a bitter taste. I learned this the hard way after ruining a batch with overzealous heat.
- Use Fresh Marshmallows: Skip the stale marshmallows; fresh ones melt smoother and stretchier. Sounds obvious, but I’ve grabbed old bags from the pantry and wondered why the texture was off.
- Press Lightly Only: When pressing the mixture into the pan, resist the urge to pack it down hard—this makes the treats dense and tough. A gentle press keeps them light and crispy.
- Add Salt Last: Stir in that pinch of salt right at the end, after the marshmallows are fully melted. It balances the sweetness without breaking down the marshmallow’s stretchy texture.
Common Mistakes When Making Perfect Results
Overheating the Butter
Melting the butter over medium or high heat can cause it to brown or burn, giving your squares a bitter, caramelized flavor. Always use low heat and watch closely as it foams. I learned this the hard way with my first batch. 🔥
Stale Marshmallows
Using marshmallows that have been open for weeks will result in a grainy, uneven melt. For the smoothest texture, check that your 10 oz Mini Marshmallows are fresh and pliable. Jet-Puffed brand stays soft longer in my experience.
Under-Mixing the Cereal
Adding the 6 cups Kellogg’s Rice Krispies Cereal too slowly or not folding thoroughly leaves dry patches. The mixture sets quickly, so dump all the cereal in at once and fold vigorously. Stop just before the cereal loses its crispness.
Over-Compressing the Mixture
Pressing too hard while shaping creates dense, rock-hard squares instead of chewy ones. Use firm but gentle pressure in your 9×13-inch pan. The surface should glisten, not look flattened. This ensures perfect texture in every bite.
Cutting Too Soon
Slicing before the mixture fully sets results in messy, falling-apart squares. Wait the full 1-2 hours at room temperature. When the top is tacky but holds shape when pressed, it’s ready. I use a buttered knife for clean cuts.
Skipping the Parchment
Without parchment paper, your treats will stick to the pan, making removal difficult. Line your 9×13-inch dish completely—it also makes lifting the slab out for cutting much easier. This simple step saves so much frustration. 💡
Nutrition Facts
Frequently Asked Questions
Can I use regular marshmallows instead of mini?
Yes, but chop them roughly first for even melting. Mini marshmallows melt faster and more uniformly, but regular ones work if that’s what you have.
How do I make them extra chewy?
Add an extra 1 cup of marshmallows or slightly under-bake the mixture when pressing. Letting them sit for 24 hours also enhances chewiness.
Why did my squares turn out hard?
Over-compressing the mixture or using too much butter can make them dense. Press gently and measure ingredients precisely.
Can I make these without butter?
Use margarine or coconut oil as a substitute. The texture may vary slightly, but they’ll still hold together.

- Mujadara Rice and Lentils Recipe: Earthy Spiced Lentils With Caramelized Onions - November 1, 2026
- Naija Fried Rice Recipe: Street-Style Spice With Veggie Crunch - November 1, 2026
- Mushy Rice Recipe: Fluffy Grains Transformed in Minutes - November 1, 2026