
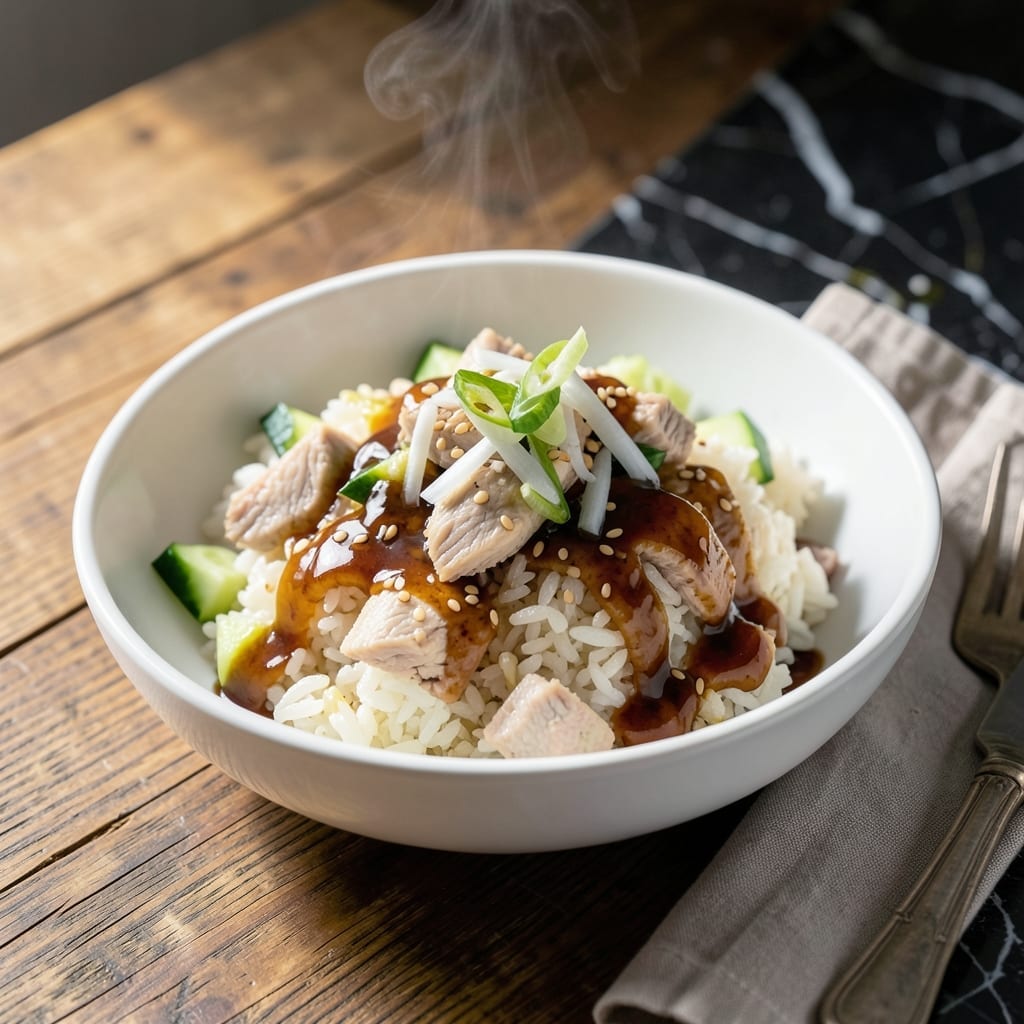
This Korean-inspired tuna rice delivers bold umami flavor with minimal effort. I developed this recipe for busy weeknights when you need something satisfying in under 20 minutes. The secret lies in quality canned tuna and a few pantry staples.
What makes this dish special is the balance of flavors—savory tuna, sweet-salty sauce, and tender rice. The technique is simple: combine everything in one bowl while the rice is hot. This allows the flavors to meld beautifully.
You’ll end up with a comforting, flavor-packed meal that’s perfect for lunch or dinner. The tuna stays moist, and every bite is infused with that signature Korean umami taste. It’s a dish that proves quick meals can still be deeply satisfying.
Serve it straight from the bowl or with a side of kimchi for extra kick. Here’s how to make it.
Ingredients for Korean Tuna Rice
Quality canned tuna and a few pantry staples make this dish sing with umami.
| Ingredient | Amount | Notes |
|---|---|---|
| Canned Tuna 🐟 | 2 cans | In water or oil, drained |
| White Rice 🍚 | 2 cups | Short-grain preferred, freshly cooked |
| Soy Sauce 🫙 | 3 tbsp | Low-sodium or regular |
| Gochujang 🌶️ | 1 ½ tbsp | Korean red pepper paste |
| Sesame Oil 🫒 | 1 tbsp | Toasted for best flavor |
| Rice Vinegar 💧 | 1 tbsp | Or apple cider vinegar |
| Granulated Sugar 🍚 | 1 tsp | Or honey for depth |
| Garlic Cloves 🧄 | 3 cloves | Minced for sauce |
| Green Onions 🧅 | 4 whole | Thinly sliced for garnish |
| Toasted Sesame Seeds 🌰 | 1 tbsp | For topping (optional) |
| Neutral Cooking Oil 🫒 | 1 tbsp | For sautéing aromatics |
| Korean Furikake 🌿 | 1 tsp | Optional but recommended |
The tuna is the star here. Wild-caught in water (not oil) keeps it clean and flaky—Safe Catch or Wild Planet are my go-tos. Short-grain rice is ideal for that sticky, clingy texture, but jasmine works in a pinch. For the gochujang, Sempio or Mother-in-Law’s brands have that perfect sweet-spicy balance. Look for them in the Asian aisle at Whole Foods or your local Korean market.
No gochujang? Sriracha plus a pinch of sugar gets you close—just not as complex. Out of sesame oil? Toasted sesame seeds in neutral oil can work, but the flavor won’t be the same. The rice vinegar can be swapped for mirin or lime juice (use half the amount). And if you’re skipping the furikake, just add a little extra sesame seed crunch.
Everything keeps well. The sauce ingredients last months in the pantry. Cooked rice holds for 4-5 days in the fridge—perfect for repurposing. Made too much? The completed dish reheats beautifully, though the tuna’s best fresh. Freeze without the rice for up to 3 months (the rice gets mushy).
Why You’ll Love This Recipe
- Pantry Hero: I always have these ingredients on hand—canned tuna, rice, and a few sauces—and it still tastes like a restaurant meal.
- Umami Bomb: The gochujang and soy sauce create this deep, spicy-savory flavor that makes plain rice and tuna taste like a million bucks.
- Lunchbox MVP: I pack the leftovers for work, and honestly, it tastes even better the next day after the flavors meld.
- Budget Winner: Feeds four for less than $10, and I’ll be real: it’s the only way I can afford to eat this well during the week.
Step-by-Step Instructions for Korean Tuna Rice
This comes together in minutes—just mix, heat, and enjoy that umami kick.
Step 1: Cook the White Rice
Start by preparing the 2 cups White Rice according to package directions. I prefer short-grain for this dish—it’s stickier and absorbs the sauce better. Freshly cooked rice works best because it’s hot and ready to soak up all the flavors you’re about to layer on.
Once done, fluff it with a fork and let it sit covered for 5 minutes. This keeps it warm and prevents it from drying out while you prep the rest. Don’t skip this step—dry rice won’t cling to the sauce the way you want.
Step 2: Sauté the Aromatics
Heat the 1 tbsp Neutral Cooking Oil in a skillet over medium heat. Add the 3 cloves Garlic Cloves (minced) and sauté for 30 seconds until fragrant but not brown. You want the garlic to perfume the oil without burning—it’ll turn bitter if it goes too far.
Next, stir in the 1.5 tbsp Gochujang and 1 tsp Granulated Sugar. Cook for 1 minute to mellow the heat of the paste slightly. This creates a rich, spicy-sweet base that’ll coat every grain of rice beautifully.
Step 3: Combine Tuna and Sauce
Drain the 2 cans Canned Tuna and add it to the skillet with the gochujang mixture. Break it up with a spoon and stir to combine. Pour in the 3 tbsp Soy Sauce, 1 tbsp Sesame Oil, and 1 tbsp Rice Vinegar, then mix well.
Let it simmer for 2-3 minutes until the liquid reduces slightly and the tuna is fully coated. The sauce should look glossy and thick enough to cling to the tuna. If it seems too dry, add a splash of water to loosen it.
Step 4: Assemble and Garnish
Scoop the warm 2 cups White Rice into bowls and top with the tuna mixture. Drizzle any remaining sauce from the pan over the top. This ensures every bite is packed with flavor.
Garnish with the 4 whole Green Onions (thinly sliced), 1 tbsp Toasted Sesame Seeds, and 1 tsp Korean Furikake. The green onions add freshness, the sesame seeds bring crunch, and the furikake ties it all together with a salty, savory finish.
Pro Tips For Making Korean Tuna Rice
- Drain the Tuna Well: Press the canned tuna in a fine-mesh strainer for 30 seconds—this keeps the dish from getting watery. I learned this the hard way after my first few attempts turned into tuna soup.
- Warm the Rice First: Microwave cold rice for 20-30 seconds before mixing. It absorbs the gochujang and soy sauce better, and you won’t end up with that dreaded cold center.
- Balance the Gochujang: Start with 1 tablespoon gochujang, then adjust. Sounds obvious, but I’ve ruined batches by going heavy-handed—it’s easy to overpower the tuna’s mild flavor.
- Finish with Sesame Oil: Drizzle the sesame oil last, right before serving. It keeps the aroma bright and punchy instead of cooking it off into the pan.
Dietary Considerations for This Recipe
Gluten-Free Option
Swapping the soy sauce for tamari makes this dish entirely gluten-free. I use San-J Tamari for its deep umami flavor. Always check labels, as some tamari brands contain wheat.
Dairy-Free Naturally
This recipe is already dairy-free—no modifications needed. The rich, savory flavors come from tuna, gochujang, and soy sauce. Perfect for those avoiding dairy without sacrificing taste.
Lower Sodium Adjustments
To reduce sodium, use low-sodium soy sauce and cut the amount by 1 tbsp. Balance the flavor with an extra ½ tsp rice vinegar or a squeeze of lime.
Rinsing the canned tuna under cold water removes up to 30% of its sodium content. 💡
Keto-Friendly Tweaks
Replace the white rice with cauliflower rice for a low-carb version. Sauté 2 cups of riced cauliflower in 1 tbsp sesame oil until tender. The dish stays flavorful while cutting carbs significantly.
Vegan Alternative
Swap the canned tuna for 1½ cups mashed chickpeas or crumbled firm tofu. Add ½ tsp nori flakes to mimic the oceanic umami. The texture changes, but the flavors remain bold and satisfying.
Nutrition Facts
Frequently Asked Questions
Can I use fresh tuna instead of canned?
Use 1 lb of fresh, sushi-grade tuna, diced into small pieces. Sear it briefly in the skillet before adding the sauce to maintain tenderness.
How spicy is this dish with gochujang?
Mild to moderately spicy. The 1.5 tbsp creates a noticeable kick but won’t overpower. Reduce to 1 tbsp for less heat or omit entirely for a milder version.
What if I don’t have gochujang?
Mix 1 tbsp sriracha + ½ tsp sugar + ½ tsp miso paste as a substitute. It won’t be identical but delivers similar sweet-spicy depth.
Can I make this ahead of time?
Best served fresh, but leftovers keep for 2 days refrigerated. Reheat gently with a splash of water to prevent drying. Avoid freezing as the tuna texture suffers.

- Mujadara Rice and Lentils Recipe: Earthy Spiced Lentils With Caramelized Onions - November 1, 2026
- Naija Fried Rice Recipe: Street-Style Spice With Veggie Crunch - November 1, 2026
- Mushy Rice Recipe: Fluffy Grains Transformed in Minutes - November 1, 2026