
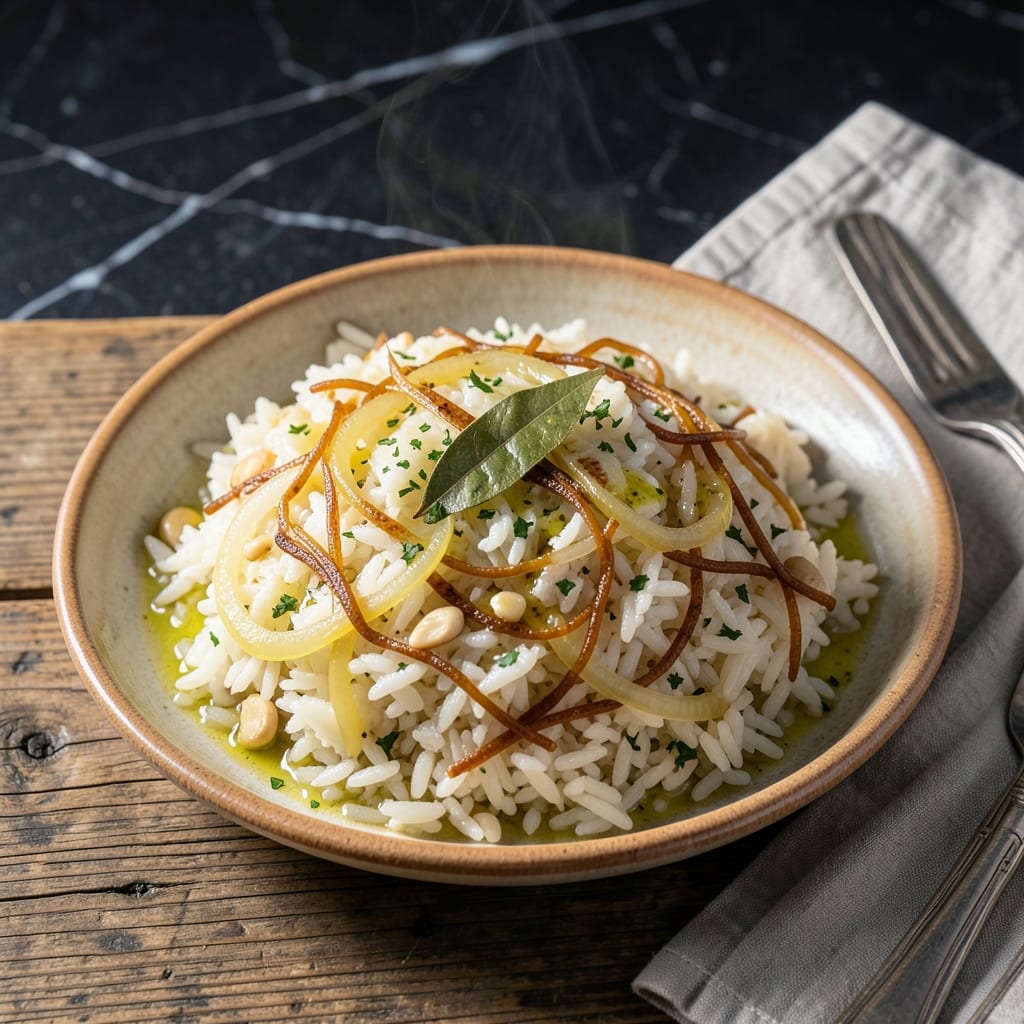
This rice pilaf delivers perfectly fluffy grains with a rich, buttery flavor that complements any main dish. The toasted vermicelli adds a subtle nutty depth that elevates the entire side.
I’ve refined this method to ensure the rice cooks evenly while the vermicelli achieves a golden, crisp texture. A simple ratio of broth to rice guarantees consistent results every time.
The final dish features tender grains separated by strands of toasted pasta, all infused with a savory aroma. It’s a versatile side that pairs well with proteins or stands alone as a light meal.
Ready in under 30 minutes, this pilaf brings restaurant-quality flavor to your home kitchen with minimal effort.
Ingredients for Logan’s Rice Pilaf
Simple ingredients create a buttery, nutty pilaf with toasted pasta strands throughout.
| Ingredient | Amount | Notes |
|---|---|---|
| Long-Grain White Rice 🍚 | 1 ½ cups | Rinsed until water runs clear |
| Vermicelli Pasta 🍝 | ½ cup | Broken into 1-inch pieces |
| Unsalted Butter 🧈 | 4 tbsp | Divided for toasting and cooking |
| Chicken Broth 🥣 | 3 cups | Low-sodium preferred for control |
| Yellow Onion 🧅 | 1 whole | Finely diced for even distribution |
| Garlic Cloves 🧄 | 2 cloves | Minced for aromatic base |
| Kosher Salt 🧂 | 1 tsp | Adjust to taste at the end |
| Ground Black Pepper 🌶️ | ½ tsp | Freshly ground preferred |
| Dried Parsley 🌿 | 1 tsp | For subtle herbal note |
| Ground Cumin 🌿 | ¼ tsp | Optional for warm depth |
| Bay Leaf 🌿 | 1 whole | Removed before serving |
| Lemon Zest 🍋 | 1 tsp | For bright finishing note |
The rice quality matters here. Jasmine or basmati works best for separate, fluffy grains, but standard long-grain is fine too. Whole Foods and Trader Joe’s carry good options in bulk. Vermicelli can be found in the pasta aisle of any major grocery store. For the broth, low-sodium chicken broth gives you the most control over seasoning.
No vermicelli? Angel hair pasta broken into pieces works in a pinch. Vegetarian? Swap the chicken broth for vegetable broth with no other changes needed. Out of fresh garlic? Garlic powder at one-third the amount gets you close. The cumin is optional but adds a nice warmth—skip if you prefer a more classic profile.
The pilaf holds well at room temperature for 2 hours, making it great for gatherings. Store leftovers in an airtight container in the fridge for up to 4 days. Reheat with a splash of broth to restore moisture.
Why You’ll Love This Recipe
- One Pot Wonder: I love that the vermicelli toasts right in the butter with the onions—no extra pans, no extra fuss.
- Rich & Toasty: That buttery, golden vermicelli with the chicken broth? It’s the kind of flavor that makes you go back for seconds.
- Feeds a Crowd: Honestly, it’s my go-to for potlucks or when the in-laws drop by unannounced.
- Budget Stretcher: A pound of rice and a box of vermicelli feed my family for days, and the leftovers taste even better.
Step-by-Step Instructions for Buttery Rice Pilaf With Toasted Vermicelli
Here is the method I use to achieve perfectly fluffy grains with golden toasted noodles every time.
Step 1: Toast the Vermicelli and Sauté Aromatics
In a large pot, melt 2 tbsp unsalted butter over medium heat. Add the 0.5 cup vermicelli pasta and cook for 3-4 minutes, stirring constantly, until it turns deep golden brown. Watch closely—it goes from toasted to burnt quickly.
Add the finely diced yellow onion and cook for 4-5 minutes until soft and translucent. Stir in the minced garlic cloves and cook for 30 seconds until fragrant. The toasted vermicelli adds nutty depth, while the onion and garlic build the flavor foundation.
Step 2: Bloom the Spices and Add Rice
Add the 0.25 tsp ground cumin, 1 tsp dried parsley, and 1 whole bay leaf to the pot. Cook for 1 minute to bloom the spices, stirring constantly to prevent burning. This step intensifies their aromatic qualities.
Stir in the 1.5 cups long-grain white rice and cook for 1-2 minutes, toasting it slightly. You’ll notice the grains become slightly opaque at the edges. This enhances the nutty flavor and prevents a starchy texture.
Step 3: Simmer in Broth Until Tender
Pour in the 3 cups chicken broth and add the 1 tsp kosher salt and 0.5 tsp ground black pepper. Stir well to combine, then bring to a boil over high heat.
Once boiling, reduce heat to low, cover the pot, and simmer for 15-18 minutes. You’ll know it’s done when the liquid is fully absorbed and the rice is tender with no chalky center. Resist the urge to lift the lid—steam is essential for even cooking.
Step 4: Rest and Finish with Brightness
Remove the pot from heat and let it rest, covered, for 10 minutes. This allows the steam to finish cooking the rice and lets the grains separate easily. Remove and discard the bay leaf.
Fluff the rice gently with a fork, then stir in the remaining 2 tbsp unsalted butter and the 1 tsp lemon zest. The butter adds richness, while the lemon zest provides a bright, citrusy finish that balances the dish perfectly.
Pro Tips For Making Logan’S Rice Pilaf
- Toast the Vermicelli: Brown the vermicelli in butter until deep golden—about 2-3 minutes—before adding onion. I learned this the hard way: skipping this step leaves the pasta gummy instead of nutty and crisp.
- Use Hot Broth: Pour in chicken broth straight from the kettle, not cold from the carton. After a few mushy batches, I realized the rice cooks more evenly when the liquid starts hot.
- Skip the Rinse: Don’t rinse the long-grain rice—you want the starch to help thicken the pilaf slightly. Sounds weird, but it works: the texture ends up just right, not dry or sticky.
- Cover and Rest: Once the liquid’s absorbed, take it off the heat, cover, and let it sit 10 minutes. My grandmother swore by this, and she was right: the steam finishes the cooking perfectly.
Pro Cooking Tips for logans rice pilaf
Perfect Toasting Technique
Toast the vermicelli pasta in 2 tbsp unsalted butter over medium heat for 3-4 minutes until deep golden. Stir constantly—it burns fast. I use a heavy-bottomed pot for even heat distribution. 🔥
Rice Rinsing Matters
Rinse the long-grain white rice until water runs clear to remove excess starch. This prevents gummy texture. I find jasmine or basmati gives the fluffiest results, but standard long-grain works too.
Broth Temperature Tip
Use room temperature or warm chicken broth to prevent shocking the rice. Cold broth can cause uneven cooking. I keep a carton of low-sodium broth on my counter for 30 minutes before starting.
Steam Trapping Method
After adding broth, bring to a boil, then immediately reduce to low heat and cover tightly. Resist peeking for 15-18 minutes—released steam disrupts the cooking process. This is non-negotiable for fluffy grains.
Resting Is Key
Let the pilaf rest off heat for 10 minutes after cooking. This final steam phase ensures even doneness. I set a timer—skipping this step yields undercooked centers. The grains separate beautifully when rested.
Butter Finishing Touch
Stir in the remaining 2 tbsp unsalted butter and lemon zest after resting. The butter melts into the grains, adding luxury, while the zest brightens the rich flavors. This is my favorite part. ✨
Nutrition Facts
Frequently Asked Questions
Can I use brown rice instead?
Yes, but adjust the liquid and cooking time. Use 3.5 cups broth and simmer for 40-45 minutes. Brown rice needs more hydration and time to soften properly.
What if my vermicelli burns?
Lower the heat and stir constantly. If it darkens too quickly, remove it from heat immediately. Burnt pasta will make the dish bitter, so prevention is key.
Can I make this ahead of time?
Prepare it up to 2 days in advance. Store in an airtight container and reheat with a splash of broth to restore moisture.
Why rinse the rice first?
Rinsing removes excess starch, preventing a gummy texture. It ensures each grain stays separate and fluffy after cooking.

- Mujadara Rice and Lentils Recipe: Earthy Spiced Lentils With Caramelized Onions - November 1, 2026
- Naija Fried Rice Recipe: Street-Style Spice With Veggie Crunch - November 1, 2026
- Mushy Rice Recipe: Fluffy Grains Transformed in Minutes - November 1, 2026