
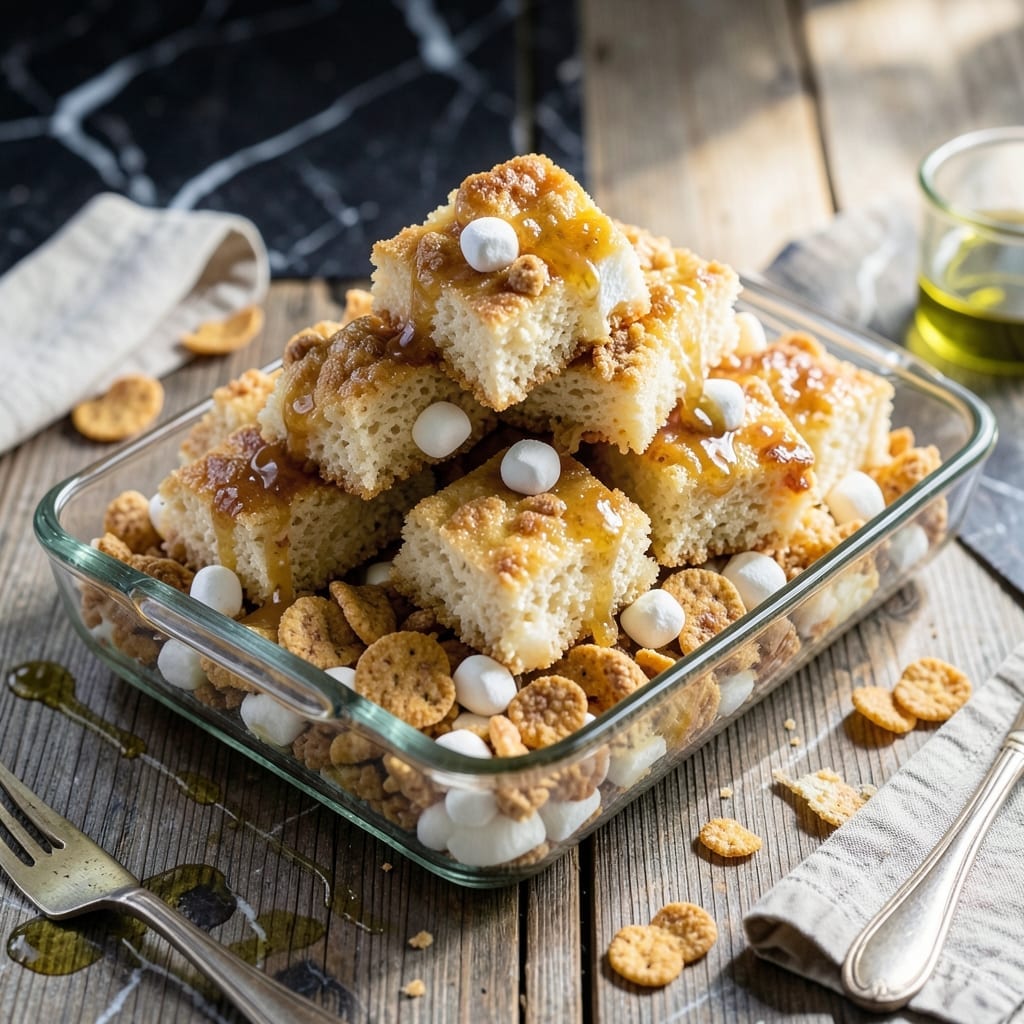
This no-bake recipe transforms simple ingredients into a classic treat everyone loves. The combination of melted marshmallows and butter creates a sticky base that perfectly binds the crispy cereal.
What makes this dish special is its effortless preparation. No oven, no complicated steps—just melt, mix, and press into a pan. The squares set up quickly, ready to enjoy in under an hour.
The result is a no-bake masterpiece with the perfect balance of chewy and crispy textures. Each square delivers that nostalgic flavor we all remember from childhood.
Ideal for parties, lunchboxes, or a sweet snack. This recipe proves that sometimes the simplest dishes are the most satisfying.
Ingredients for Marshmallow Rice Krispies Cereal
Melted marshmallows and butter bind crispy cereal into nostalgic squares everyone adores.
| Ingredient | Amount | Notes |
|---|---|---|
| Miniature Marshmallows 🍬 | 10 cups | About 16 oz package |
| Butter 🧈 | ½ cup | Salted or unsalted |
| Rice Krispies Cereal 🥣 | 6 cups | Standard variety preferred |
| Vanilla Extract 🌿 | 1 tsp | Pure extract for best flavor |
| Salt 🧂 | ¼ tsp | Fine grain preferred |
| Vanilla Bean Seeds 🌿 | ½ tsp | Optional for enhanced flavor |
| Sea Salt Flakes 🧂 | ¼ tsp | For garnish if desired |
The marshmallows are non-negotiable here—Jet-Puffed or Kraft brands melt smoothly without seizing up. Using full-sized marshmallows works but requires longer melting time and more vigilant stirring to prevent burning. Salted butter adds a nice contrast to the sweetness, though unsalted works if that’s what you have. The cereal must be Rice Krispies; generic brands often lack the signature snap.
Short on marshmallows? Large marshmallows at 1:1 ratio work in a pinch (just chop them first). For a richer flavor, swap half the butter for coconut oil. Want extra crunch? Add 1 cup toasted nuts or pretzel pieces. The vanilla can be omitted, but it adds depth that elevates the flavor. If using vanilla bean, scrape one whole bean for maximum impact.
These keep beautifully at room temperature for 2-3 days in an airtight container. For longer storage, refrigerate for up to 1 week or freeze for 6 weeks. Press parchment paper directly on the surface to prevent sticking. Cut into squares just before serving for cleanest edges.
Why You’ll Love This Recipe
- One Bowl Wonder: I melt the butter and marshmallows right in the same bowl I’ll mix everything in—no extra dishes.
- Goey Vanilla Bite: The vanilla extract makes the melted marshmallow butter taste like a creamy dream coating every crispy Rice Krispie.
- Party or Lunchbox: I pack these as squares for bake sales or crumble them over yogurt for a quick snack.
- Stays Fresh: Honestly, they keep in an airtight tin for three days and still taste just-made.
Step-by-Step Instructions for Marshmallow Rice Krispies Squares
Here’s the method for achieving perfectly crisp yet chewy treats every single time.
Step 1: Melt Butter and Prepare Marshmallow Base
In a large saucepan, melt the 0.5 cup Butter over low heat. I maintain this gentle temperature to prevent burning—the butter should melt completely but not brown. The moment it’s fully liquid, add all 10 cups Miniature Marshmallows at once.
Stir constantly with a silicone spatula, scraping the bottom and sides of the pan. The marshmallows will begin to collapse and melt into the butter. Continue stirring for 5-7 minutes until the mixture is completely smooth with no visible marshmallow lumps. You’ll notice the texture transforms from chunky to a glossy, thick liquid.
Step 2: Incorporate Flavor Enhancements
Once the marshmallow-butter mixture is fully melted, remove the saucepan from heat. Immediately stir in the 1 tsp Vanilla Extract, 0.25 tsp Salt, and 0.5 tsp Vanilla Bean Seeds. The residual heat will distribute these flavors evenly without cooking them.
I always add the vanilla off heat to preserve its delicate aromatic compounds. The salt balances the sweetness while the vanilla bean seeds add those beautiful speckles and intensified flavor. Stir for exactly 30 seconds to ensure full incorporation before proceeding to the next step.
Step 3: Combine with Rice Krispies Cereal
Working quickly while the marshmallow mixture is still hot and pliable, add all 6 cups Rice Krispies Cereal to the saucepan. Use a folding motion to gently incorporate the cereal into the marshmallow mixture. You want every piece of cereal to be evenly coated without crushing it.
The cereal will immediately begin to soften slightly from the heat of the marshmallow mixture. Continue folding for 1-2 minutes until the cereal is completely saturated and the mixture appears uniform. You’ll hear the characteristic snap, crackle, and pop as the cereal interacts with the warm marshmallow—this is normal and desirable.
Step 4: Press and Set the Squares
Transfer the mixture to a greased 9×13-inch baking dish (or line with parchment paper for easier removal). Using the same silicone spatula or lightly buttered hands, press the mixture evenly into the pan. Apply firm, consistent pressure to create a smooth, even surface.
I use an offset spatula to press down the edges first, then work my way to the center. This prevents the squares from being too dense in some spots and too loose in others. Let the mixture set at room temperature for 30-45 minutes until firm to the touch.
Step 5: Cut and Finish
Once completely set, use a sharp knife to cut into 12 equal squares. For clean cuts, I run the knife under hot water between each slice. This prevents the marshmallow from sticking to the blade and dragging the edges of your squares.
If desired, sprinkle the tops with 0.25 tsp Sea Salt Flakes for a sophisticated sweet-salty contrast. The squares should hold their shape perfectly when lifted, with crisp edges and a slightly chewy interior. Serve immediately or store in an airtight container at room temperature for up to 3 days.
Pro Tips For Making Marshmallow Rice Krispies Cereal
- Melt Butter First: Start by melting the butter in the pot before adding marshmallows—it keeps them from sticking and distributes the fat evenly. I learned this the hard way after scraping burnt marshmallow off the bottom one too many times.
- Use Fresh Marshmallows: Skip the stale ones; fresh miniature marshmallows melt smoother and faster. After using old ones once, I noticed the texture turned out grainy and tough.
- Press While Warm: Work quickly to press the mixture into the pan while it’s still warm, or it’ll harden too fast and won’t stick together. Sounds obvious, but I’ve rushed this step and ended up with crumbly squares.
- Add Vanilla Last: Stir in the vanilla extract after melting the marshmallows—adding it too early can make the mixture seize up. My grandmother swore by this, and she was right: it keeps the flavor bright and even.
Serving Suggestions for This Recipe
Party Platter Presentation
For gatherings, arrange squares on a large platter with parchment paper between layers to prevent sticking. I stack 3-4 levels high on a 12-inch round board for visual impact. The colors pop against dark slate or wooden serving pieces. 💛
Lunchbox Portions
Cut into smaller 1.5-inch squares for kid-friendly portions. Wrap individually in wax paper and pack with a small ice pack if lunchboxes won’t stay cool. They hold up well for 4-6 hours without refrigeration.
Dessert Table Display
Create a tiered stand with squares on each level. Add mini cupcake liners for a polished look. I place 12 squares per tier on a 3-tier stand for balance. This works beautifully for birthdays or potlucks.
Garnish Ideas
Drizzle with melted white chocolate or sprinkle rainbow sprinkles while still warm. For adults, a dusting of cocoa powder adds sophistication. I use a fine-mesh sieve for even distribution. ✨
Temperature Notes
Serve at room temperature for the best texture. If chilled, let sit for 15-20 minutes before serving to restore the perfect chew. Avoid microwaving as it can make the cereal soggy.
Portion Control
For large groups, pre-cut and stack in muffin tins—each cup holds 2-3 squares perfectly. This makes self-serving easy and reduces mess. I line tins with parchment for quick cleanup.
Nutrition Facts
Frequently Asked Questions
Can I use regular marshmallows instead of mini?
Yes, but cut them into smaller pieces first for faster melting. Use the same volume (10 cups) and expect to stir for 2-3 minutes longer to prevent burning.
Why are my squares too hard or too soft?
Over-pressing makes them dense, while under-mixing leaves them crumbly. Press firmly but evenly, and ensure all cereal is fully coated with the marshmallow mixture.
How do I make them extra crispy?
Use fresh cereal and avoid pressing too hard. For added crunch, stir in 1 cup toasted nuts or pretzel pieces before setting.
Can I add chocolate to the recipe?
Mix in 1 cup chocolate chips with the cereal, or drizzle melted chocolate over the top after pressing. Let it set before cutting.

- Mujadara Rice and Lentils Recipe: Earthy Spiced Lentils With Caramelized Onions - November 1, 2026
- Naija Fried Rice Recipe: Street-Style Spice With Veggie Crunch - November 1, 2026
- Mushy Rice Recipe: Fluffy Grains Transformed in Minutes - November 1, 2026