
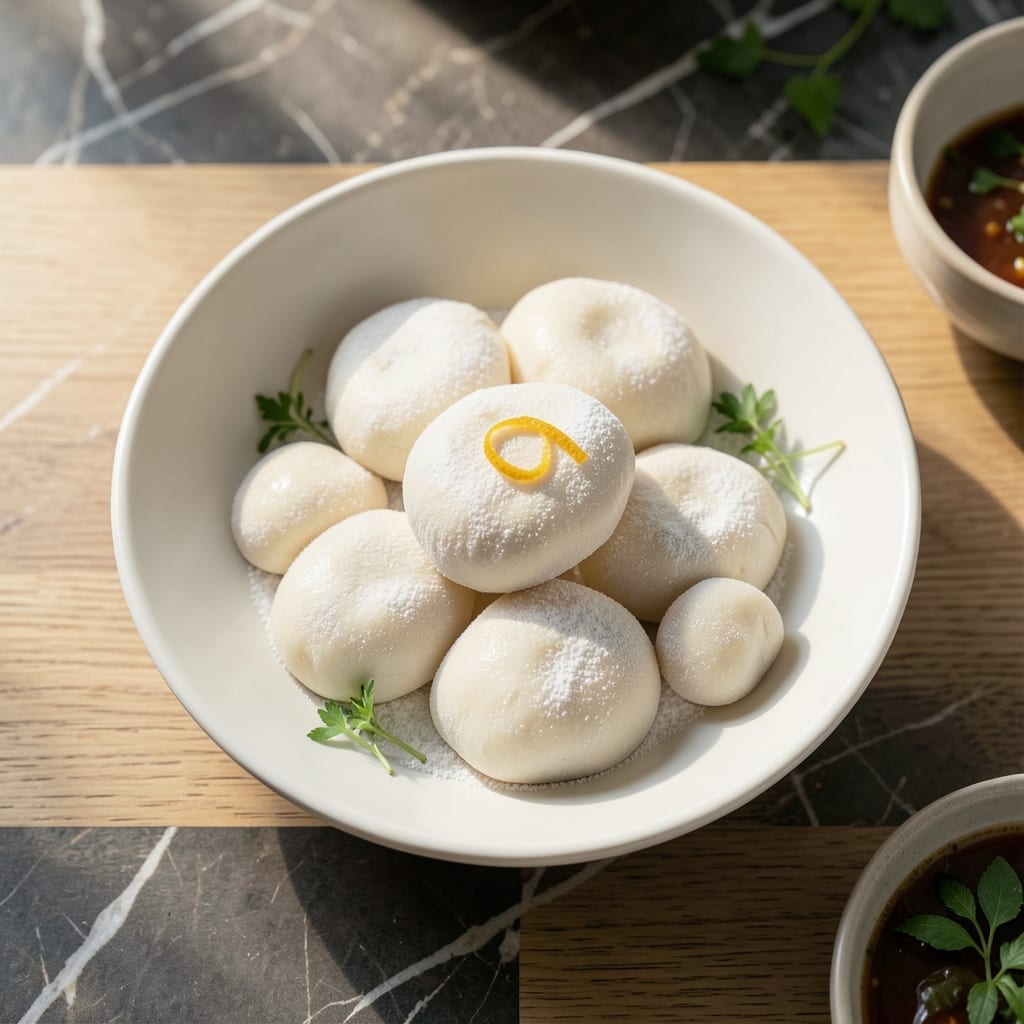
There’s a special satisfaction in making mochi from scratch, and Mochiko sweet rice flour makes it surprisingly simple. This recipe transforms basic ingredients into soft, elastic bites with that signature chewy texture.
What sets this method apart is the steam-and-pound technique, which develops the perfect stretchy consistency without specialized equipment. The dough comes together quickly and stays pliable for shaping.
You’ll end up with glossy, pillowy mochi that’s tender yet springy, ready to be filled, dusted with cornstarch, or enjoyed plain. The process is as rewarding as the results.
Serve fresh or store for later—these keep beautifully and taste even better the next day.
Ingredients for Mochiko Sweet Rice Flour Mochi
Transform basic pantry staples into elastic, pillowy mochi with these essential ingredients.
| Ingredient | Amount | Notes |
|---|---|---|
| Mochiko Sweet Rice Flour 🌾 | 1 ½ cups | The foundation for authentic texture |
| Granulated Sugar 🍚 | ½ cup | Adjust to taste preference |
| Water 💧 | ¾ cup | Room temperature preferred |
| Cornstarch 🌽 | ½ cup | For dusting and preventing sticking |
| Potato Starch 🥔 | ¼ cup | Enhances chewiness of mochi |
| Salt 🧂 | ¼ tsp | Balances sweetness subtly |
| Neutral Oil 🫒 | 1 tsp | For greasing surfaces and tools |
| Matcha Powder 🍵 | 1 tsp | Optional, for green tea flavor |
| Vanilla Extract 🌿 | ½ tsp | Pure extract for best flavor |
| Food Coloring 🎨 | 0.125 tsp | Optional, for colored varieties |
The Mochiko sweet rice flour is non-negotiable for authentic texture—Koda Farms is the gold standard brand, available at Asian markets or online. Potato starch is the secret to that perfect chew, but cornstarch works in a pinch (just expect a slightly different bite). Look for brands labeled ‘mochiko’ specifically, as regular sweet rice flour may yield inconsistent results.
Out of Mochiko? Shiratamako is the closest substitute, though it requires a different preparation method. Sugar can be swapped for agave or maple syrup at three-quarters the amount, but expect a softer texture. Matcha or cocoa powder can add flavor—start with 1 teaspoon and adjust. The oil is just to prevent sticking, so any neutral oil works.
Unused dough keeps in an airtight container for 3 days at room temperature, or 1 month refrigerated. Completed mochi stays fresh for 5 days in a sealed container. Dust with cornstarch before storing to prevent sticking (worth the extra minute).
Why You’ll Love This Recipe
- Minimal Ingredients: I love that this only needs Mochiko flour, sugar, water, and a little starch—no hunting for obscure items.
- Pure Sweetness: The sugar caramelizes just enough to give that classic chewy, lightly crisp mochi texture.
- Endless Variations: I’ve rolled these in kinako, cocoa, or crushed nuts—same base, totally different treats every time.
- Stays Fresh: Honestly, they keep soft for days in an airtight container, so I never worry about waste.
Step-by-Step Instructions for Mochiko Sweet Rice Flour Mochi
Master the technique for perfectly chewy mochi with this precise, professional approach.
Step 1: Combine Dry Ingredients for Foundation
In a heatproof bowl, whisk together the 1.5 cups Mochiko Sweet Rice Flour, 0.5 cup Granulated Sugar, 0.25 cup Potato Starch, and 0.25 tsp Salt until fully incorporated. The potato starch is crucial here—it enhances the characteristic chewiness that defines authentic mochi texture.
Ensure there are no lumps in the dry mixture, as this could create uneven texture in the final product. The sugar should be evenly distributed to provide consistent sweetness in every bite. This base mixture forms the structural foundation of your mochi.
Step 2: Create the Flavored Liquid Base
In a separate bowl, combine the 0.75 cup Water, 1 tsp Neutral Oil, 0.5 tsp Vanilla Extract, and optional 1 tsp Matcha Powder and 0.125 tsp Food Coloring. The vanilla extract should be pure for optimal flavor development.
Whisk until the matcha powder fully dissolves and the food coloring evenly distributes, creating a uniform liquid. The neutral oil prevents sticking during the steaming process. For the best results, use room temperature water to ensure even mixing with the dry ingredients.
Step 3: Steam the Mochi Mixture
Gradually pour the liquid mixture into the dry ingredients while stirring continuously with a wooden spoon. Mix until you achieve a smooth, lump-free batter. The consistency should resemble thick pancake batter.
Transfer the batter to a microwave-safe dish greased with a bit of the 1 tsp Neutral Oil. Cover loosely with a microwave-safe lid or damp paper towel. Microwave on high for 2 minutes, then stir thoroughly. Repeat this process for another 2 minutes until the mixture becomes translucent and stretchy.
Step 4: Knead and Shape the Dough
Once the mixture is translucent and slightly sticky, it’s ready for kneading. Lightly dust your work surface with some of the 0.5 cup Cornstarch to prevent sticking. The cornstarch is essential for handling the sticky dough without altering its texture.
Knead the dough for 5-7 minutes until it becomes smooth and elastic. The dough should stretch without tearing and have a slightly glossy appearance. Divide the dough into small portions and roll into balls or flatten into discs, depending on your preferred shape.
Step 5: Dust and Rest for Perfect Texture
Coat each mochi piece generously with the remaining 0.5 cup Cornstarch to prevent sticking. Place them on a parchment-lined tray, ensuring they don’t touch each other.
Let the mochi rest at room temperature for 15-20 minutes to allow the texture to set properly. The surface should become slightly firm to the touch while maintaining its chewy interior. Serve immediately for the best texture, as mochi is most enjoyable when fresh.
Pro Tips For Making Mochiko Sweet Rice Flour Mochi
- Steam Evenly: Use a bamboo steamer lined with parchment—poke holes in it so steam circulates. I learned this the hard way after my first batch came out dense and gummy.
- Sift the Flour: Always sift your Mochiko flour before mixing. After burning a batch because of clumps, I realized it actually changes the outcome.
- Skip Cold Water: Use warm water for the batter—it dissolves the sugar better and prevents graininess. Sounds weird, but it works.
- Dust Well: Coat your surface with cornstarch and potato starch before rolling—more than you think. My grandmother swore by this, and she was right.
Dietary Considerations for These Flavors
Vegan and Dairy-Free
This dish is naturally vegan as written, containing no animal products. The Mochiko flour base, sweetened with sugar and flavored with plant-based vanilla, creates the perfect chewy texture without eggs or dairy. 🌱
Gluten-Free Friendly
Sweet rice flour is inherently gluten-free, making this recipe safe for most gluten sensitivities. However, cross-contamination can occur in processing, so check labels for certified gluten-free Mochiko if needed.
Nut Allergy Considerations
The base recipe is nut-free, but be cautious with optional add-ins. Some vanilla extracts contain almond oil, so use pure vanilla extract to avoid accidental exposure. Always verify your ingredients’ processing facilities.
Low Sugar Options
You can reduce sugar to ¼ cup or substitute with agave at ¾ the amount. The texture may be slightly less firm, but the flavor remains delicious. I’ve had great results with coconut sugar too.
Corn Allergy Workaround
For those avoiding corn, replace the cornstarch with additional potato starch for dusting. The mochi will be slightly stickier to handle but maintains its signature chew. Use a well-dusted surface and tools. 💡
Storage Safeguards
Store cooled mochi in an airtight container at room temperature for up to 3 days. For longer storage, refrigerate for 1 week or freeze for 1 month. Dust with starch before sealing to prevent sticking.
Nutrition Facts
Frequently Asked Questions
Why is potato starch used in this recipe?
Potato starch enhances the signature chewy texture of mochi. It works alongside Mochiko flour to create that perfect stretchy consistency. Without it, the mochi may turn out less elastic.
Can I make this without a microwave?
Yes! Steam the batter in a bamboo steamer over boiling water for 20-25 minutes. Stir halfway through for even cooking. The texture will be just as good.
How do I prevent mochi from sticking?
Use plenty of cornstarch for dusting your hands, work surface, and tools. Keep a small bowl of extra starch nearby to reapply as needed during shaping.
Can I add fillings to my mochi?
Flatten the dough, add a small amount of filling (like red bean paste), then seal the edges. Keep fillings centered to prevent tearing.

- Mujadara Rice and Lentils Recipe: Earthy Spiced Lentils With Caramelized Onions - November 1, 2026
- Naija Fried Rice Recipe: Street-Style Spice With Veggie Crunch - November 1, 2026
- Mushy Rice Recipe: Fluffy Grains Transformed in Minutes - November 1, 2026