
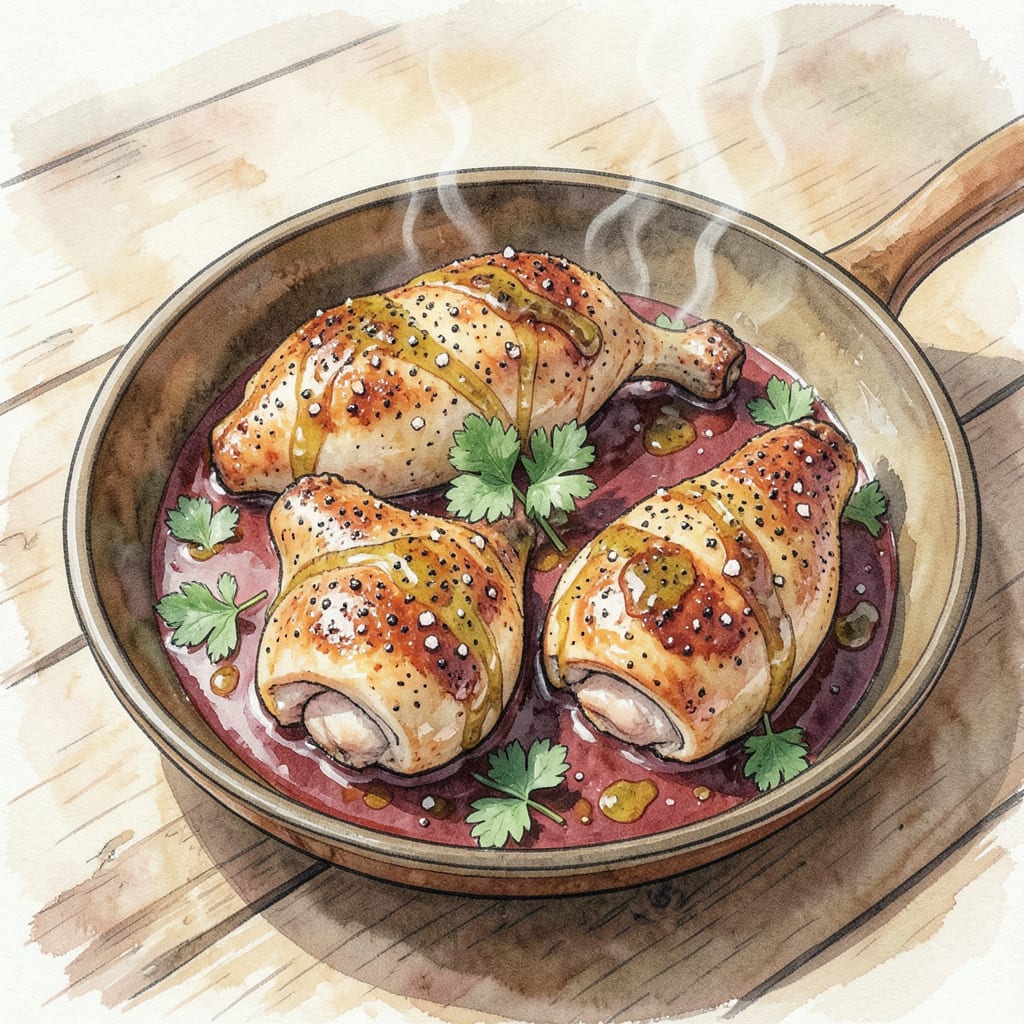
I’ve perfected cooking chicken thighs in a cast iron skillet, achieving crispy skins and juicy meat every time. The key is a hot skillet and precise temperature control, resulting in restaurant-quality chicken at home.
Cooking at 425°F for 25-30 minutes yields perfectly cooked chicken with a golden-brown crust. This method ensures tender, flavorful meat that’s sure to become a family favorite.
Ingredients for Cast Iron Chicken Thigh
Simple ingredients for restaurant-quality chicken. Nothing fancy, just good stuff.
| Ingredient | Amount | Notes |
|---|---|---|
| Bone-in, Skin-on Chicken Thighs 🍗 | 4 pieces | Fresh, never frozen preferred |
| Kosher Salt 🧂 | 1 ½ tsp | Diamond Crystal or similar |
| Black Pepper 🌶️ | ¾ tsp | Freshly ground preferred |
| Garlic Powder 🧄 | 1 tsp | Not garlic salt |
| Paprika 🌿 | 1 tsp | Smoked or sweet |
| Olive Oil 🫒 | 2 tbsp | For skillet preheating |
| Fresh Rosemary 🌿 | 2 sprigs | Optional, for flavor |
| Lemon Wedges 🍋 | 4 slices | For serving |
The chicken matters here. Fresh, never frozen makes all the difference. I grab mine from Whole Foods or local butchers. Look for thighs with the skin still on—that’s where the crispy magic happens. If you’re feeling fancy, get some organic—worth the splurge for a special dinner.
No rosemary? Thyme or oregano works too. Just use about half the amount. Garlic powder is convenient, but minced fresh garlic in the skillet with the oil is amazing if you’ve got it. The paprika adds a nice smokiness—smoked paprika if you want it extra intense. For the salt, Diamond Crystal is my go-to.
This keeps beautifully—3-4 days in the fridge. Reheat in the oven at 350°F to keep that crispy skin. You can also freeze cooked chicken for 3 months—just thaw overnight in the fridge. Leftover chicken is great for salads or sandwiches the next day.
Step-by-Step Instructions for Cast Iron Chicken Thighs
Here’s the method that delivers crispy-skinned, juicy chicken thighs every single time.
Step 1: Prep and Season the Chicken Thighs
Start by patting the 4 pieces Bone-in, Skin-on Chicken Thighs dry with paper towels, making sure to remove excess moisture from both the skin and the underside. This step is crucial for achieving that perfect crispy skin. I like to be thorough here—excess moisture prevents the skin from crisping up properly.
Next, mix together the 1.5 tsp Kosher Salt, 0.75 tsp Black Pepper, 1 tsp Garlic Powder, and 1 tsp Paprika in a small bowl. Sprinkle this seasoning blend evenly over both sides of the chicken thighs, making sure they’re fully coated. The combination of these spices adds depth to the chicken without overpowering its natural flavor.
Step 2: Preheat the Cast Iron Skillet
Preheat your oven to 425°F. While that’s heating up, place your cast iron skillet inside to get hot. Let it preheat in the oven for at least 15 minutes—you want it scorching hot. The preheated skillet is key to getting that initial sear on the chicken.
Carefully remove the skillet from the oven using oven mitts (it’s going to be hot!) and place it over medium-high heat on your stovetop. Add the 2 tbsp Olive Oil and let it heat until it just starts to shimmer, which should take about 2 minutes. This hot oil will help create that crispy crust on the chicken.
Step 3: Sear the Chicken Thighs
Place the seasoned chicken thighs skin-side down in the hot skillet. You should hear a nice sizzle as they hit the pan—if you don’t, your skillet wasn’t hot enough. Let them sear undisturbed for 5-7 minutes until the skin is golden brown and crispy. Don’t touch them during this time; you want that skin to develop a nice crust.
After the skin is nicely browned, flip the chicken thighs over and sear the other side for another 2-3 minutes. The second side won’t brown as much, but it still adds flavor. If you’re using the 2 sprigs Fresh Rosemary, you can add them to the pan now for extra flavor—the heat will release their aromatic oils.
Step 4: Finish Cooking the Chicken
Transfer the skillet with the chicken back into the preheated oven. Bake for 15-20 minutes until the chicken reaches an internal temperature of 165°F when measured with a meat thermometer at the thickest part of the thigh. The exact timing will depend on the size of your chicken thighs, so keep an eye on them.
Once cooked, remove the skillet from the oven and let the chicken rest in the pan for 5 minutes before serving. This resting period allows the juices to redistribute throughout the meat, ensuring it stays juicy. Serve the chicken thighs hot, accompanied by the 4 slices Lemon Wedges on the side for a bright, citrusy contrast to the rich chicken.
Serving Suggestions for This Recipe
Classic Comfort Sides
This cast iron chicken pairs beautifully with simple comfort foods that soak up the rich pan juices. I love serving it with mashed potatoes or roasted root vegetables like carrots and parsnips. The earthy sweetness of these sides complements the savory chicken perfectly. For a lighter option, a simple green salad with a tangy vinaigrette cuts through the richness. 🌿
Starchy Delights
For a heartier meal, consider serving the chicken with creamy polenta or garlic bread. The creamy texture of polenta pairs wonderfully with the crispy chicken skin, while garlic bread adds a satisfying crunch. If you’re feeling fancy, try making roasted sweet potato wedges seasoned with herbs and spices. These starchy sides make the meal more filling and satisfying.
Fresh Contrasts
To balance the richness of the chicken, add some fresh elements to your plate. A simple mixed green salad with a light vinaigrette works wonders, as does a side of steamed broccoli or roasted asparagus. The bright, fresh flavors provide a nice contrast to the deep, savory flavors of the chicken. Consider adding a squeeze of fresh lemon juice over the top for an extra burst of citrus. 🍋
Global Inspirations
Take your cast iron chicken in different directions by adding global-inspired sides. For a Mediterranean twist, serve with Greek salad or roasted eggplant. For a Southern-style meal, pair it with collard greens or creamy cornbread. These international flavors can elevate your meal and add exciting variety to your dinner routine.
Pan Sauce Magic
Nutrition Facts
Frequently Asked Questions
What’s the best way to ensure crispy skin on cast iron chicken thighs?
The key to crispy skin is patting the chicken dry with paper towels before seasoning. This removes excess moisture that prevents crisping. Cooking at 425°F also helps achieve that perfect crust
Can I use boneless chicken thighs for this cast iron recipe?
While you can use boneless thighs, bone-in thighs provide better flavor and texture. Boneless thighs cook faster, typically requiring 5-7 minutes less in the oven. Keep an eye on internal temperature to avoid overcooking
How do I prevent chicken thighs from sticking to the cast iron skillet?
Preheating the skillet properly and using enough oil (2 tbsp olive oil works well) helps prevent sticking. Make sure the oil is hot before adding chicken – it should shimmer
Can I prepare the chicken thighs ahead of time?
You can season the chicken up to 24 hours in advance and store it in the refrigerator. Keep it uncovered or loosely covered to maintain that dry surface that’s crucial for crispy skin

- Chuy’s Green Chili Rice Copycat Recipe: Spicy Southwest Flavor in Every Bite - September 25, 2026
- Beaten Rice Recipe: Fluffy Grains With Nutty Depth - September 25, 2026
- Machboos Rice Recipe: Bahraini Spiced One-Pot Tradition - September 25, 2026