
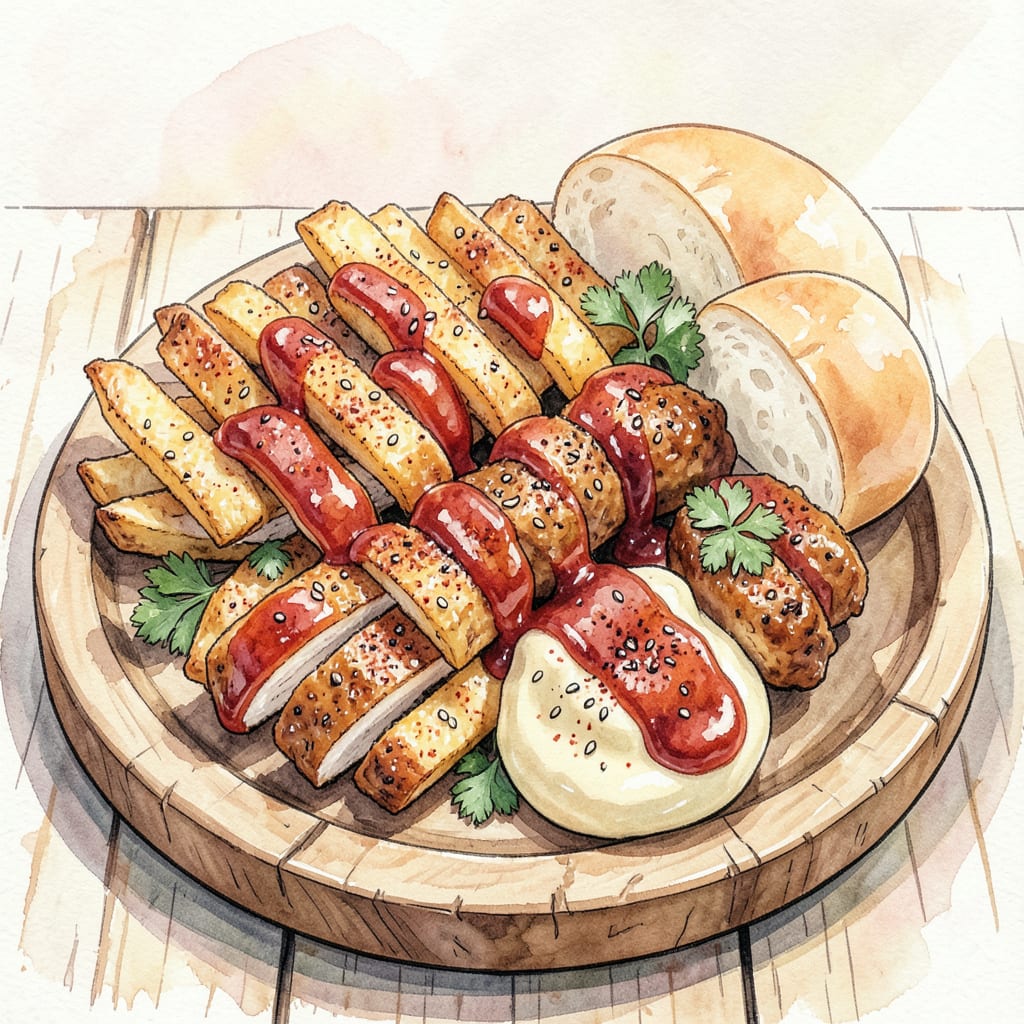
I’ve cracked the code for making crispy Burger King-style chicken fries at home. This recipe delivers the perfect blend of tender chicken and crunchy coating, just like the original. Ready in under 30 minutes.
The secret lies in precise temperature control and a special coating technique. We’ll walk you through the simple steps to achieve golden, crispy chicken fries that’ll satisfy your fast food cravings without leaving home.
Ingredients for Chicken Fries Burger King
Simple ingredients, big flavor. Get ready for crispy chicken fries in under 30 minutes.
| Ingredient | Amount | Notes |
|---|---|---|
| Chicken Breast Tenders 🍗 | 1 ½ lb | Pounded thin for even cooking |
| All-Purpose Flour 🌾 | 1 ½ cups | For dredging chicken strips |
| Cornstarch 🌽 | ½ cup | For crispy coating |
| Paprika 🌶️ | 2 tbsp | Smoked or sweet variety |
| Garlic Powder 🧄 | 1 tbsp | Not garlic salt |
| Onion Powder 🧅 | 1 tbsp | Fresh ground preferred |
| Salt 🧂 | 1 tsp | Kosher or sea salt |
| Black Pepper 🌶️ | ½ tsp | Freshly ground preferred |
| Cayenne Pepper 🔥 | ¼ tsp | Adjust for heat preference |
| Buttermilk 🥛 | 1 cup | For marinating chicken |
| Vegetable Oil 🫒 | 2 cups | For frying, about 1/2-inch deep |
| Panko Breadcrumbs 🍞 | 2 cups | For crunchy coating |
The coating mix matters. Panko gives that extra crunch Burger King fans love. For the spices, Penzeys has great options—smoked paprika adds depth. If you’re out of buttermilk, milk with a splash of vinegar works in a pinch (let it sit 5 minutes).
No panko? Regular breadcrumbs with Italian seasoning are a decent substitute. For heat lovers, increase cayenne to 0.5 tsp. The buttermilk marinade is key—don’t skip it. If you don’t have buttermilk, plain yogurt thinned with milk works too.
These freeze beautifully after frying. Cool completely, then freeze in single layers on a baking sheet. Store in freezer bags for up to 3 months. Reheat in the oven at 400°F for about 15 minutes until crispy again.
Step-by-Step Instructions for Crispy Chicken Fries
Here’s the method to achieve perfectly crispy homemade chicken fries every time.
Step 1: Prepare the Chicken Tenders
Start by pounding the 1.5 lb Chicken Breast Tenders to an even thickness of about ¼ inch. This ensures they cook uniformly and prevents some parts from becoming overcooked while others remain underdone. Cut the pounded chicken into strip shapes, mimicking the familiar chicken fries shape.
Place the cut chicken strips in a large bowl and pour in the 1 cup Buttermilk. Make sure they’re fully submerged in the buttermilk—if necessary, cover the bowl with plastic wrap and gently press the strips down to ensure they’re all coated. Let them marinate for at least 30 minutes in the refrigerator. The acidity in the buttermilk will tenderize the chicken and help the coating adhere better.
Step 2: Create the Coating Mixture
In a large shallow dish, combine the 1.5 cups All-Purpose Flour, 0.5 cup Cornstarch, 2 tbsp Paprika, 1 tbsp Garlic Powder, 1 tbsp Onion Powder, 1 tsp Salt, 0.5 tsp Black Pepper, and 0.25 tsp Cayenne Pepper. Whisk these ingredients together until they’re well mixed and there are no lumps. The cornstarch is crucial for achieving that extra crispy coating, while the spices add flavor.
Place the 2 cups Panko Breadcrumbs in a separate shallow dish. Panko breadcrumbs are preferred because they’re lighter and crisper than regular breadcrumbs, which helps in achieving the signature crunch of chicken fries.
Step 3: Coat the Chicken Strips
Remove the chicken strips from the buttermilk marinade, letting any excess liquid drip off. Dredge the strips in the flour mixture, shaking off any excess. Then, dip them back into the buttermilk for a quick second coating, followed by rolling them in the 2 cups Panko Breadcrumbs to coat evenly. Place the coated chicken strips on a plate or tray. Repeat with the remaining chicken strips.
For an extra crispy coating, you can chill the coated chicken strips in the refrigerator for 15-30 minutes before frying. This helps the coating adhere better to the chicken during frying.
Step 4: Fry the Chicken Strips
Heat the 2 cups Vegetable Oil in a large skillet over medium-high heat until it reaches 350°F. You’ll need enough oil to fill the skillet to a depth of about ½ inch. When the oil is hot and shimmering, carefully add a few of the coated chicken strips to the skillet. Do not overcrowd the skillet; fry in batches if necessary.
Fry the chicken strips for 5-7 minutes on each side, or until they’re golden brown and the internal temperature reaches 165°F. Use a thermometer to check the oil temperature and ensure it remains consistent. Once done, remove the chicken fries from the oil and place them on a paper towel-lined plate to drain any excess oil.
Step 5: Serve Immediately
Serve the crispy chicken fries hot. You can enjoy them as is or with your favorite dipping sauce. For an authentic Burger King experience, consider serving them with a side of tangy BBQ sauce or a spicy mayo. The key is to serve them immediately while they’re still crispy.
If you need to keep them warm for a bit before serving, place them in a single layer on a baking sheet and keep them in a 200°F oven. This helps maintain their crispiness without overcooking the chicken.
Best Sauces and Condiments for chicken fries burger king
Signature Burger King Sauces
The original Burger King chicken fries are often enjoyed with their signature sauces. While we can’t replicate the exact recipes, we can create similar flavor profiles at home. For a tangy BBQ experience, mix ½ cup mayonnaise, ¼ cup BBQ sauce, and 1 tablespoon honey. This combination provides the perfect balance of creamy and tangy. 🔥
Spicy Mayo Alternatives
For those who like a little heat, a spicy mayo can elevate your chicken fries experience. Combine ½ cup mayonnaise, 2 tablespoons sriracha, and 1 tablespoon lime juice. Adjust the sriracha amount based on your heat preference. The acidity from the lime juice helps cut through the richness of the fried chicken.
Classic Dipping Options
Sometimes simple is best. A classic ranch dressing or honey mustard pairs beautifully with the crispy chicken fries. For a homemade ranch, mix 1 cup mayonnaise, ½ cup sour cream, 1 tablespoon dried parsley, 1 tablespoon dried dill, and 1 teaspoon garlic powder. This creamy dip complements the crunchy exterior perfectly.
International Inspiration
For a unique twist, try Korean-style gochujang mayo by mixing ½ cup mayonnaise with 2 tablespoons gochujang and 1 tablespoon soy sauce. The sweet and spicy combination adds an exciting dimension to your chicken fries. You can also experiment with garlic aioli by blending ½ cup mayonnaise with 3 minced garlic cloves and 1 tablespoon lemon juice.
Customizing Your Sauce
The beauty of making your own dipping sauces is that you can customize them to your taste. Start with a base like mayonnaise or yogurt, then add your preferred spices and flavorings. For a smoky flavor, add 1 teaspoon smoked paprika. For extra heat, increase the amount of cayenne pepper or add hot sauce to taste. Experiment with different combinations to find your perfect match. 🍟
Storage Tips for Homemade Sauces
These sauces store well in airtight containers in the refrigerator for up to 1 week. The flavors often meld together and improve over time. Give them a good stir before serving. If you’re making a large batch, consider portioning them into smaller containers for easy use throughout the week.
Nutrition Facts

- Jollof Rice Sauce Recipe: West African Tomato and Spice Infusion - September 25, 2026
- Japanese Rice Soup Recipe: Umami-Rich Comfort in a Bowl - September 25, 2026
- Homemade Cream Of Rice Recipe: Silk-Smooth Breakfast in Minutes - September 25, 2026