
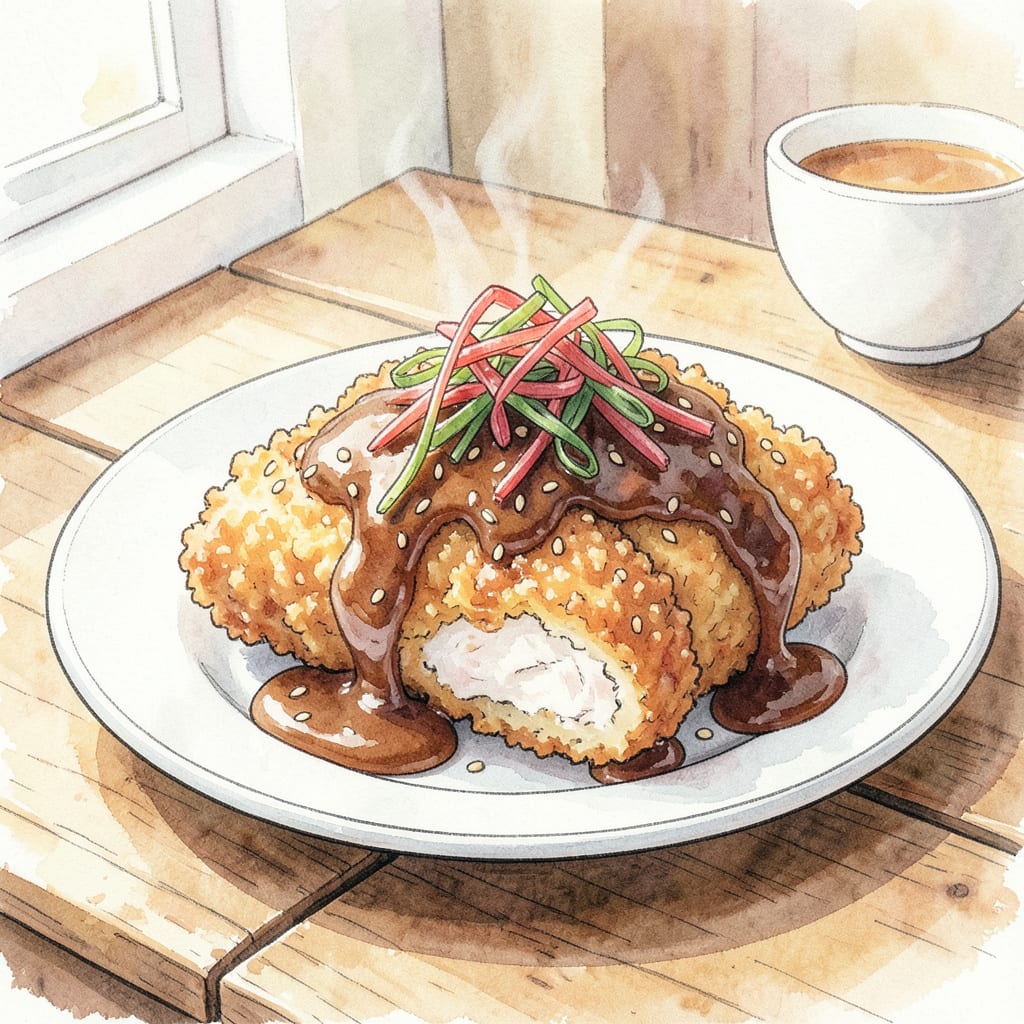
I’ve perfected my chicken katsu sauce recipe to capture the tangy essence of this Japanese condiment. This sauce is a game-changer for breaded cutlets, adding depth and complexity to every bite.
With just a few simple ingredients and 15 minutes of prep, you’ll have a delicious accompaniment to your favorite chicken katsu dishes. The result is a velvety sauce that complements the crispy exterior and tender interior of perfectly cooked cutlets.
Ingredients for Chicken Katsu Sauce
Simple pantry staples come together to create this velvety chicken katsu sauce.
| Ingredient | Amount | Notes |
|---|---|---|
| Ketchup 🍅 | ½ cup | High-quality ketchup preferred |
| Worcestershire Sauce 🧂 | 2 tbsp | Adds depth of flavor |
| Soy Sauce 🌿 | 2 tbsp | Use low-sodium variety |
| Rice Vinegar 🍚 | 1 tbsp | Unseasoned rice vinegar |
| Brown Sugar 🍮 | 1 tbsp | Dark brown for richer flavor |
| Garlic Cloves 🧄 | 2 cloves | Minced or pressed |
| Ginger 🌿 | 1 tsp | Freshly grated ginger |
| Black Pepper 🌶️ | ¼ tsp | Freshly ground preferred |
For the best flavor, use high-quality ketchup—organic or natural brands make a difference. I prefer low-sodium soy sauce to control the salt level. Fresh ginger is worth grating (about 1-inch piece). If you have Japanese Worcestershire, that’s ideal, but regular works too.
No rice vinegar? Apple cider vinegar is a decent substitute. For a spicy kick, add 1/4 teaspoon sriracha. If you don’t have fresh ginger, 1/2 teaspoon ground ginger works in a pinch. The garlic can be minced ahead and stored in the fridge.
This sauce keeps for 2 weeks in the fridge. Store in an airtight container and give it a good stir before using. It thickens as it cools, so thin with a little water if needed. Freezes well too—portion into ice cube trays for single servings.
Step-by-Step Instructions for Chicken Katsu Sauce
Let’s create this tangy Japanese-style condiment together – it’s easier than you think.
Step 1: Combine Wet Ingredients and Sugar
Start by whisking together the 0.5 cup ketchup, 2 tbsp Worcestershire Sauce, 2 tbsp soy sauce, 1 tbsp rice vinegar, and 1 tbsp brown sugar in a medium saucepan. I like to use a balloon whisk for this – it gets into the corners of the pan and ensures everything is fully incorporated.
As you whisk, you’ll notice the mixture starts to come together smoothly. Make sure to scrape down the sides of the pan to incorporate any stuck ingredients. The mixture should be well combined and have a uniform color.
Step 2: Add Aromatics and Simmer
Add the 2 cloves garlic cloves and 1 tsp ginger to the saucepan. I prefer to use freshly grated ginger for this recipe – it makes a big difference in the flavor. Bring the mixture to a simmer over medium heat, whisking constantly to prevent scorching.
Once it’s simmering, reduce the heat to low and let it cook for 5-7 minutes, or until the sauce has thickened slightly and reduced by about 1/4 cup. You’ll know it’s ready when it coats the back of a spoon and has a rich, velvety texture.
Step 3: Season and Finish
Remove the saucepan from the heat and stir in the 0.25 tsp black pepper. I like to use freshly ground pepper for the best flavor. Let the sauce cool to room temperature before transferring it to an airtight container.
The sauce will thicken further as it cools, so don’t worry if it seems a bit thin at first. Once cooled, store it in the refrigerator for up to 2 weeks. The flavors will meld together and intensify over time, making it even better the next day.
Creative Variations of These Flavors
Spicy Korean Variation
Transform your chicken katsu sauce into a spicy Korean-inspired condiment by adding 1-2 teaspoons of gochujang. This fermented chili paste brings a deep, savory heat that pairs beautifully with crispy chicken. I like to mix it in during the last minute of simmering so the flavors meld together perfectly. For an extra kick, add 1/4 teaspoon crushed Korean chili flakes (gochugaru). 🔥
Modern Teriyaki Twist
Create a sweeter, more contemporary version by increasing the brown sugar to 2 tablespoons and adding 1 tablespoon mirin. This gives the sauce a rich, glossy finish that’s perfect for drizzling over chicken katsu or using as a dipping sauce. The mirin adds a subtle sweetness and helps balance the tanginess of the other ingredients.
Low-Sodium Adaptation
For a lower-sodium version, replace the Worcestershire sauce with a low-sodium alternative or use 1 tablespoon of tamari. Reduce the soy sauce to 1 tablespoon and add a pinch of salt to taste. This version still packs plenty of flavor while being easier on the salt intake.
Thicker Consistency
If you prefer a thicker sauce, simply simmer it for an additional 2-3 minutes until it reaches your desired consistency. You can also add a slurry made from 1 teaspoon cornstarch mixed with 1 tablespoon water, whisking constantly to avoid lumps. This creates a heartier sauce that clings to the chicken beautifully.
Fusion BBQ Style
Mix things up by adding 1 tablespoon of your favorite BBQ sauce during the last minute of simmering. This creates an interesting fusion between Japanese katsu flavors and American BBQ styles. The result is a complex, tangy sauce with a sweet and smoky undertone that’s perfect for grilled or fried chicken variations.
Storage and Reheating Tips
Make a batch of this sauce and store it in an airtight container in the refrigerator for up to 2 weeks. When you’re ready to use it, give it a good stir and thin it out with a little water if needed. The flavors will meld together beautifully over time, making it even better the next day. You can also freeze it in ice cube trays for convenient single servings. ❄️
Nutrition Facts
Frequently Asked Questions
Can I make this sauce without Worcestershire sauce?
Yes, you can substitute Worcestershire sauce with a combination of 1 tablespoon soy sauce and 1 tablespoon tamari, or use 1 tablespoon fish sauce as an alternative. The flavor won’t be identical, but it’ll be close. Keep in mind that the umami flavor might be slightly different.
How long does homemade katsu sauce last?
When stored properly in an airtight container in the refrigerator, homemade katsu sauce can last up to 2 weeks. The flavors will meld together and intensify over time, making it even better the next day. You can also freeze it in ice cube trays for convenient single servings.
Can I make this sauce in advance?
Absolutely! Making the sauce ahead of time allows the flavors to meld together. Prepare it up to 2 weeks in advance and store it in the refrigerator. Give it a good stir before using, and thin it out with a little water if needed. The sauce will thicken as it cools, so be prepared to adjust the consistency.
Is this sauce gluten-free?
The sauce contains soy sauce and Worcestershire sauce, which typically contain gluten. To make it gluten-free, use gluten-free soy sauce and gluten-free Worcestershire sauce. Always check the labels to ensure the ingredients meet your dietary needs.

- Jollof Rice Sauce Recipe: West African Tomato and Spice Infusion - September 25, 2026
- Japanese Rice Soup Recipe: Umami-Rich Comfort in a Bowl - September 25, 2026
- Homemade Cream Of Rice Recipe: Silk-Smooth Breakfast in Minutes - September 25, 2026