
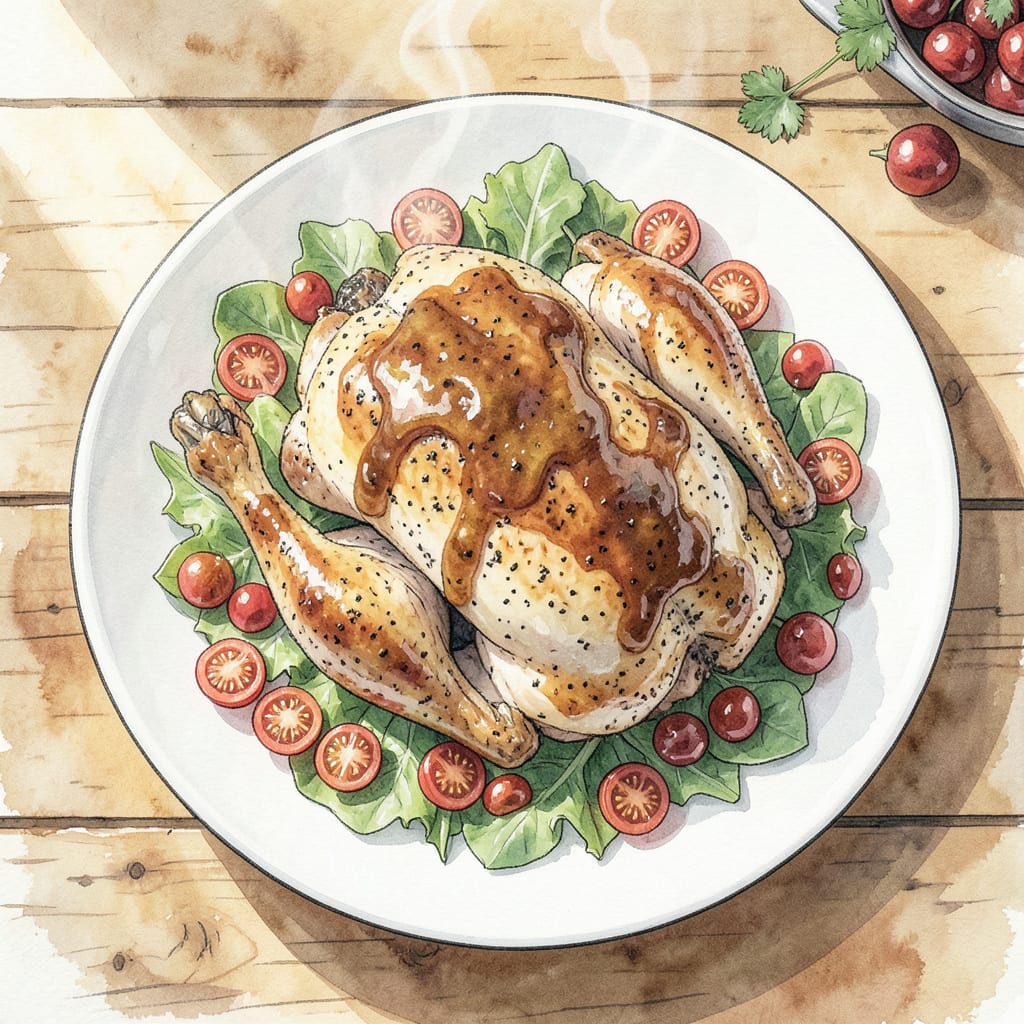
I’ve perfected the dry brine method for achieving crispy skin and juicy meat in roasted chicken. This technique requires minimal effort but delivers maximum flavor and texture.
The dry brine process involves rubbing the chicken with salt and seasonings, then letting it rest in the refrigerator to enhance moisture retention and crispiness. Roasting at high heat ensures a golden-brown crust while keeping the meat tender.
Ingredients for Dry Brine Recipe Chicken
These essential ingredients create the perfect dry brine for crispy skin and juicy meat.
| Ingredient | Amount | Notes |
|---|---|---|
| Whole Chicken 🐓 | 1 whole | 3-4 lbs, giblets removed |
| Kosher Salt 🧂 | 2 tbsp | Diamond Crystal preferred |
| Black Pepper 🌶️ | 1 tbsp | Freshly ground |
| Garlic Powder 🧄 | 1 tsp | Not garlic salt |
| Onion Powder 🧅 | 1 tsp | Adds depth |
| Dried Thyme 🌿 | 1 tsp | Rub between fingers to release oils |
| Paprika 🌶️ | ½ tsp | Smoked or sweet |
| Unsalted Butter 🧈 | 2 tbsp | Melted for roasting |
| Fresh Lemon 🍋 | 1 whole | Quartered for cavity |
| Fresh Rosemary 🌿 | 2 sprigs | Tied with kitchen twine |
| Olive Oil 🫒 | 1 tbsp | For rubbing skin |
The salt matters here. Diamond Crystal is my go-to—it’s flakier and less dense than regular salt. Most grocery stores carry it, but if you’re at Whole Foods, their house brand works too. Fresh thyme is ideal, but dried works at one-third the amount. For the chicken, 3-4 lbs is perfect—any larger and you’ll need to adjust cooking time.
No garlic powder? Minced fresh garlic works, but reduce the amount. Onion powder adds depth, but you can omit if you don’t have it. For a bit of heat, add 1/4 tsp cayenne. The lemon quarters in the cavity add brightness—don’t skip this step. If you prefer a different herb, thyme or oregano work well too.
This chicken keeps beautifully in the fridge for up to 4 days. Reheat in the oven at 375°F to crisp the skin again. You can also freeze it for up to 3 months—just thaw overnight in the fridge before reheating. Leftovers make great chicken salad or sandwiches.
Step-by-Step Instructions for Dry Brine Chicken
Here’s the method that delivers perfectly crispy skin and juicy meat every time.
Step 1: Prepare the Dry Brine Mixture
In a small bowl, combine the 2 tbsp Kosher Salt, 1 tbsp Black Pepper, 1 tsp Garlic Powder, 1 tsp Onion Powder, 1 tsp Dried Thyme, and 0.5 tsp Paprika. I like to mix these ingredients thoroughly to ensure they’re evenly distributed. This dry brine mixture is the key to enhancing the flavor and texture of your chicken.
Rubbing the mixture between your fingers helps release the oils from the Dried Thyme, which adds depth to the overall flavor. Make sure to mix until everything is well combined.
Step 2: Apply the Dry Brine and Rest
Pat the 1 whole Whole Chicken dry with paper towels, both inside and out. This step is crucial for helping the dry brine adhere to the chicken. Generously apply the dry brine mixture all over the chicken, making sure to get some under the skin as well. Don’t be shy; use all of the mixture to coat the chicken evenly.
Place the chicken on a wire rack set over a rimmed baking sheet and refrigerate uncovered for at least 8 hours or overnight. This resting period allows the salt to penetrate the meat and the skin to dry out, resulting in crispy skin when roasted.
Step 3: Prepare for Roasting
Remove the chicken from the refrigerator and let it sit at room temperature for 30 minutes before roasting. Preheat your oven to 425°F. Rub the 1 tbsp Olive Oil all over the chicken’s skin, then stuff the cavity with the 1 whole Fresh Lemon (quartered) and 2 sprigs Fresh Rosemary (tied with kitchen twine).
Trussing the chicken by tying the legs together with kitchen twine helps it cook more evenly. Tuck the wings under the body to prevent them from burning.
Step 4: Roast to Perfection
Place the chicken in the preheated oven and roast for 45-50 minutes until the skin is golden brown and crispy. Baste the chicken with the 2 tbsp Unsalted Butter (melted) halfway through the cooking time to enhance browning and add flavor.
The chicken is done when the internal temperature reaches 165°F in the thickest part of the thigh. Let it rest for 10-15 minutes before carving. During this time, the juices will redistribute, making the meat even juicier.
Health Benefits of This dry brine recipe chicken
Nutritional Powerhouse
Chicken is an excellent source of lean protein, essential for muscle repair and immune function. A 3-pound whole chicken provides about 70 grams of protein. The dry brine method helps retain moisture, making the meat particularly juicy.
Vitamins and Minerals
This dish is rich in B vitamins, particularly niacin and B6, which are crucial for energy metabolism. Chicken is also a good source of selenium, an antioxidant that protects cells from damage. The addition of herbs like thyme and rosemary adds extra nutritional benefits.
Healthier Preparation Method
The dry brine technique enhances flavor without adding extra fat. Using unsalted butter in moderation and olive oil for rubbing the skin keeps the dish relatively low in saturated fats. This method also helps achieve crispy skin without deep-frying.
Portion Control
A whole chicken serves 4 people, making it easy to control portion sizes. This recipe is ideal for meal prep as leftovers can be stored in the fridge for up to 4 days or frozen for 3 months. Reheating in the oven helps maintain the crispy skin.
Customization for Health
For a healthier version, you can reduce the amount of butter used for basting or substitute it with olive oil. Adding more herbs and spices can also enhance flavor without adding extra salt or sugar. This flexibility makes the recipe adaptable to various dietary needs.
Nutrition Facts

- Jollof Rice Sauce Recipe: West African Tomato and Spice Infusion - September 25, 2026
- Japanese Rice Soup Recipe: Umami-Rich Comfort in a Bowl - September 25, 2026
- Homemade Cream Of Rice Recipe: Silk-Smooth Breakfast in Minutes - September 25, 2026