
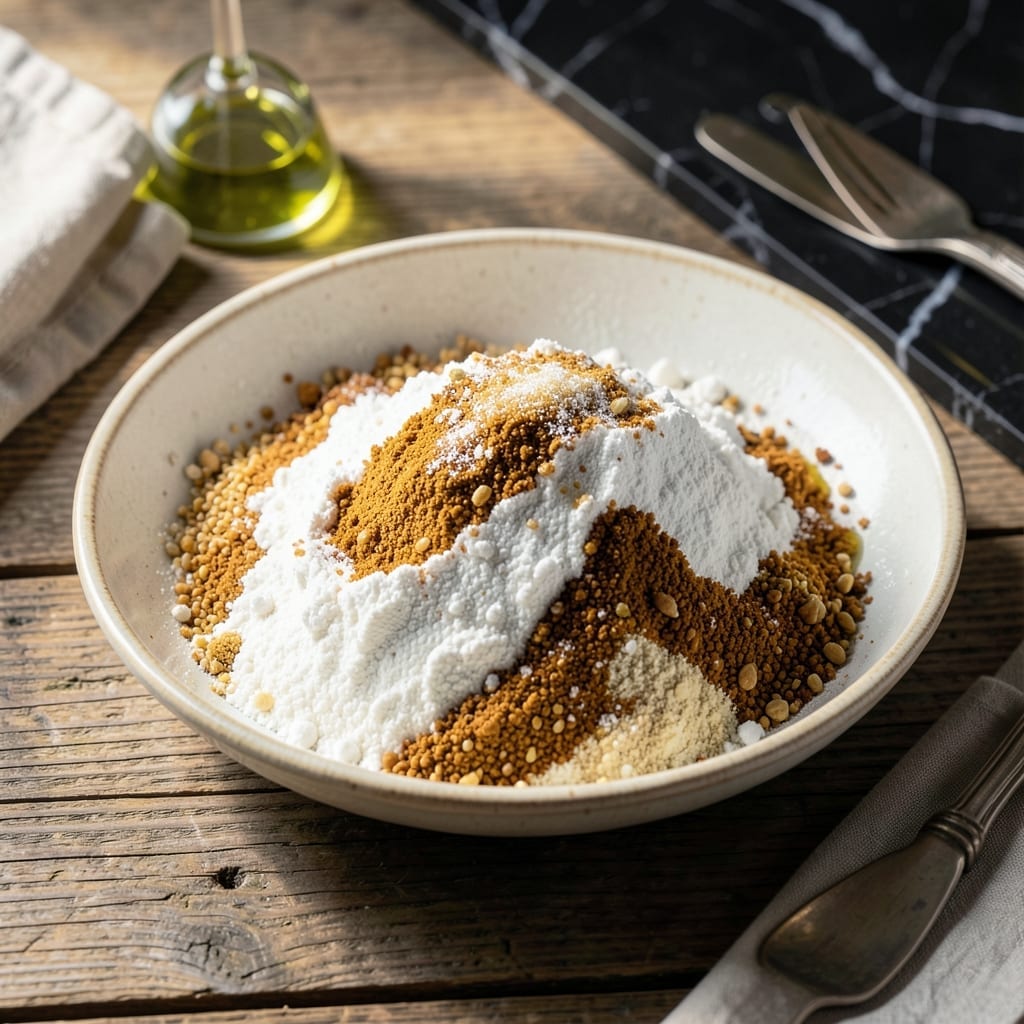
This rice-flour-free blend delivers all-purpose performance for gluten-free baking without common allergens. I developed it after years of testing to create a neutral-flavored foundation that works in cookies, cakes, and breads alike.
With simple pantry staples and precise ratios, this mix provides consistent results every time. The absence of rice flour makes it lighter and more digestible, while maintaining the structure needed for reliable baking outcomes.
Ingredients for Gluten Free Flour Recipe Without Rice Flour
Eight simple staples create this versatile gluten-free blend for all your baking needs.
| Ingredient | Amount | Notes |
|---|---|---|
| Tapioca Starch 🌾 | 1 cup | Also called tapioca flour |
| Potato Starch 🥔 | 1 cup | Not potato flour |
| Cornstarch 🌽 | ½ cup | Fine white variety |
| Millet Flour 🌾 | 1 cup | Light, neutral flavor |
| Sorghum Flour 🌾 | 1 cup | Mild, slightly sweet |
| Xanthan Gum 🧪 | 1 tsp | For binding structure |
| Baking Powder 🧂 | 1 tsp | Ensures proper rise |
| Salt 🧂 | ½ tsp | Fine sea salt preferred |
The starches are key here. Tapioca starch (often labeled as flour) adds chew, while potato starch keeps things light—just don’t confuse it with potato flour, which is heavier. Bob’s Red Mill is my go-to for both. Millet and sorghum flours bring that neutral base (no rice, no nuts) and are easy to find at Whole Foods or well-stocked supermarkets.
No millet flour? Oat flour (certified gluten-free) works as a 1:1 swap, though the flavor shifts slightly sweeter. Out of sorghum? Buckwheat flour adds earthiness but changes the color. Xanthan gum is non-negotiable for structure—skip it and your cakes will crumble. Baking powder keeps everything from tasting flat (trust me on this).
Store this mix in an airtight container in a cool, dark place for up to 3 months. For longer storage, freeze for 6 months. Always whisk before using to redistribute the xanthan gum.
Why You’ll Love This Recipe
- One Bowl Wonder: I just dump these five staples—tapioca, potato, cornstarch, millet, sorghum—into a bowl, whisk, and boom, my custom blend is ready.
- Nutty Sweetness: Millet and sorghum give a subtle, toasty sweetness that makes my muffins and pancakes taste way more interesting than store-bought mixes.
- Bakes Like a Dream: This blend handles cookies, bread, even pie crust without falling apart. Honestly, it’s my secret for gluten-free baking that doesn’t scream “gluten-free.”
- Pantry Hero: All the ingredients keep for months, so I can mix a big batch and have it on hand for spontaneous baking—no last-minute store runs.
Step-by-Step Instructions for Gluten Free Flour Without Rice Flour
This method ensures a perfectly balanced blend with consistent texture and reliable results.
Step 1: Measure the Starches Precisely
Begin by accurately measuring 1 cup Tapioca Starch, 1 cup Potato Starch, and 0.5 cup Cornstarch. I use the spoon-and-level method for starches to avoid packing, which would throw off your ratios.
These three starches create the foundation of your blend, each contributing unique properties. Tapioca adds elasticity, potato provides lightness, and cornstarch enhances crispness in baked goods. Make sure your measuring cups are dry and clean between ingredients to prevent cross-contamination.
Step 2: Add the Flour Components
Measure 1 cup Millet Flour and 1 cup Sorghum Flour next. These gluten-free flours bring structure and a neutral to slightly sweet flavor profile that mimics all-purpose wheat flour.
I’ve found that using a digital scale for these flours can help ensure consistency, especially if you’re baking frequently. Millet flour is particularly light, so fluff it up before scooping to avoid compacting. The combination of these two flours with the starches creates a balanced protein content similar to wheat flour.
Step 3: Incorporate the Leavening and Binding Agents
Add 1 tsp Xanthan Gum, 1 tsp Baking Powder, and 0.5 tsp Salt to your dry ingredients. The xanthan gum is crucial for binding—it replaces the gluten that would normally hold baked goods together.
Whisk all ingredients together thoroughly for at least 30 seconds to ensure even distribution. I like to use a wire whisk for this as it breaks up any clumps and aerates the mixture. The baking powder will provide lift in your baking, while the salt enhances all the other flavors in your blend.
Step 4: Sift and Store for Optimal Results
Pass the entire mixture through a fine-mesh sieve to break up any remaining clumps and create an ultra-fine texture. This step is often overlooked but makes a noticeable difference in the final texture of your baked goods.
Transfer the blend to an airtight container. I prefer glass jars for storage as they don’t absorb odors. Store in a cool, dark place where it will keep fresh for up to 3 months. For best results, give the container a good shake before each use to redistribute the ingredients that may have settled.
Pro Tips For Making Gluten Free Flour Recipe Without Rice Flour
- Whisk Thoroughly: I learned this the hard way—lumps in gluten-free blends ruin texture. Whisk the tapioca starch and potato starch first, then fold in millet and sorghum flours for even distribution.
- Weigh Your Flours: After burning three batches, I finally figured out that volume measurements vary wildly with these flours. Use a scale: 120g tapioca starch, 80g potato starch, 60g cornstarch, and 150g each of millet and sorghum flour.
- Skip the Cornstarch: Sounds weird, but it works: if your blend tastes too chalky, replace the cornstarch with arrowroot powder—it’s a cleaner, less gritty finish.
- Rest the Blend: My grandmother swore by this, and she was right: let the mixed flour sit in an airtight container for 24 hours before using. The starches hydrate better, and the texture improves.
Best Sauces and Condiments for This Dish
Dipping Sauces
For fried items made with this blend, try a simple garlic aioli—mix ½ cup mayo with 2 minced garlic cloves and 1 tbsp lemon juice. The creamy texture pairs perfectly with the light crispness your blend creates. 💡
Sweet Glazes
A warm honey-cinnamon glaze works beautifully on muffins or quick breads. Whisk ¼ cup honey with ½ tsp cinnamon and 1 tsp vanilla extract. Drizzle while still warm for best absorption.
Savory Enhancers
For savory baked goods like crackers or breadsticks, a rosemary-infused olive oil dip is ideal. Heat ½ cup olive oil with 2 sprigs fresh rosemary until fragrant, then cool slightly before serving.
Dessert Toppings
Cakes and cookies shine with a chocolate ganache—heat ½ cup heavy cream to steaming, pour over 4 oz chopped dark chocolate, then stir until smooth. The rich chocolate complements the neutral base of your flour blend.
Breakfast Pairings
Pancakes or waffles made with this mix deserve real maple syrup—I prefer Grade A amber for its balanced sweetness. Warm it slightly with a pat of butter for extra decadence.
Universal Condiment
A simple vanilla sugar (mix 1 cup sugar with 1 split vanilla bean for 2 weeks) can be sprinkled on nearly anything. It adds a subtle floral note that enhances the natural sweetness in your baked goods. ✨
Nutrition Facts
Frequently Asked Questions
Can I use this blend for bread recipes?
Yes! This mix works beautifully for bread, though you may need to add 1 extra tsp xanthan gum per cup of flour for better structure. The combination of starches and flours provides the elasticity needed for a good rise.
Why omit rice flour from gluten-free blends?
Many people find rice flour gritty or hard to digest. This blend uses millet and sorghum for a smoother texture and better nutrient profile while maintaining a neutral flavor perfect for all baking needs.
How do I substitute this for regular flour?
Use a 1:1 ratio in most recipes, but reduce other liquids by 1-2 tbsp as gluten-free blends absorb moisture differently. For yeast breads, let the dough rise 30-60 minutes longer than with wheat flour.
What if I don’t have millet flour?
Certified gluten-free oat flour makes an excellent substitute in equal amounts. Buckwheat flour works too, though it adds a slight earthy taste and darker color to your baked goods.

- Gobi Fried Rice Recipe: Spiced Cauliflower Wok Delight - October 8, 2026
- Glutinous Rice Roll Recipe: Chewy Pillows With Savory Fillings - October 8, 2026
- Garlic Jasmine Rice Recipe: Fragrant Grains with Aromatic Depth - October 8, 2026