
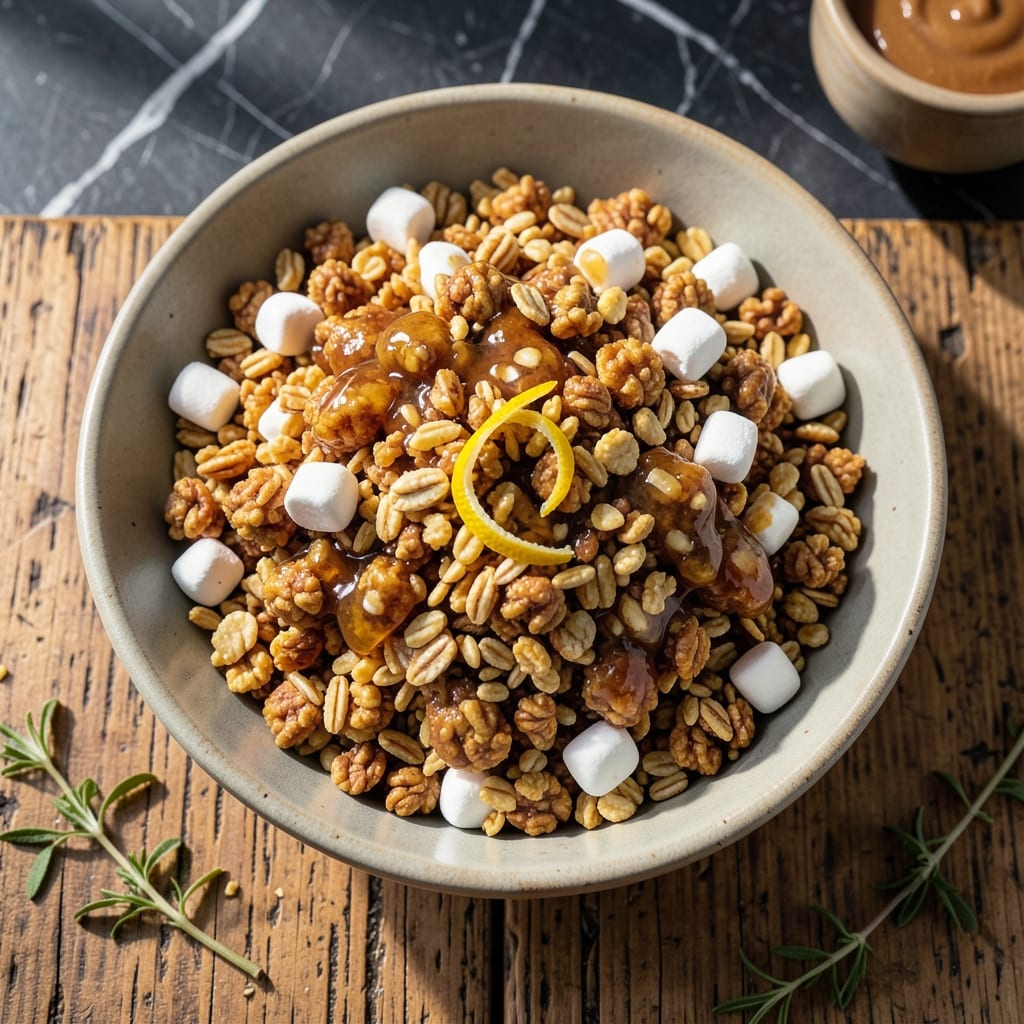
This no-bake treat combines the best of granola bars and rice crispy squares for a crispy, nutty snack that comes together in minutes. I developed this recipe after too many store-bought versions disappointed with their lack of texture.
The secret is using melted marshmallows as the binder, which creates that signature crispy texture when mixed with rice cereal and granola. A touch of vanilla extract adds depth to the sweetness without overpowering the nuts and seeds.
What you get is a chewy, crunchy bar that holds its shape perfectly while delivering layers of texture in every bite. The granola adds nuttiness and heartiness, while the rice cereal provides that nostalgic snap.
Perfect for lunchboxes, hiking trips, or afternoon pick-me-ups. These keep well for days when stored properly.
Ingredients for Granola Bar Rice Crispy
Pantry raid time. Nothing exotic here—just good stuff for that perfect crunch.
| Ingredient | Amount | Notes |
|---|---|---|
| Rice Cereal 🌾 | 4 cups | Crispy variety, unsweetened |
| Granola 🥜 | 2 cups | Nutty variety preferred |
| Mini Marshmallows 🍬 | 4 cups | For binding and sweetness |
| Unsalted Butter 🧈 | ½ cup | Melted for marshmallow mixture |
| Vanilla Extract 🌿 | 1 tsp | Pure extract for best flavor |
| Honey 🍯 | ¼ cup | Optional for extra sweetness |
| Salt 🧂 | ¼ tsp | Kosher or sea salt preferred |
| Chopped Nuts 🌰 | ¾ cup | Almonds or pecans recommended |
| Sunflower Seeds 🌻 | ½ cup | Raw or roasted, unsalted |
| Dried Cranberries 🍒 | ½ cup | Sweetened or unsweetened |
The rice cereal is non-negotiable—Kellogg’s Rice Krispies are the gold standard for that nostalgic snap. Granola should have visible nuts and seeds (I like Nature’s Path or Kind brands). The marshmallows need to be fresh—stale ones won’t melt right. Butter quality matters less here since it’s just for melting, but I always grab Land O’Lakes unsalted.
No granola? Crushed pretzels or cornflakes add crunch but miss the nuttiness. Swap honey for maple syrup or agave if you’re avoiding bee products. The vanilla can be skipped, but it adds that little something (trust me on this). For extra texture, toss in a handful of chocolate chips or shredded coconut (toasted if you have time).
These bars keep for 5-7 days at room temperature in an airtight container. Freeze for up to 3 months if you want to make a big batch. Cut into squares before storing so they’re grab-and-go ready.
Why You’ll Love This Recipe
- One Pot Wonder: I melt the butter and marshmallows, stir in the cereal and granola, and we’re done—no fancy equipment, no fuss.
- Sweet Crunch: That vanilla-kissed butter binds the crispy rice and granola into a chewy, crunchy bite that’s honestly hard to stop eating.
- Lunchbox Hero: I pack these for school snacks, picnic treats, or a quick breakfast on the run. They hold up beautifully.
- Budget Stretcher: A box of cereal, a bag of granola, and a handful of marshmallows feed a crowd for pennies. I’ll be real: it’s my go-to when the wallet feels light.
Step-by-Step Instructions for No-Bake Nutty Crunch Bars
This no-bake method keeps things simple while delivering maximum texture in every bite.
Step 1: Melt and Combine the Binding Mixture
In a large saucepan, melt the 0.5 cup Unsalted Butter over low heat. This gentle approach prevents burning and ensures even melting. Once completely liquid, add the 4 cups Mini Marshmallows and stir continuously with a silicone spatula.
Watch for the marshmallows to melt completely and form a smooth, glossy mixture. This usually takes 3-5 minutes. Immediately remove from heat and stir in the 1 tsp Vanilla Extract, 0.25 cup Honey, and 0.25 tsp Salt. The mixture should be fragrant and slightly sticky—this is your glue for the bars.
Step 2: Incorporate Dry Ingredients
In a separate large bowl, combine the 4 cups Rice Cereal, 2 cups Granola, 0.75 cup Chopped Nuts, 0.5 cup Sunflower Seeds, and 0.5 cup Dried Cranberries. I like to mix these with my hands to ensure even distribution—no clumps allowed.
Pour the warm marshmallow mixture over the dry ingredients. Using the same silicone spatula, fold everything together until every piece is evenly coated. You’ll know it’s ready when the mixture holds together when pressed and there are no dry spots remaining. Work quickly here—the marshmallow mixture sets as it cools.
Step 3: Press and Shape the Bars
Line a 9×13-inch baking pan with parchment paper, leaving an overhang on the sides for easy removal. Transfer the mixture to the pan and use the spatula to spread it evenly. For that perfect crispy texture, I press down firmly with the flat bottom of a measuring cup—this compresses the mixture so it holds together.
Make sure to press into all the corners and smooth the top surface. The bars should be about 1-inch thick in the pan. If the mixture seems too sticky to handle, lightly wet your hands or the spatula with cold water to prevent sticking.
Step 4: Chill and Set
Place the pan in the refrigerator and let it chill for at least 1 hour. This is the magic step where everything comes together—the marshmallow mixture solidifies, binding all those crunchy elements into perfect bar form. Don’t be tempted to cut too soon; the bars need this time to set properly.
For the cleanest cuts, I use a sharp chef’s knife dipped in hot water between each slice. Lift the bars out of the pan using the parchment overhang and cut into 12 equal rectangles. Store in an airtight container at room temperature for up to 5 days—if they last that long.
Pro Tips For Making Granola Bar Rice Crispy
- Melt Butter Slowly: Use low heat to melt the butter before adding marshmallows—I learned this the hard way after burning two batches. It keeps the sugar from caramelizing too fast.
- Toast the Granola: Spread the granola on a tray and toast it for 5 minutes at 350°F before mixing. Sounds weird, but it works: it brings out the nuttiness and prevents sogginess.
- Press While Warm: Press the mixture into the pan immediately after combining, while the marshmallows are still gooey. After burning three batches, I finally figured out that waiting even a minute makes it crumbly.
- Add Vanilla Last: Stir in the vanilla extract after removing the marshmallow mixture from heat. My grandmother swore by this, and she was right: high heat can dull its flavor.
Creative Variations of granola bar rice crispy
Chocolate Lover’s Delight
Add 1 cup semi-sweet chocolate chips to the dry ingredients before mixing with the marshmallow binder. The chocolate melts slightly when combined with the warm mixture, creating pockets of gooey goodness. I like using Ghirardelli chips for their rich flavor. 🍫
Tropical Twist
Swap the dried cranberries for ½ cup dried pineapple and ½ cup sweetened coconut flakes. The pineapple adds chewy texture while the coconut enhances the tropical theme. Toast the coconut flakes lightly for extra crunch.
Peanut Butter Power
Stir ½ cup creamy peanut butter into the melted marshmallow mixture before combining with dry ingredients. This adds protein and a rich, nutty flavor that pairs perfectly with the granola. I use Jif Natural for its smooth texture.
Spiced Chai Version
Add 1 tsp chai spice blend to the marshmallow mixture for warm, aromatic notes. The cinnamon, cardamom, and ginger complement the nuts beautifully. I make my own blend but McCormick works well too.
Protein-Packed
Mix in ½ cup vanilla protein powder with the dry ingredients for an energy-boosting version. Reduce granola to 1½ cups to balance the texture. The protein powder adds a slight sweetness and helps the bars hold together better. 💪
Savory Surprise
For a unique twist, reduce the marshmallows to 3 cups and add 1 tbsp soy sauce and 1 tsp garlic powder to the binder. The umami flavor works surprisingly well with the sweetness, creating a sweet-savory balance.
Nutrition Facts
Frequently Asked Questions
Can I use regular marshmallows instead of mini?
Yes, but cut them into smaller pieces first. Mini marshmallows melt faster and more evenly, preventing clumps. Regular ones will work in a pinch if chopped.
How do I prevent the bars from being too sticky?
Wet your hands or spatula with cold water before pressing the mixture. This keeps it from sticking to your tools while maintaining the perfect texture.
Can I make these without nuts?
Replace nuts with extra seeds or dried fruit. Sunflower seeds and pumpkin seeds add great crunch without the nut allergy risk.
How long can I store these at room temperature?
They stay fresh in an airtight container for 5-7 days. For longer storage, freeze for up to 3 months.

- Jamaican Jollof Rice Recipe: Island Spice in Every Bite - October 18, 2026
- Hamburger Rice Hot Dish Recipe: Midwest Comfort in One Pan - October 18, 2026
- Iranian Cabbage Rice Recipe: Aromatic Herbs and Spiced Layers - October 18, 2026