
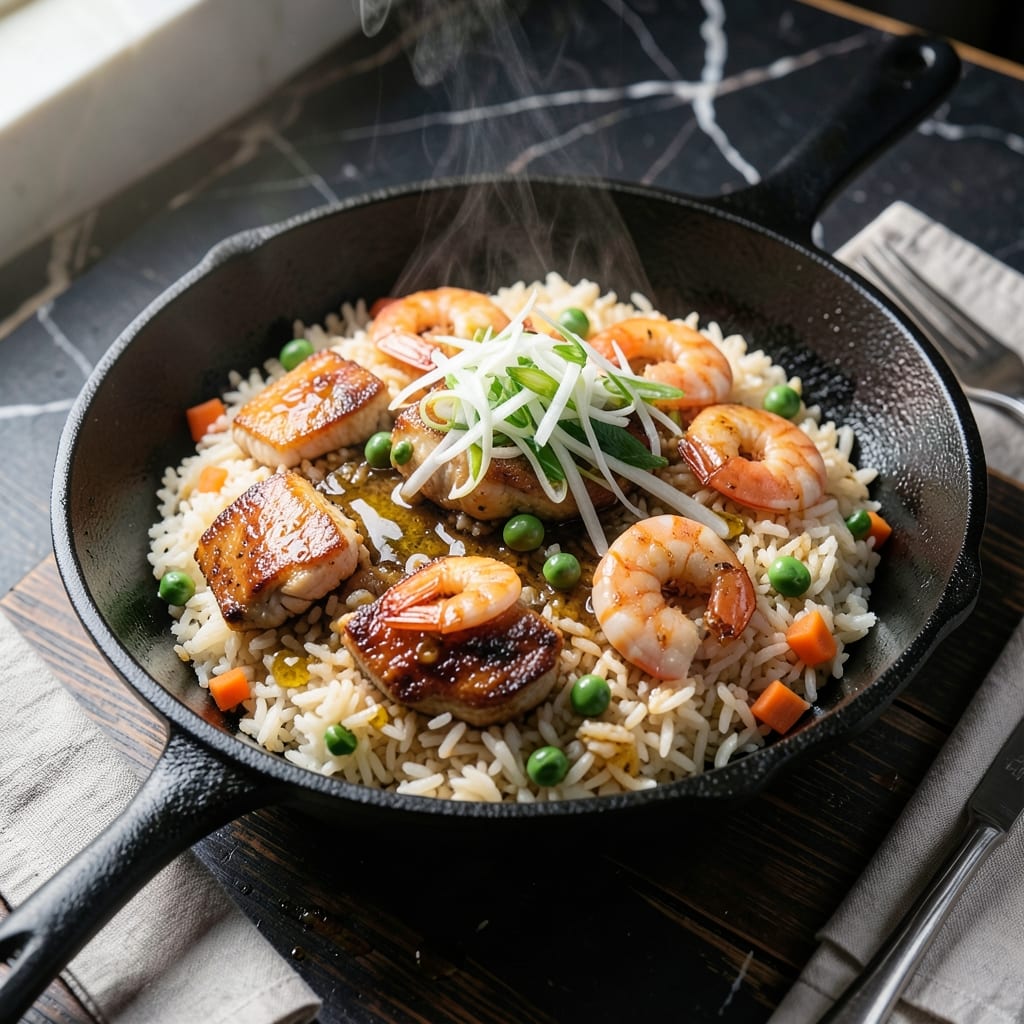
This hibachi-style creation brings the sizzle and flavor of your favorite Japanese steakhouse straight to your kitchen. The secret lies in high-heat cooking and a few key ingredients that create that signature savory taste.
I’ve perfected this method over years of trial and error, focusing on the right balance of soy sauce, garlic, and ginger. The rice needs to be day-old and slightly dry to achieve that perfectly crispy texture when tossed in the wok.
What you’ll get is a dish packed with umami, studded with tender protein and crisp vegetables. The egg adds richness, while the green onions bring a fresh finish that brightens every bite.
Ready in 20 minutes, this is one recipe that delivers restaurant-quality results at home.
Ingredients for Hibachi Style Fried Rice
Pantry staples meet fresh veggies and protein for that steakhouse magic at home.
| Ingredient | Amount | Notes |
|---|---|---|
| Day-Old Cooked White Rice 🍚 | 4 cups | Cold, dry, preferably day-old |
| Soy Sauce 🥢 | ⅓ cup | Low-sodium preferred for control |
| Vegetable Oil 🫒 | 3 tbsp | High smoke point for wok cooking |
| Large Eggs 🥚 | 2 whole | Beaten until frothy |
| Boneless Chicken Thighs 🍗 | ¾ lb | Cut into small bite-sized pieces |
| Medium Shrimp 🦐 | ½ lb | Peeled, deveined, tails off |
| Carrots 🥕 | 1 whole | Small dice for even cooking |
| Zucchini 🥒 | 1 whole | Small dice for even cooking |
| Green Onions 🧅 | ½ cup | Thinly sliced, white and green parts |
| Garlic Cloves 🧄 | 4 cloves | Minced for maximum flavor |
| Fresh Ginger 🌿 | 1 tbsp | Grated or finely minced |
| Sesame Oil 🫒 | 1 tsp | Toasted variety for depth |
| Salt 🧂 | ½ tsp | Adjust to taste at the end |
| Black Pepper 🌶️ | ¼ tsp | Freshly ground preferred |
The rice is non-negotiable—day-old, cold, and dry is what gives you that signature crispy texture. For the soy sauce, I like Kikkoman low-sodium (find it at any grocery store) so I can control the saltiness. The protein is flexible: chicken thighs stay juicy, but shrimp cooks in seconds. Costco has great frozen shrimp that thaws fast under cold water. Fresh ginger and garlic are worth the effort—pre-minced just doesn’t have the same punch.
No chicken? Swapper in tofu (press it first) or extra shrimp. Out of zucchini? Bell peppers or peas work great. The green onions are key for that fresh finish, but scallions or chives do the trick too. If you’re missing sesame oil, a drizzle of toasted sesame seeds at the end adds similar flavor. And if you only have fresh ginger in a jar, use half the amount—it’s more concentrated.
This keeps well for 3-4 days in the fridge (the egg soaks up flavors beautifully). Reheat in a skillet with a splash of water to bring it back to life. Freezes for 2 months, but honestly, it’s so quick to make fresh that I rarely bother.
Why You’ll Love This Recipe
- 20-Minute Meal: I can have this on the table faster than takeout arrives, thanks to day-old rice and quick-cooking chicken thighs.
- Umami Bomb: The soy sauce caramelizes with the rice and eggs for that addictive hibachi flavor I crave.
- Lunchbox MVP: Honestly, this reheats beautifully—my kids beg for the leftovers in their thermoses.
- Pantry Hero: I always have these basics on hand, so it’s my go-to when the fridge looks sad but we need dinner.
Step-by-Step Instructions for Hibachi Style Fried Rice
Here’s how I achieve that perfect wok-seared flavor with every grain of rice.
Step 1: Prep and Cook the Proteins
Heat 1 tablespoon of the vegetable oil in a wok or large skillet over medium-high heat until shimmering. Add the 0.75 lb boneless chicken thighs and cook for 4-5 minutes until lightly browned and cooked through, stirring occasionally.
Remove the chicken and set aside. In the same pan, add the 0.5 lb medium shrimp and cook for 2-3 minutes per side until pink and opaque. Transfer to the plate with the chicken. The residual heat will keep them warm while you work.
Step 2: Sauté the Aromatics and Vegetables
Add the remaining 2 tablespoons vegetable oil to the wok. Toss in the 1 whole carrots and 1 whole zucchini (both small diced) and stir-fry for 3-4 minutes until tender-crisp.
Push the vegetables to one side and add the 4 cloves garlic cloves (minced) and 1 tbsp fresh ginger. Stir for 30 seconds until fragrant but not browned—this builds the flavor base that makes hibachi rice so distinctive.
Step 3: Scramble the Eggs and Combine Everything
Push all the vegetables to the edges of the wok, creating a well in the center. Pour in the 2 whole large eggs (beaten until frothy) and scramble quickly with a spatula. Cook for 1-2 minutes until just set but still slightly runny.
Add the 4 cups day-old cooked white rice to the wok, breaking up any clumps with your spatula. Stir-fry for 2-3 minutes until the rice is heated through and slightly toasted.
Step 4: Season and Finish with Green Onions
Drizzle the 0.33 cup soy sauce evenly over the rice mixture. Add the 0.5 tsp salt and 0.25 tsp black pepper. Return the cooked chicken and shrimp to the wok and toss everything together for 2-3 minutes until evenly coated and heated through.
Remove from heat and stir in the 1 tsp sesame oil and 0.5 cup green onions. The sesame oil adds that final layer of nutty aroma, while the green onions bring freshness. Taste and adjust seasoning if needed.
Pro Tips For Making Hibachi Style Fried Rice
- Use Cold Rice: Day-old rice from the fridge is drier and fries up fluffier—fresh rice turns to mush. I learned this the hard way after my first few attempts ended up soggy.
- Crank the Heat: High heat is non-negotiable for that classic hibachi sear. About 2 tablespoons of oil in a screaming-hot wok or skillet guarantees the chicken and rice get that golden, slightly charred edge.
- Salt the Chicken First: Toss the boneless thighs with a pinch of salt before cooking—it locks in moisture and makes every bite taste seasoned, not just the surface.
- Push Eggs Aside: Scramble the eggs in the oil first, then push them to one side before adding the chicken. Sounds weird, but it works: you’ll save time and avoid overcooking either one.
Dietary Considerations for These Flavors
Gluten-Free Adaptation
For a gluten-free version, swap the soy sauce for tamari or a certified gluten-free alternative like San-J. I’ve tested both and find tamari gives the closest flavor match while keeping the dish safe for gluten-sensitive diners. 💪
Low-Sodium Option
Use low-sodium soy sauce and reduce the amount to ¼ cup. Boost flavor with extra garlic and ginger instead. I also recommend adding ½ tsp mushroom powder for umami depth without the salt.
Vegetarian Version
Replace the chicken and shrimp with extra-firm tofu (pressed and cubed) or tempeh. Add 1 tbsp oyster sauce (use vegetarian oyster sauce if strict) for that classic hibachi flavor. Edamame also works beautifully for protein.
Dairy-Free Note
This recipe is naturally dairy-free as written. Just double-check that your soy sauce and other condiments don’t contain hidden dairy derivatives. I always keep Kikkoman on hand as it’s reliably dairy-free.
Nut Allergy
Skip the sesame oil if dealing with nut allergies, as sesame is a common allergen. Replace it with an extra ½ tsp toasted sesame seeds sprinkled at the end for similar flavor without the oil. 🌱
Egg-Free Alternative
Omit the eggs entirely or use ¼ cup scrambled silken tofu as a substitute. The texture won’t be identical, but it still provides the binding effect. I’ve found adding ½ tsp turmeric gives a nice color to the tofu scramble.
Nutrition Facts
Frequently Asked Questions
Why does the rice need to be day-old?
Day-old rice is drier, which prevents mushiness when stir-fried. Fresh rice contains too much moisture and will turn gummy instead of achieving that signature crisp texture.
Can I use a regular skillet instead of a wok?
Yes, a large skillet works fine, but use medium-high heat and cook in batches to avoid overcrowding. A wok’s high sides make tossing easier, but a skillet delivers similar results.
What if I don’t have sesame oil?
You can skip it, but add ½ tsp toasted sesame seeds at the end for similar flavor. The oil adds depth, but the seeds provide the nutty aroma that defines hibachi style.
How do I prevent the eggs from scrambling too much?
Push the veggies to the edges, create a well, and pour in the eggs. Let them set slightly before gently folding—this keeps them soft and distinct rather than rubbery.

- Jamaican Jollof Rice Recipe: Island Spice in Every Bite - October 18, 2026
- Hamburger Rice Hot Dish Recipe: Midwest Comfort in One Pan - October 18, 2026
- Iranian Cabbage Rice Recipe: Aromatic Herbs and Spiced Layers - October 18, 2026