
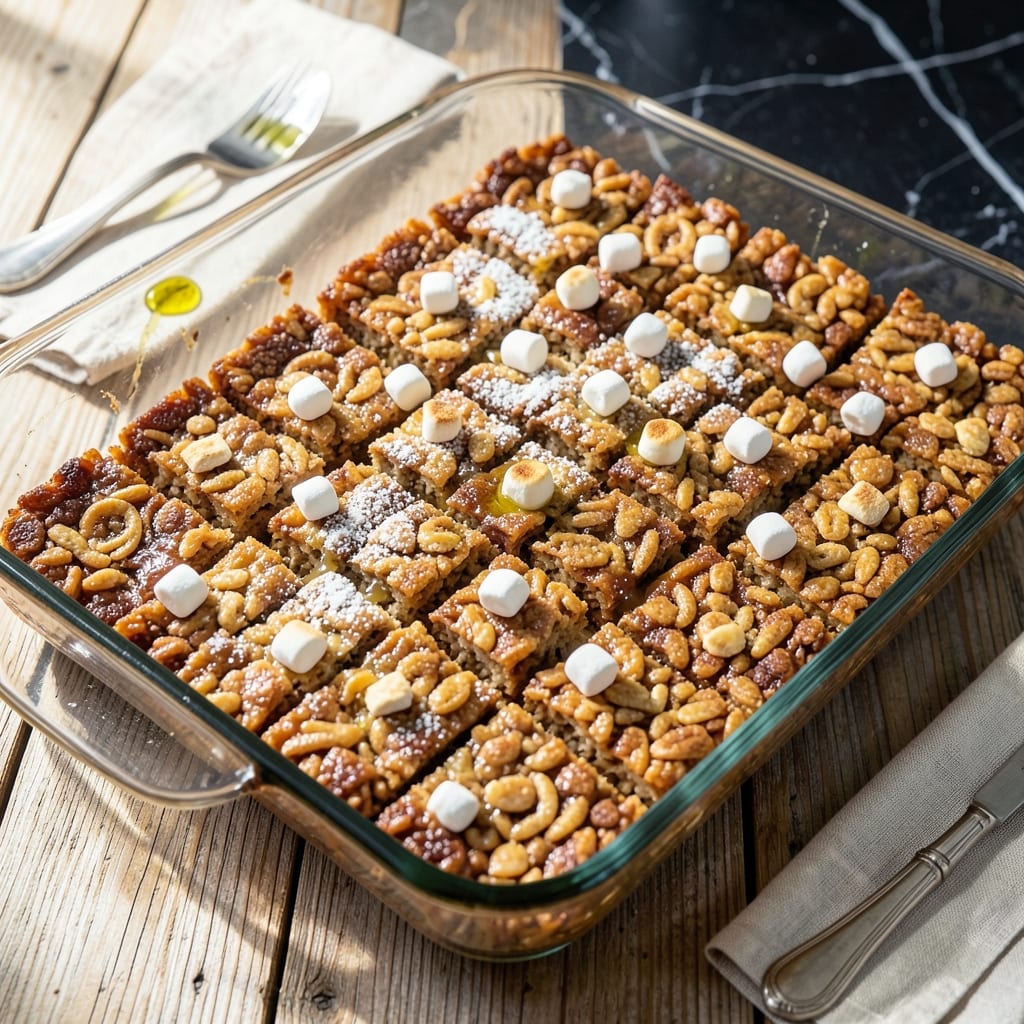
There’s a reason these remain a classic—this homemade version delivers perfectly crispy texture with that signature gooey marshmallow center. No artificial additives, just simple ingredients transformed into something magical.
I’ve tested this method countless times to ensure consistent results. The key is melting the butter and marshmallows just until smooth, then working quickly to combine everything before the mixture sets. Timing matters here.
Within minutes, you’ll have golden-brown squares that hold their shape but yield to a soft, stretchy bite. The cereal stays crispy while the marshmallow binds everything together in that nostalgic, irresistible way.
Cut while still warm for clean edges, or let cool completely for firmer bars. Either way, they disappear fast.
Ingredients for Homemade Rice Crispy Treats
Simple pantry staples create that nostalgic crispy marshmallow magic we all love so much.
| Ingredient | Amount | Notes |
|---|---|---|
| Rice Krispies Cereal 🥣 | 6 cups | Original variety, crisp texture essential |
| Mini Marshmallows 🍬 | 10 oz | Fresh for best melt |
| Unsalted Butter 🧈 | ¼ cup | For melting with marshmallows |
| Sea Salt 🧂 | ¼ tsp | Fine grain for even distribution |
| Pure Vanilla Extract 🌿 | 1 tsp | Enhances marshmallow flavor |
| Granulated Sugar 🍚 | ¼ cup | Optional for extra sweetness |
| Light Corn Syrup 🧴 | 2 tbsp | Prevents crystallization |
| Vegetable Cooking Spray 🫒 | 1 can | For greasing pan |
The cereal is non-negotiable here—Kellogg’s Rice Krispies deliver the signature snap that defines this treat. Generic brands often lack that perfect crispness. For the marshmallows, Jet-Puffed or Kraft mini marshmallows melt most smoothly. Unsalted butter lets you control the salt content precisely. Always check the cereal isn’t stale (the good stuff, not the forgotten box at the back of the pantry).
No mini marshmallows? Regular marshmallows cut into quarters work fine (just melt a bit slower). Want extra crunch? Stir in 1/4 cup toasted almonds at the end. Skipping the corn syrup? The texture will be slightly grainier but still edible. The vanilla is subtle but noticeable—use pure extract, not imitation for best results.
These keep at room temperature in an airtight container for 2-3 days (if they last that long). For longer storage, freeze for up to 6 weeks. Cut with a plastic knife for cleanest edges—metal can drag the marshmallow.
Why You’ll Love This Recipe
- One Pot Wonder: I melt everything in a single saucepan—no extra bowls, no fuss, just easy cleanup.
- Vanilla Kiss: That splash of pure vanilla turns these from sweet to irresistibly sweet.
- Crowd Pleaser: Honestly, they disappear faster than I can cut them at bake sales or movie nights.
- Budget Friendly: A box of cereal and a bag of marshmallows feed a dozen for under five bucks.
Step-by-Step Instructions for Homemade Rice Crispy Treats
Master this classic treat with professional technique and precise timing for perfect texture every time.
Step 1: Prepare the Pan and Measure Ingredients
Lightly coat a 9×13-inch baking pan with the vegetable cooking spray, ensuring complete coverage of all surfaces. This prevents sticking and allows for easy removal of the finished treats. I prefer to spray the pan just before use to ensure maximum effectiveness.
Measure out all ingredients precisely: the 6 cups Rice Krispies Cereal, 10 oz Mini Marshmallows, 0.25 cup Unsalted Butter, 0.25 tsp Sea Salt, 1 tsp Pure Vanilla Extract, 0.25 cup Granulated Sugar, and 2 tbsp Light Corn Syrup. Having everything ready eliminates the risk of burning the marshmallow mixture during cooking.
Step 2: Melt and Combine the Marshmallow Mixture
In a large saucepan, melt the 0.25 cup Unsalted Butter over low heat until completely liquid. Add the 10 oz Mini Marshmallows, 0.25 cup Granulated Sugar, and 2 tbsp Light Corn Syrup, stirring constantly with a silicone spatula to prevent scorching.
The mixture is ready when it becomes completely smooth and glossy, typically after 5-7 minutes. At this point, remove from heat and immediately stir in the 1 tsp Pure Vanilla Extract and 0.25 tsp Sea Salt. The vanilla enhances the marshmallow flavor while the salt balances the sweetness perfectly.
Step 3: Incorporate the Rice Krispies Cereal
Working quickly, add all 6 cups Rice Krispies Cereal to the saucepan. Fold gently but thoroughly with the spatula until every piece is evenly coated with the marshmallow mixture. The cereal should be completely saturated but still maintain its crisp texture.
You’ll notice the mixture thicken significantly as the cereal absorbs the marshmallow coating. This step requires swift action—the marshmallow mixture begins to set as it cools, so efficiency is key to maintaining the proper consistency.
Step 4: Press and Shape the Treats
Transfer the mixture to your prepared pan, using the spatula to spread it evenly into all corners. For professional results, lightly coat your hands with additional vegetable cooking spray and press the mixture firmly into the pan. This creates uniform treats with clean edges.
Resist the temptation to over-compress—the ideal texture comes from a firm but gentle press. The surface should be smooth and level, with no visible gaps. Allow the treats to cool at room temperature for 30 minutes before cutting.
Step 5: Cut and Serve
Once completely cooled and set, use a sharp knife to cut into 2-inch squares. For clean cuts, run the knife under hot water between each slice. The treats should hold their shape perfectly while still offering that characteristic gooey texture.
Serve immediately for the best combination of crisp cereal texture and marshmallow chew. Store any leftovers in an airtight container at room temperature for up to 3 days, though they’re best consumed fresh when the marshmallow is at its most pliable.
Pro Tips For Making Homemade Rice Crispy Treats
- Melt Butter Low: Keep the heat on medium-low when melting the butter and marshmallows—I learned this the hard way after scorching a batch. Slow and steady wins the gooey race.
- Use Fresh Cereal: Sounds weird, but it works: stale Rice Krispies won’t give you that signature crunch. Check the box date or give them a quick sniff before mixing.
- Press While Warm: Don’t wait for the mixture to cool before pressing it into the pan—it’ll set too fast and you’ll end up with dense, hard blocks instead of light, crispy squares.
- Add Vanilla Last: Stir in the vanilla extract after removing the marshmallow mixture from heat. Adding it earlier can make the sugar in the marshmallows seize up, and nobody wants grainy treats.
Make-Ahead Tips for This Recipe
Prep Ahead Advantages
I always measure out the 6 cups Rice Krispies and 10 oz marshmallows the night before. This saves crucial minutes when you’re ready to cook. Store the cereal in an airtight container to maintain maximum crispness overnight. 💡
Melting Mixture Prep
You can pre-measure the 0.25 cup butter, 0.25 tsp salt, and 1 tsp vanilla together in one container. The corn syrup and sugar can go in another. This mise en place approach prevents frantic searching while melting.
Pan Preparation
Spray your 9×13-inch pan up to 24 hours ahead and cover with parchment. The spray will still work effectively the next day. I use Baker’s Joy for the best non-stick results.
Storage Before Mixing
If you’ve prepped wet and dry ingredients separately, keep them at room temperature. The marshmallows will melt more evenly if not refrigerated. Avoid storing the cereal in the fridge as it can absorb odors.
Timing the Process
The entire mixing and pressing process takes just 10 minutes once you start. I set a timer for 5 minutes to melt the mixture, then work quickly to combine and press before it sets. ⏰
Emergency Pause
If you need to pause, you can hold the melted mixture at 170°F in a double boiler for up to 15 minutes. Stir occasionally to prevent a skin from forming on top.
Nutrition Facts
Frequently Asked Questions
Can I use regular marshmallows instead of mini?
Yes! Cut 40 regular marshmallows into quarters for the same 10 oz measurement. They melt the same but may take 1-2 minutes longer.
Why do my treats turn out hard?
Overcooking the marshmallow mixture or pressing too firmly causes this. Keep heat at low and press gently for soft, chewy results.
How do I make them vegan?
Swap butter for 1/4 cup coconut oil and use vegan marshmallows like Dandies. Check labels for gelatin-free options.
Can I add mix-ins like chocolate chips?
Stir in 1/2 cup chocolate chips or nuts after mixing in cereal. Let cool slightly first to prevent melting.

- Jamaican Jollof Rice Recipe: Island Spice in Every Bite - October 18, 2026
- Hamburger Rice Hot Dish Recipe: Midwest Comfort in One Pan - October 18, 2026
- Iranian Cabbage Rice Recipe: Aromatic Herbs and Spiced Layers - October 18, 2026