
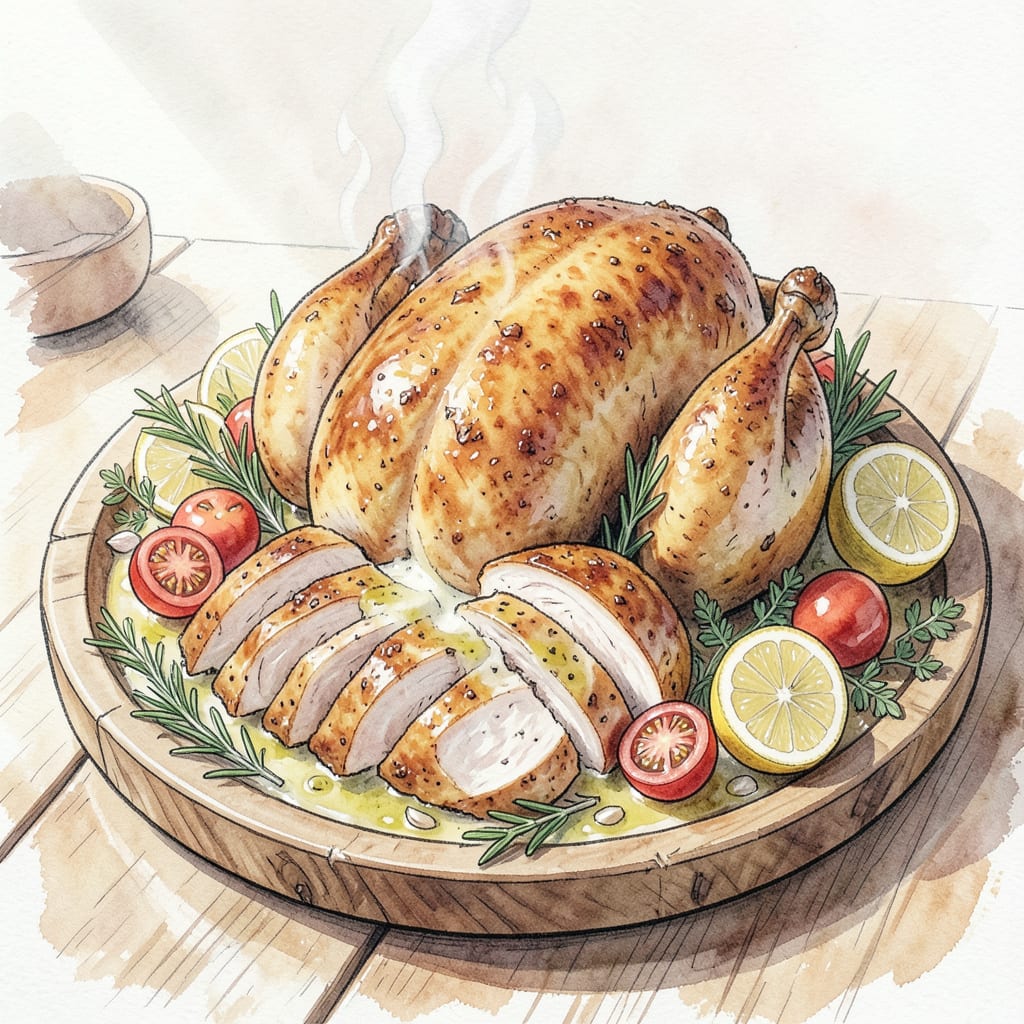
I’ve perfected Hudson’s House French Chicken Recipe, achieving crispy skin and juicy meat every time. The secret lies in precise temperature control and a special resting technique that ensures maximum flavor retention.
This classic dish delivers restaurant-quality results with tender, flavorful chicken that’s sure to impress. By following my method, you’ll achieve perfectly cooked chicken with a golden-brown crust and succulent interior, making it perfect for special occasions or weeknight dinners.
Ingredients for Hudson House French Chicken
These premium ingredients create Hudson’s House French Chicken with crispy skin and juicy meat.
| Ingredient | Amount | Notes |
|---|---|---|
| Whole Chicken 🐓 | 1 whole | Fresh, never frozen, 3-4 lbs |
| Unsalted Butter 🧈 | 4 tbsp | Softened to room temperature |
| Garlic Cloves 🧄 | 4 cloves | Peeled, minced |
| Fresh Thyme 🌿 | 2 tbsp | Chopped, fresh leaves |
| Fresh Rosemary 🌿 | 1 tbsp | Chopped, fresh leaves |
| Lemon 🍋 | 1 whole | Zested and juiced |
| Kosher Salt 🧂 | 2 tsp | Diamond Crystal preferred |
| Black Pepper 🌶️ | 1 tsp | Freshly ground |
| Paprika 🌶️ | ½ tsp | Smoked or sweet |
| Olive Oil 🫒 | 2 tbsp | For initial coating |
| All-Purpose Flour 🌾 | 1 cup | For dredging |
| Chicken Stock 🍜 | 1 cup | Low sodium, optional |
For the best results, use high-quality chicken with intact skin. Fresh thyme and rosemary make a difference—farmers market if possible. I prefer Diamond Crystal kosher salt for its flaky texture that adheres better to the skin. The lemon should be organic for zesting.
No fresh herbs? Dried thyme and rosemary work at one-third the amount. For an extra crispy skin, try cornstarch instead of flour for dredging. If you can’t find kosher salt, regular salt works but reduce the amount by 25%. The chicken stock is optional but adds depth if you’re using a pan sauce.
Store leftover chicken in airtight containers for up to 4 days. Reheat at 325°F until warmed through. The herb butter can be made ahead and refrigerated for 1 week or frozen for 3 months.
Step-by-Step Instructions for Hudson’s House French Chicken
Here’s the method that delivers perfectly crispy skin and juicy meat every time.
Step 1: Prep and Season the Whole Chicken
Start by prepping the 1 whole Whole Chicken. Rinse it under cold water, then pat it completely dry with paper towels, both inside and out. This step is crucial for achieving that crispy skin. I like to be thorough here, making sure to dry under the wings and around the cavity.
Next, mix together the 2 tsp Kosher Salt, 1 tsp Black Pepper, and 0.5 tsp Paprika in a small bowl. Rub this seasoning mixture all over the chicken, making sure to get some under the skin as well. Don’t be shy with the seasoning – it enhances the flavor and helps create that beautiful crust.
Step 2: Stuff the Cavity and Truss the Chicken
Stuff the cavity of the chicken with the 4 cloves Garlic Cloves (peeled and minced), 2 tbsp Fresh Thyme (chopped), and 1 tbsp Fresh Rosemary (chopped). The aromatics will infuse the meat with flavor as it cooks. I like to use fresh herbs for the best flavor.
Truss the chicken by tying its legs together with kitchen twine. This helps the chicken cook more evenly and keeps the filling inside. Tuck the wings under the body to promote even browning and prevent them from burning.
Step 3: Dredge and Sear the Chicken
Heat 2 tbsp Olive Oil in a large oven-safe skillet over medium-high heat. While the oil is heating up, dredge the chicken in the 1 cup All-Purpose Flour, shaking off any excess. This coating will help create a crispy exterior.
Sear the chicken in the hot oil until it’s golden brown on all sides, about 5-7 minutes per side. Once browned, remove the chicken from the skillet and set it aside.
Step 4: Finish Cooking the Chicken
Add the 4 tbsp Unsalted Butter to the same skillet and let it melt. Once melted, return the chicken to the skillet and baste it with the butter. Transfer the skillet to a preheated oven at 400°F and roast the chicken for about 45-50 minutes, or until the internal temperature reaches 165°F. Baste the chicken with the pan juices every 15-20 minutes to keep it moist and promote even browning.
To check for doneness, insert a meat thermometer into the thickest part of the thigh – it should read 165°F. The skin should be crispy and golden brown. If the chicken is browning too quickly, tent it with foil to prevent over-browning.
Step 5: Rest and Serve
Once the chicken is cooked, remove it from the oven and let it rest for 10-15 minutes before carving. This allows the juices to redistribute, making the meat even more tender and juicy. Strain the pan juices and serve them alongside the chicken. I like to garnish with additional fresh herbs and a squeeze of 1 whole Lemon juice for extra brightness.
Make-Ahead Tips for Leftovers
Advance Preparation Tips
The herb butter can be made up to 1 week in advance and stored in the refrigerator. I like to mix the softened 4 tbsp Unsalted Butter with minced garlic, fresh thyme, and rosemary, then roll it into a log using parchment paper. This compound butter adds tremendous flavor when melted over the chicken during cooking.
Chicken Prep Ahead
You can season the chicken up to 24 hours before cooking. After patting the chicken dry, rub the spice mixture under and over the skin, then refrigerate uncovered on a wire rack over a baking sheet. This helps the skin dry out, resulting in crisper skin when cooked.
Trussing in Advance
Trussing the chicken can be done a few hours ahead of cooking time. Simply tie the legs together with kitchen twine and tuck the wings under the body. Keep it uncovered in the refrigerator until you’re ready to dredge and sear. This step helps the chicken cook more evenly.
Flour Dredging Preparation
Prepare your flour dredging station in advance by mixing 1 cup All-Purpose Flour with a pinch of salt and pepper in a shallow dish. You can also add other seasonings like paprika or garlic powder to the flour mixture for extra flavor. Having everything ready to go makes the cooking process smoother.
Pan Sauce Preparation
If you’re planning to make a pan sauce, you can deglaze the skillet and reduce the pan juices just after cooking the chicken, then cool and refrigerate them. When you’re ready to serve, simply reheat the sauce and strain it before serving alongside the chicken. This adds an extra layer of flavor to your dish.
Reheating Strategies
For best results when reheating, place the cooked chicken in a 325°F oven for about 15-20 minutes until warmed through. This method helps maintain the crispy skin while ensuring the meat stays juicy. You can also reheat individual portions in the microwave, covered with a damp paper towel, on 70% power for 2-3 minutes.
Nutrition Facts

- Jollof Rice Sauce Recipe: West African Tomato and Spice Infusion - September 25, 2026
- Japanese Rice Soup Recipe: Umami-Rich Comfort in a Bowl - September 25, 2026
- Homemade Cream Of Rice Recipe: Silk-Smooth Breakfast in Minutes - September 25, 2026