
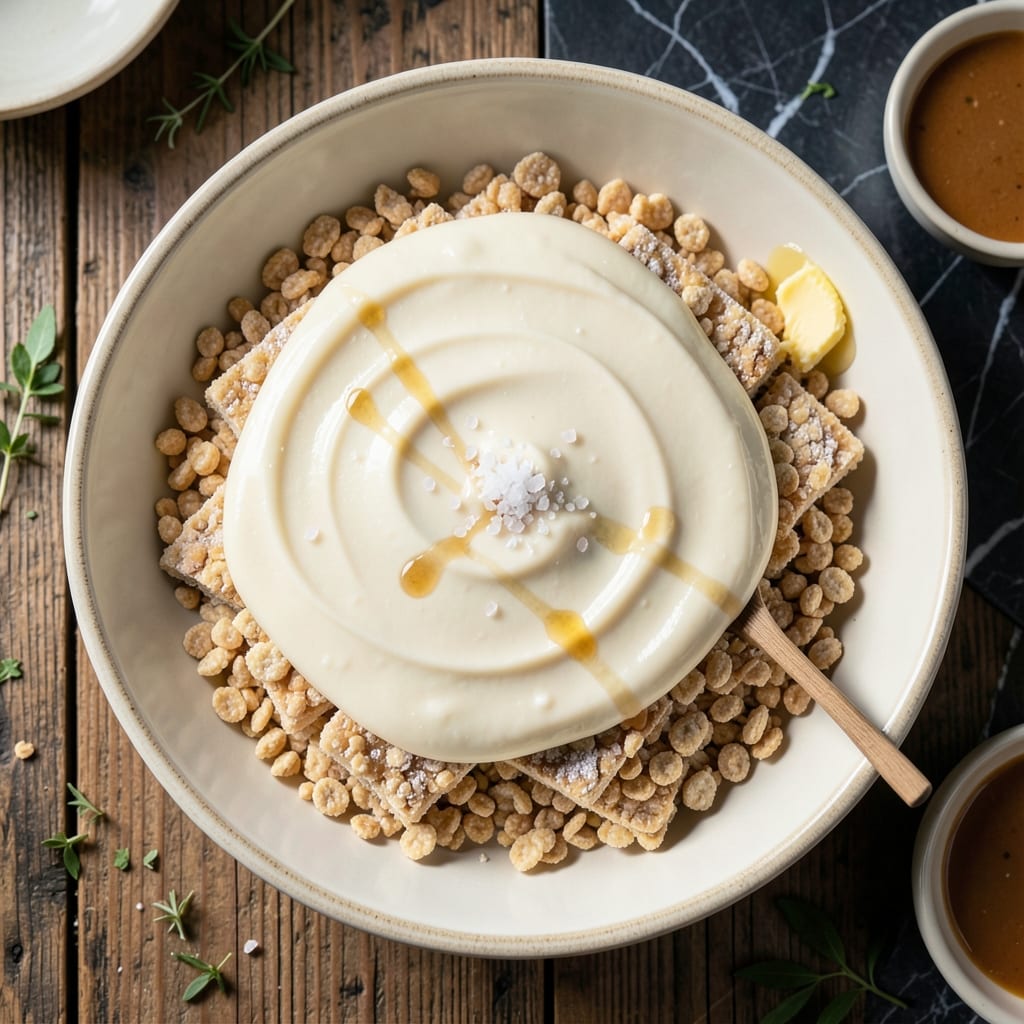
This icing transforms ordinary rice crispy treats into glossy, professional-looking squares that shine like bakery creations. The secret lies in the perfect ratio of powdered sugar to liquid, creating a smooth, spreadable consistency that sets beautifully.
I developed this recipe after testing multiple versions in my small Boston kitchen, ensuring it works every time without fail. The addition of vanilla extract adds depth of flavor without overpowering the classic rice crispy taste.
What you get is a perfect finish that hardens just enough to hold its shape while maintaining a slightly soft texture. It spreads effortlessly over the treats, filling every nook and cranny for complete coverage.
Use this to elevate your rice crispy treats for parties, bake sales, or whenever you want that extra touch of polish.
Ingredients for Icing Recipe for Rice Crispy Treats
Seven simple ingredients create that bakery-quality glossy finish for your treats.
| Ingredient | Amount | Notes |
|---|---|---|
| Powdered Sugar 🍚 | 2 cups | Sifted for smooth texture |
| Milk 🥛 | 3 tbsp | Whole milk for richness |
| Vanilla Extract 🌿 | 1 tsp | Pure vanilla for best flavor |
| Butter 🧈 | 2 tbsp | Unsalted, melted and cooled |
| Salt 🧂 | 0.125 tsp | Fine grain for even distribution |
| Light Corn Syrup 💧 | 1 tbsp | For glossy finish and stability |
| Almond Extract 🌰 | ¼ tsp | Optional for depth of flavor |
The powdered sugar is the foundation—Domino or C&H are reliable brands, but any store brand works. Sift it first to avoid lumps (the bane of smooth icing). Whole milk gives the best richness, but 2% works in a pinch. I grab mine from Market Basket when I’m in Boston—consistent quality, great price.
No milk? Heavy cream at half the amount or even water (but it won’t be as creamy). Skip the vanilla? Add an extra 1/4 tsp almond extract instead. The corn syrup might seem odd, but it’s what gives that glossy, professional sheen. If you’re avoiding corn syrup, honey or agave work, but the texture will be slightly different.
Store leftover icing in an airtight container at room temp for 2-3 days. Stir before using—it thickens as it sits. For longer storage, refrigerate for up to 1 week (let it warm slightly before re-spreading).
Why You’ll Love This Recipe
- Five-Minute Mix: I can stir this together while the treats cool—just powdered sugar, a splash of milk, and vanilla.
- Buttery Sweetness: The melted butter and vanilla make it taste like a cross between frosting and a sugar cookie.
- Party or Lunchbox: I’ve used it for birthday treats and midweek snack upgrades with zero stress.
- Stays Soft: Honestly, even the leftovers keep that creamy texture for days in a sealed container.
Step-by-Step Instructions for Icing for Rice Crispy Treats
This foolproof method creates a silky, glossy icing that hardens beautifully for perfect squares every time.
Step 1: Sift the Powdered Sugar for Smooth Texture
Place a fine-mesh sieve over a large mixing bowl and measure in all 2 cups Powdered Sugar. Gently tap the side of the sieve while moving it in circular motions to sift the sugar through completely.
I find that sifting removes any lumps and creates a lighter, fluffier base for the icing. This step is crucial for achieving that ultra-smooth finish on your treats. Don’t skip it, even if your powdered sugar looks fine in the bag—there are always hidden clumps.
Step 2: Combine Wet Ingredients and Flavorings
In a small saucepan, melt the 2 tbsp Butter over low heat until just liquid. Remove from heat and let it cool for 2-3 minutes—it should be warm but not hot to the touch. This prevents seizing when added to the sugar.
Pour the melted butter into the bowl with the powdered sugar, then add all 3 tbsp Milk, 1 tsp Vanilla Extract, 1 tbsp Light Corn Syrup, 0.125 tsp Salt, and 0.25 tsp Almond Extract. The corn syrup is what gives your icing that beautiful gloss and helps it set properly.
Step 3: Whisk Until Silky Smooth
Using a whisk or electric mixer on low speed, beat the mixture for 3-4 minutes until completely smooth and slightly thickened. You’ll notice the color changes from dull to a bright, glossy white as air incorporates.
Stop mixing when the icing forms ribbons that hold their shape for 2-3 seconds before dissolving back into the mixture. This consistency ensures it will spread beautifully without running off your treats. If it seems too thick, add milk ½ tsp at a time; if too thin, add powdered sugar 1 tbsp at a time.
Step 4: Apply to Rice Crispy Treats Immediately
Working quickly while the icing is still fluid, spread a thin, even layer over your cooled rice crispy treats using an offset spatula. The icing will begin to set within 5 minutes, so don’t delay.
For a professional touch, let the first layer set for 10 minutes, then add a second thin coat. This creates that beautiful, even sheen that makes your treats look like they came from a bakery. The corn syrup ensures it stays glossy as it hardens.
Step 5: Let Set Completely Before Cutting
Allow the iced treats to sit at room temperature for at least 1 hour until the icing is completely firm to the touch. You can speed this up by placing them in the refrigerator for 20-30 minutes.
The icing should be hard enough that you can press lightly with your finger without leaving a mark. This creates clean cuts when you slice into perfect squares. The almond extract adds a subtle depth of flavor that complements the buttery richness beautifully.
Pro Tips For Making Icing Recipe For Rice Crispy Treats
- Melt Butter Slowly: Use low heat when melting the butter to prevent it from separating or browning. I learned this the hard way after ruining a batch with burnt butter.
- Sift the Sugar: Always sift the powdered sugar first—it eliminates lumps and makes the icing silky smooth, which is non-negotiable for spreading on rice crispy treats.
- Add Milk Gradually: Pour the milk in a little at a time while mixing. Adding it all at once makes the icing too thin and runny, and you’ll spend forever trying to thicken it back up.
- Cool Slightly Before Spreading: Let the icing sit for 3-5 minutes after mixing so it firms up just enough to cling to the treats instead of soaking into them. Sounds weird, but it works.
Storing and Reheating This Dish
Room Temperature Storage
After the icing has fully set, store your treats in an airtight container at room temperature. They’ll stay fresh for 2-3 days. I use glass containers from Market Basket—they stack neatly in my small Boston kitchen. 💡
Refrigerator Storage
For longer freshness, refrigerate in an airtight container for up to 1 week. Let them sit at room temperature for 15-20 minutes before serving to soften slightly. The icing may sweat a bit when removed from the fridge.
Freezing Treats
You can freeze iced treats for up to 1 month. Wrap individual squares in parchment paper, then place in a freezer bag. Thaw at room temperature for 30-45 minutes before serving. The texture remains surprisingly good.
Reheating Not Recommended
These treats don’t need reheating—they’re best enjoyed at room temperature. If you must warm them, use the microwave for 5-10 seconds just to soften the icing slightly. Be careful not to melt the icing completely.
Reviving Thickened Icing
If your stored icing thickens, stir in 1 tsp milk at a time until it reaches spreading consistency. I often do this when making a second batch of treats with leftover icing. The corn syrup helps maintain that glossy finish even after storage.
Nutrition Facts
Frequently Asked Questions
Can I use water instead of milk?
Yes, but whole milk gives the creamiest texture. Water works in a pinch but produces a thinner, less rich icing. For best results, stick with dairy.
Why does the recipe include corn syrup?
Corn syrup adds gloss and helps the icing set properly. It prevents crystallization for that smooth, professional finish. Skip it only if absolutely necessary.
How thin should the icing layer be?
Aim for 1/8-inch thickness. Too thin and it won’t cover; too thick and it may crack. Two thin coats work better than one thick one.
Can I color the icing?
Add gel food coloring 1 drop at a time while whisking. Avoid liquid coloring as it can thin the icing too much.

- Mujadara Rice and Lentils Recipe: Earthy Spiced Lentils With Caramelized Onions - November 1, 2026
- Naija Fried Rice Recipe: Street-Style Spice With Veggie Crunch - November 1, 2026
- Mushy Rice Recipe: Fluffy Grains Transformed in Minutes - November 1, 2026