
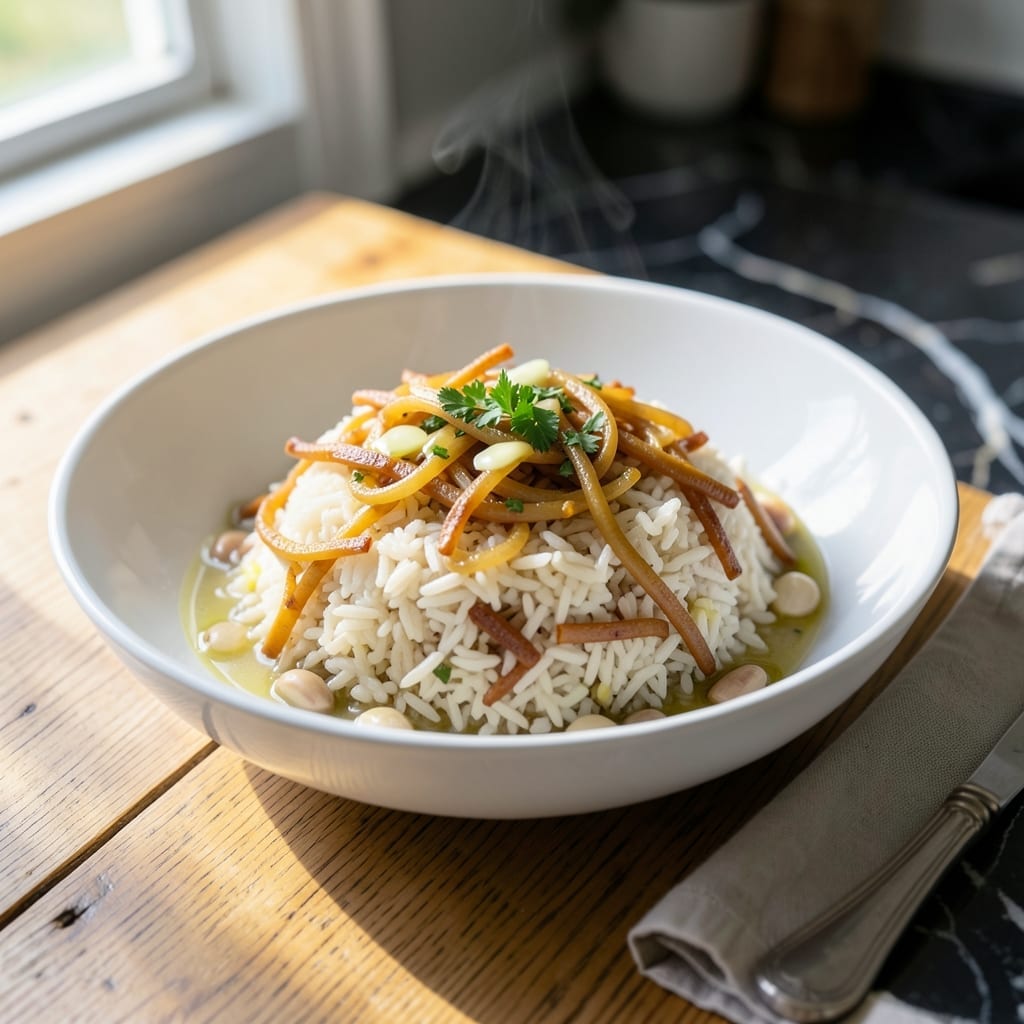
There’s a reason Ina Garten’s rice pilaf has become a staple at gatherings—it’s the perfect balance of simplicity and sophistication. This dish transforms basic ingredients into something extraordinary with minimal effort.
The secret lies in toasting the vermicelli until golden and fragrant, which adds a nutty depth to every bite. Combined with long-grain rice and aromatic herbs, it creates a side dish that complements any main course beautifully.
You’ll end up with fluffy, separate grains of rice interspersed with crispy vermicelli threads and fresh herbal notes. The texture is light yet satisfying, making it ideal for both casual dinners and special occasions.
Ready in 30 minutes, this pilaf proves that elegant dishes don’t require complicated techniques. The results speak for themselves every time.
Ingredients for Ina Garten Rice Pilaf
Elegant simplicity starts with long-grain rice, aromatic vermicelli, and fresh herbs for this refined side.
| Ingredient | Amount | Notes |
|---|---|---|
| Long-Grain White Rice 🍚 | 1 ½ cups | Rinsed until water runs clear |
| Vermicelli Noodles 🍝 | ½ cup | Broken into 1-inch pieces |
| Unsalted Butter 🧈 | 3 tbsp | Divided for toasting and rice |
| Yellow Onion 🧅 | 1 whole | Finely diced, medium size |
| Garlic Cloves 🧄 | 2 cloves | Minced for aromatic base |
| Chicken Stock 🥣 | 3 cups | Low-sodium preferred for control |
| Kosher Salt 🧂 | 1 ½ tsp | Diamond Crystal brand recommended |
| Freshly Ground Black Pepper 🌶️ | ½ tsp | Coarse grind preferred |
| Fresh Parsley 🌿 | ¼ cup | Finely chopped, flat-leaf variety |
| Fresh Thyme Sprigs 🍃 | 2 whole | Leaves stripped from stems |
| Bay Leaf 🌿 | 1 whole | Removed before serving |
The vermicelli must be toasted to a deep golden brown—this builds the nutty foundation. Basmati or jasmine rice works best for separate, fluffy grains. For stock, Swanson or Kitchen Basics are reliable brands. Unsalted butter is critical; salted can make the dish too salty. Fresh herbs are non-negotiable here. Whole Foods or Trader Joe’s have the best selection of fresh thyme and parsley.
No chicken stock? Vegetable stock works at a 1:1 ratio. Short on fresh herbs? Dried at one-third the amount (1 tsp dried thyme for the fresh). Vermicelli can be swapped with angel hair pasta, broken similarly. If using pre-diced onion, reduce to 2/3 cup. The butter can be replaced with olive oil, but the flavor profile will shift slightly more savory.
Cooked pilaf keeps beautifully in the fridge for up to 4 days. Reheat with a splash of water or stock to restore moisture. The rice absorbs flavors over time, so it often tastes even better the next day. Freezes well for up to 3 months in airtight containers.
Why You’ll Love This Recipe
- One Pot Wonder: I love that everything—rice, vermicelli, onions—cooks together in one pot. No extra pans, no fuss.
- Buttery Garlic Magic: The butter-toasted vermicelli and garlic make every bite rich and fragrant.
- Pairs with Anything: It’s my go-to side for roasted chicken or grilled veggies—works for weeknights or company.
- Leftovers? Even Better: Honestly, the flavors deepen overnight, so I always make extra for lunches.
Step-by-Step Instructions for Toasted Vermicelli and Herbed Rice Pilaf
This method ensures perfectly fluffy grains with rich, nutty depth and aromatic complexity.
Step 1: Toast the Vermicelli and Aromatics
Heat a large, heavy-bottomed pot over medium heat. Add 2 tbsp of the unsalted butter and let it melt until it begins to foam. Immediately add the 0.5 cup Vermicelli Noodles (broken into 1-inch pieces) and stir constantly for 2-3 minutes until deep golden brown and nutty in aroma.
Add the finely diced yellow onion and continue cooking for another 3-4 minutes until it softens and becomes translucent. Stir in the minced garlic cloves and cook for 30 seconds until fragrant but not browned. This foundational step builds layers of flavor that will infuse the rice.
Step 2: Bloom the Spices and Add Rice
Add the remaining 1 tbsp of unsalted butter to the pot along with the 1.5 cups Long-Grain White Rice (rinsed until water runs clear). Stir to coat the grains thoroughly in the butter and toasted vermicelli mixture. Cook for 1-2 minutes, stirring constantly, to lightly toast the rice.
Add the fresh thyme sprigs (leaves stripped) and bay leaf, stirring to release their essential oils. This brief toasting enhances the rice’s natural nuttiness while allowing the herbs to perfume the dish. Watch closely to prevent burning—you want a gentle toast, not a dark brown.
Step 3: Simmer with Chicken Stock
Pour in the 3 cups Chicken Stock and add the 1.5 tsp Kosher Salt and 0.5 tsp freshly ground black pepper. Bring the mixture to a boil over medium-high heat, stirring once to distribute the rice evenly.
Once boiling, reduce the heat to low, cover the pot with a tight-fitting lid, and let it simmer undisturbed for 15 minutes. Resist the urge to lift the lid—steam is critical for even cooking. After 15 minutes, turn off the heat and let the rice steam, covered, for an additional 5 minutes.
Step 4: Rest and Finish with Fresh Herbs
Remove the pot from the heat and let it sit, still covered, for 5 minutes. This resting period allows the grains to absorb any remaining liquid and ensures they separate easily. Fluff the rice gently with a fork to release steam and separate the grains.
Discard the bay leaf and thyme stems, then fold in the 0.25 cup fresh parsley (finely chopped). The parsley adds a bright, fresh note that balances the rich, toasty flavors. Taste and adjust seasoning if needed, though the precise measurements should yield perfect balance. Serve immediately while hot and fluffy.
Pro Tips For Making Ina Garten Rice Pilaf
- Brown the Vermicelli: Cook the vermicelli in the butter until deep golden brown—I learned this the hard way—pale noodles make the pilaf taste bland.
- Toast the Rice: After adding the rice to the onions and vermicelli, let it toast for 1-2 minutes until nutty and fragrant. Skipping this step leaves the dish flat.
- Use Enough Liquid: For long-grain white rice, stick to a 2:1 ratio of liquid to rice. I was skeptical until I tried it, but underdoing it gives you crunchy, undercooked grains.
- Rest Before Serving: Let the pilaf sit covered off the heat for 10 minutes—yes, even if you’re impatient like me. This lets the rice absorb the last of the broth and fluff up properly.
Storing and Reheating This Recipe
Refrigerator Storage
Let this dish cool for no more than 2 hours before transferring to airtight containers. I use glass containers with locking lids for best results. Store in the fridge at 40°F or below for up to 4 days. The flavors actually deepen as it rests. ❄️
Freezer Storage
For longer storage, portion into freezer bags or containers, leaving 1-inch headspace for expansion. Squeeze out excess air to prevent freezer burn. This creation freezes beautifully for up to 3 months without losing texture or flavor.
Stovetop Reheating
My preferred method for reheating is on the stovetop. Add the pilaf to a pot with 2 tbsp water or chicken stock and heat over medium-low heat for 5-7 minutes, stirring occasionally. This restores moisture and prevents drying out. 🔥
Microwave Reheating
For a quick option, place individual portions in a microwave-safe dish and cover with a damp paper towel. Heat on 70% power for 2-3 minutes, stir, then continue in 30-second intervals until reaching 165°F.
Nutrition Facts
Frequently Asked Questions
Can I use brown rice instead of white?
Yes, but you’ll need to adjust the cooking time. Brown rice requires about 45-50 minutes of simmering and 10 minutes of resting. Add 0.5 cup extra liquid to compensate for absorption.
Why did my pilaf turn out mushy?
This usually happens from lifting the lid or using too much liquid. Keep the lid closed during cooking and measure your 3 cups of stock precisely. The steam trapped inside is crucial for perfect texture.
Can I make this ahead of time?
Prepare it up to 2 days early. Store in the fridge and reheat with a splash of water or stock. The flavors often taste even better the next day.

- Jollof Rice Sauce Recipe: West African Tomato and Spice Infusion - September 25, 2026
- Japanese Rice Soup Recipe: Umami-Rich Comfort in a Bowl - September 25, 2026
- Homemade Cream Of Rice Recipe: Silk-Smooth Breakfast in Minutes - September 25, 2026