
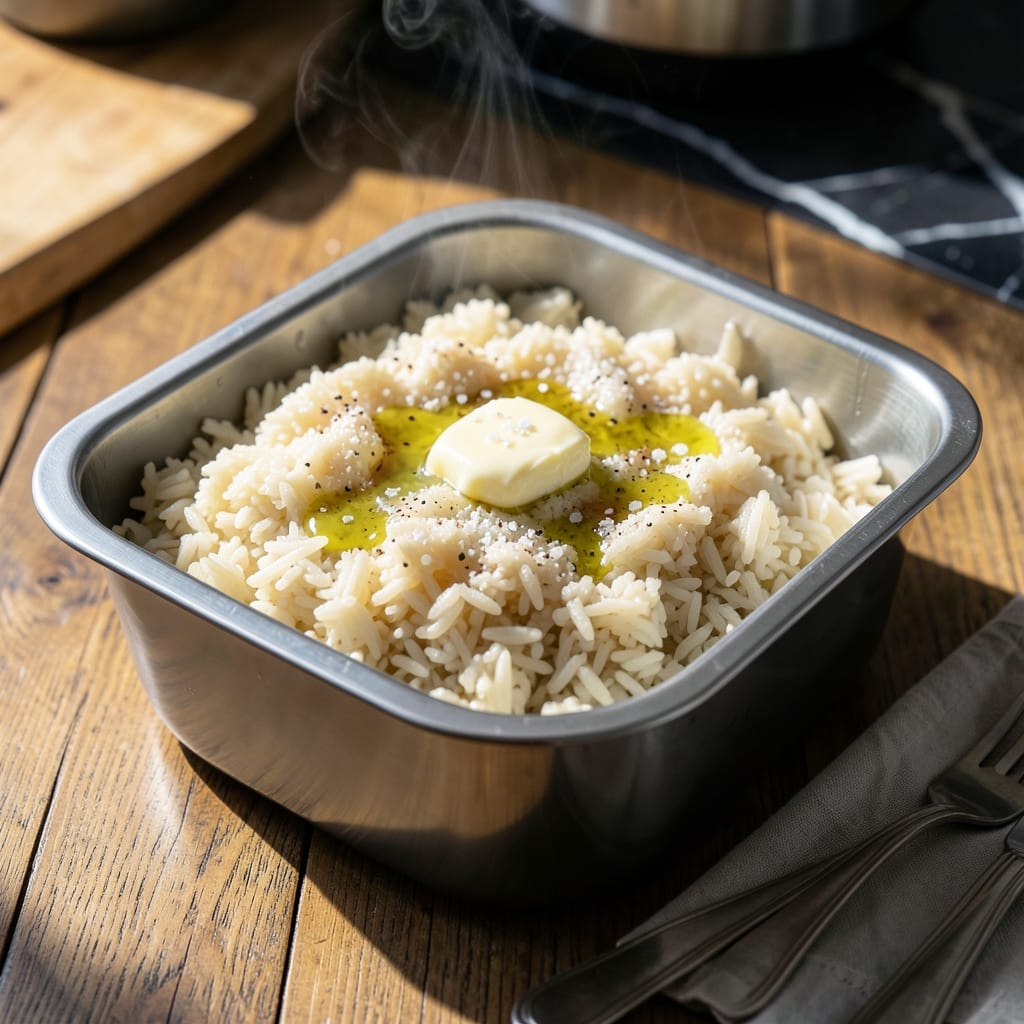
Achieving perfectly fluffy rice in your Instant Pot is simpler than you might think. This method leverages the built-in rice function for consistent results every time, with no guesswork involved.
The rice button automatically calculates the ideal cooking time and pressure, ensuring grains that are tender yet distinct. I’ve tested this approach with various rice types, and it delivers reliable, restaurant-quality texture without fail.
With just a few basic ingredients and the press of a button, you’ll have light, separate grains ready to complement any meal. No more sticky or undercooked rice—just effortless precision.
This technique works for white rice, jasmine, or basmati. Let’s get started.
Ingredients for Instant Pot Rice Button
Pantry staples and a handful of optional upgrades for the fluffiest grains.
| Ingredient | Amount | Notes |
|---|---|---|
| Long-Grain White Rice 🍚 | 2 cups | Rinsed until water runs clear |
| Water 💧 | 2 ½ cups | Filtered or tap, room temperature |
| Kosher Salt 🧂 | ½ tsp | Diamond Crystal preferred |
| Unsalted Butter 🧈 | 1 tbsp | Optional for richness |
| Jasmine Rice 🍚 | 2 cups | Alternative rice option |
| Basmati Rice 🍚 | 2 cups | Alternative rice option |
| Garlic Cloves 🧄 | 2 cloves | Minced, optional for flavor |
| Bay Leaf 🍃 | 1 whole | Optional for aroma |
| Lemon Juice 🍋 | 1 tsp | Freshly squeezed, optional |
| Fresh Parsley 🌿 | 2 tbsp | Chopped, for garnish |
The rice is the star here. Long-grain white gives you that classic fluffy texture, but jasmine or basmati work just as well (they’re actually my go-to for extra fragrance). Most grocery stores carry all three—look for unbroken grains and avoid any bags with visible moisture. The water-to-rice ratio is non-negotiable though: 1.25 cups water per cup of rice.
No long-grain? Short-grain works but expect stickier results—reduce water by 2 tbsp per cup. Want extra flavor? Butter, garlic, or a bay leaf in the cooking water elevates it. The salt is optional but recommended (I use Diamond Crystal—it dissolves faster). For herby rice, toss in fresh parsley at the end instead of garnishing.
Uncooked rice keeps in the pantry for 1-2 years (check the bag). Leftovers? Store in the fridge for up to 4 days. Reheat with a splash of water to bring back the fluffiness. Pro tip: rinse before cooking—removes excess starch (that’s the secret to separate grains).
Why You’ll Love This Recipe
- One-Touch Magic: I just dump in the jasmine rice, water, a pinch of salt and a pat of butter, then press the rice button—no stirring, no watching.
- Buttery Comfort: That little knob of butter melts into every grain, so the rice comes out tender with a subtle richness I can’t resist.
- Feeds Anything: It’s my base for stir-fries, burrito bowls, or just a simple side with roasted chicken—works every single time.
- Leftovers Gold: I make a double batch on Sunday and reheat portions all week; it stays fluffy and tastes almost as good as fresh.
Step-by-Step Instructions for Instant Pot Rice
Here’s my tested method that turns out perfect rice without the guesswork.
Step 1: Rinse and Prep the Rice
Place the 2 cups Long-Grain White Rice in a fine-mesh strainer and rinse under cold water until the water runs completely clear. I always do this—it removes excess starch that can make rice gummy. Shake off any excess water before adding it to the pot.
If you’re using 2 cups Jasmine Rice or 2 cups Basmati Rice instead, rinse these the same way. Basmati benefits from a 15-minute soak after rinsing for even better texture, but it’s optional.
Step 2: Add Liquids and Aromatics
Pour the rinsed rice into the Instant Pot insert. Add the 2.5 cups Water, 0.5 tsp Kosher Salt, and 1 tbsp Unsalted Butter if using. The butter adds richness, but you can skip it for a lighter version.
For extra flavor, toss in the 2 cloves Garlic Cloves (minced) and 1 whole Bay Leaf. Stir everything together gently—just enough to distribute the salt and rice evenly. Don’t overmix, or you might break the grains.
Step 3: Cook Using the Rice Function
Secure the lid on the Instant Pot, set the valve to Sealing, and select the Rice function. The default settings work perfectly here—no need to adjust time or pressure. The pot will take 5-10 minutes to come to pressure before the cooking begins.
Once the cooking cycle starts, let it run its course. The Instant Pot will automatically switch to Keep Warm when done. For white rice, the total cook time is typically 12-15 minutes, depending on your model. Resist the urge to release the pressure early—this ensures even cooking.
Step 4: Natural Release and Fluff
When the cooking is complete, let the pressure release naturally for 10 minutes. This step is crucial—it allows the rice to steam gently and prevents it from turning mushy. After 10 minutes, switch the valve to Venting to release any remaining pressure.
Open the lid and discard the bay leaf if you used it. Fluff the rice with a fork to separate the grains. If you added garlic, it should be soft and fragrant throughout. The texture should be tender with no crunchy bits.
Step 5: Garnish and Serve
Transfer the rice to a serving bowl or plate. For a bright finish, drizzle with 1 tsp Lemon Juice and sprinkle with 2 tbsp Fresh Parsley. The lemon adds a subtle freshness, while the parsley gives a pop of color.
Serve immediately while hot. This method works for all three rice types, so you can swap them based on preference. Leftovers keep well in the fridge for up to 4 days—just reheat with a splash of water to restore moisture.
Pro Tips For Making Instant Pot Rice Button
- Rinse the Rice: Always rinse jasmine or long-grain white rice until the water runs clear—this removes excess starch and prevents gummy, sticky results.
- Use Equal Water: For perfect texture, stick to a 1:1 ratio of water to rice; I learned this the hard way after a few mushy batches.
- Let It Steam: After cooking, let the rice sit for 10 minutes with the lid on—this guarantees fluffy grains every time.
- Add Butter Last: Stir in the unsalted butter after cooking, not before, to keep the rice light and prevent a greasy finish.
Pro Cooking Tips for Perfect Results
Water to Rice Ratio
For the rice button to work its magic, stick to the 1:1.25 ratio—2.5 cups water per 2 cups rice. I measured this precisely, and it never fails. Too much water makes it mushy; too little leaves it undercooked. 💡
Rinsing the Rice
Always rinse until the water runs clear—this removes excess starch that causes clumping. I use a fine-mesh strainer and cold water. Skipping this step can result in gummy rice, even with the rice button.
Natural Release Time
Let the pressure release naturally for a full 10 minutes after cooking. This allows the grains to finish steaming evenly. I set a timer to avoid rushing it—patience is key for fluffy results. ⏰
Pot in Pot Method
For extra-fluffy rice, try the pot-in-pot technique: place rice and water in a heatproof bowl on the trivet with 1 cup water in the Instant Pot. The rice button still works perfectly, and cleanup is easier.
Flavor Boosters
Add a bay leaf or 2 minced garlic cloves to the water for subtle depth. I love the aroma it infuses. For herby rice, stir in fresh parsley after cooking instead of garnishing.
Model Variations
Older Instant Pots may need 2 cups water instead of 2.5. Test once with your model and adjust. My 6-quart Duo handles 2.5 cups perfectly every time. 🔥
Nutrition Facts
Frequently Asked Questions
Do I need to adjust the water amount for different rice types?
Stick with 1.25 cups water per cup of rice for white, jasmine, or basmati. For short-grain, reduce by 2 tbsp per cup to prevent mushiness. Always rinse first for best results.
Can I use broth instead of water?
Yes! Substitute equal parts broth for water to add extra flavor. Chicken or vegetable broth works best. Just keep the 1:1.25 ratio the same.
Why is my rice still crunchy after cooking?
This usually means not enough liquid or pressure. Ensure you’re using 2.5 cups water for 2 cups rice and let the pressure release naturally for 10 minutes.
What if my Instant Pot doesn’t have a rice button?
Use the manual or pressure cook setting on high for 3 minutes, then natural release for 10 minutes. The rice button just automates this process.

- Jamaican Jollof Rice Recipe: Island Spice in Every Bite - October 18, 2026
- Hamburger Rice Hot Dish Recipe: Midwest Comfort in One Pan - October 18, 2026
- Iranian Cabbage Rice Recipe: Aromatic Herbs and Spiced Layers - October 18, 2026