
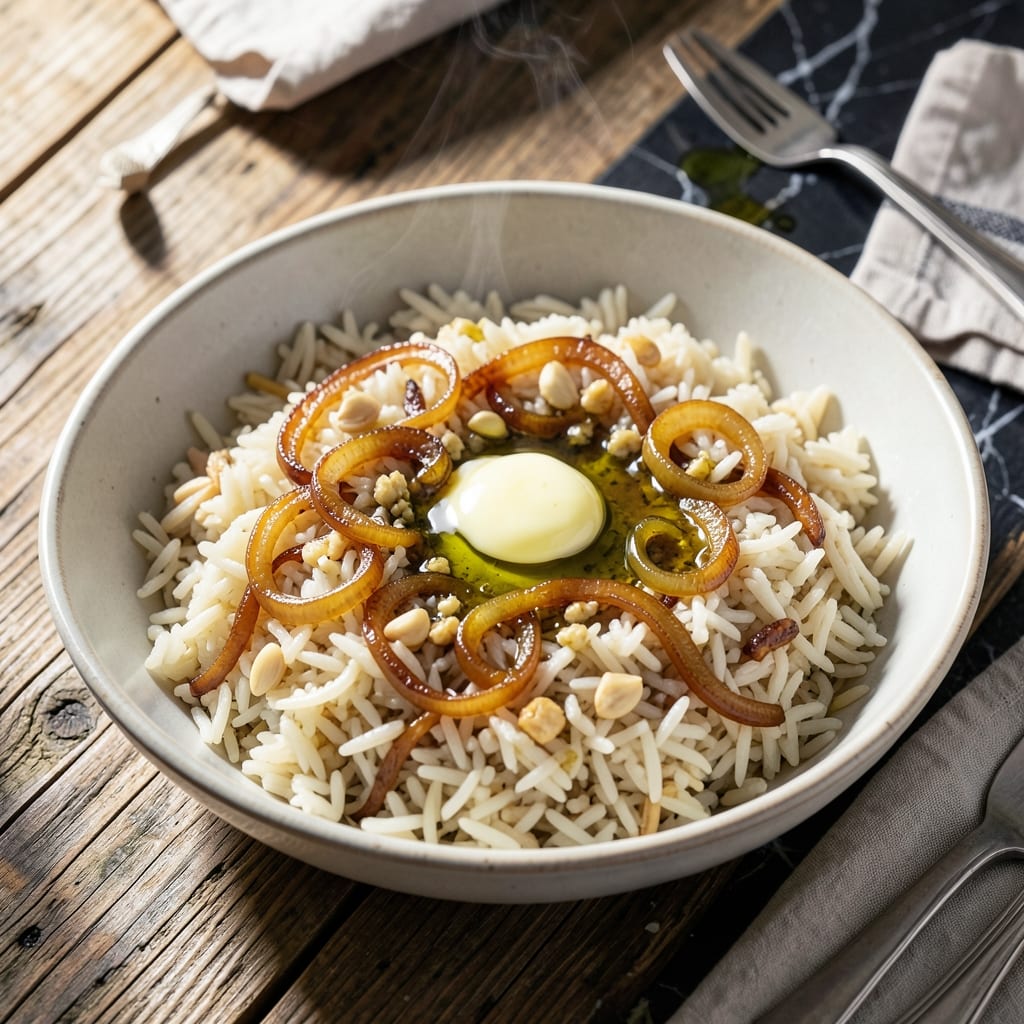
This one-pot rice dish delivers restaurant-quality results with minimal effort. I’ve perfected the method to ensure every grain stays fluffy and packed with flavor.
The magic lies in the technique: cooking the rice in a flavorful broth with aromatics for perfectly tender results. No stirring, no fuss—just set it and forget it.
What you get is a side dish so versatile it pairs with almost any protein or vegetable. The grains absorb all the rich, savory notes, making every bite delicious.
Ready in under 30 minutes, this is the kind of recipe that becomes a weeknight staple. Let’s get started.
Ingredients for Jamie Oliver Magic Rice
Restaurant-quality grains start with these carefully selected ingredients for perfect fluffy texture every time.
| Ingredient | Amount | Notes |
|---|---|---|
| Basmati Rice 🍚 | 1 ½ cups | Rinsed until water runs clear |
| Chicken Stock 🥣 | 2 ½ cups | Low-sodium preferred for control |
| Yellow Onion 🧅 | 1 whole | Finely diced for even distribution |
| Garlic Cloves 🧄 | 4 cloves | Minced to release maximum flavor |
| Unsalted Butter 🧈 | 2 tbsp | For sautéing aromatics |
| Olive Oil 🫒 | 1 tbsp | Extra-virgin for depth |
| Dried Thyme 🌿 | 1 tsp | Crushed between fingers |
| Bay Leaf 🍃 | 1 whole | Removed before serving |
| Kosher Salt 🧂 | 1 tsp | Diamond Crystal preferred |
| Freshly Ground Black Pepper 🌶️ | ½ tsp | Coarse grind for texture |
| Lemon Zest 🍋 | 1 tsp | From 1 medium lemon |
| Fresh Parsley 🌿 | ¼ cup | Chopped, for garnish |
The rice quality is non-negotiable here. Basmati from Indian markets or Tilda brand at supermarkets delivers the right grain length and fragrance. For the stock, homemade chicken stock offers depth, but Better Than Bouillon paste (reconstituted) works excellently. The butter should be European-style for higher fat content—Plugrá or Kerrygold are professional choices.
Substituting long-grain rice is acceptable, though texture may vary slightly. Vegetable stock can replace chicken for a vegetarian version. No fresh parsley? Fresh cilantro at equal volume offers a different but complementary brightness. The bay leaf is essential for aroma—don’t substitute dried, as it imparts bitterness. Lemon zest can be swapped for lime if that’s what you have.
Store uncooked rice in an airtight container in a cool, dark place for up to 6 months. The cooked dish keeps in the refrigerator for 4-5 days and reheats beautifully with a splash of water. Fresh parsley should be wrapped in damp paper towels and stored in a sealed bag for up to 1 week.
Why You’ll Love This Recipe
- One Pot Wonder: I throw everything in a single pan—rice, stock, onions, garlic—and let the oven do the work.
- Rich and Creamy: The butter and chicken stock soak into the basmati rice, giving it a velvety texture that’s hard to resist.
- Weeknight Hero: It’s my go-to for busy evenings when I need something hearty and quick. (Yes, even on a Tuesday night)
- Budget Friendly: Basmati rice and simple pantry staples make this dish kind, to my wallet and my family.
Step-by-Step Instructions for Flavor-Packed One-Pot Rice
Master this technique and you’ll achieve perfectly fragrant, fluffy grains with minimal effort.
Step 1: Sauté Aromatics to Build Depth
Heat a heavy-bottomed pot or Dutch oven over medium heat. Add the 2 tbsp unsalted butter and 1 tbsp olive oil, swirling until the butter melts and begins to foam. This fat combination ensures rich flavor while preventing the butter from burning.
Add the finely diced yellow onion and cook for 5-6 minutes, stirring occasionally, until the edges turn translucent and golden. Then add the minced garlic cloves and cook for 1 minute until fragrant. The onion should soften without browning deeply—this creates a sweet, aromatic base.
Step 2: Toast the Rice and Infuse with Herbs
Stir in the 1.5 cups basmati rice, coating the grains thoroughly in the fat and aromatics. Toast for 2-3 minutes until the rice becomes slightly opaque at the edges and emits a nutty aroma. This step enhances the rice’s natural flavor and prevents a gummy texture.
Add the 1 tsp dried thyme (crushed between your fingers to release its oils) and the 1 whole bay leaf. Stir to combine, allowing the herbs to bloom in the warm fat for 30 seconds. The pot should smell deeply fragrant at this stage.
Step 3: Deglaze and Simmer to Perfection
Pour in the 2.5 cups chicken stock, then add the 1 tsp kosher salt and 0.5 tsp freshly ground black pepper. Stir well, scraping the bottom of the pot to release any browned bits. These fond bits dissolve into the liquid, adding layers of flavor.
Increase the heat to high and bring to a rolling boil. Once boiling, reduce the heat to low, cover the pot with a tight-fitting lid, and simmer for 15 minutes. Do not stir during this time—disturbing the rice can break the grains and release excess starch.
Step 4: Rest and Finish with Brightness
After 15 minutes, remove the pot from the heat and let it sit, covered, for an additional 10 minutes. This resting period allows the rice to steam in its own moisture, ensuring even cooking and fluffiness. The grains should be tender, with no chalky center when tasted.
Discard the bay leaf, then fluff the rice gently with a fork. Stir in the 1 tsp lemon zest to add a bright, citrusy note that cuts through the richness. Garnish with the 0.25 cup fresh parsley just before serving for a pop of color and freshness.
Pro Tips For Making Jamie Oliver Magic Rice
- Rinse the Rice: Soak basmati rice for 10 minutes then rinse until water runs clear—this removes excess starch so your grains stay separate and fluffy. I learned this the hard way after ending up with gluey rice more than once.
- Toast the Aromatics: Cook the diced yellow onion and minced garlic in unsalted butter until golden, not just soft. About 5-6 minutes on medium heat—this builds the deep flavor base that makes the dish.
- Use Hot Stock: Pour in chicken stock that’s already simmering, not cold. Adding hot liquid keeps the cooking process steady and prevents the rice from seizing up.
- Rest Before Serving: Once done, let the rice sit covered for 5 minutes off the heat. This lets the grains steam and absorb any remaining liquid—my grandmother swore by this, and she was right.
Serving Suggestions for This Dish
Garnish Like a Pro
I always finish with a generous sprinkle of fresh parsley for a vibrant pop of color. The lemon zest adds a bright, citrusy note that cuts through the richness beautifully. 💫
Protein Pairings
This rice pairs perfectly with grilled chicken or garlic shrimp. For a heartier meal, try it alongside pan-seared salmon—the flavors complement each other wonderfully.
Vegetarians love it with roasted chickpeas or toasted pine nuts for added texture and protein.
Vegetable Sides
A simple green salad with a lemon vinaigrette balances the richness. I also love serving it with steamed asparagus or roasted zucchini for a light, fresh contrast.
Sauce It Up
Drizzle with garlic yogurt sauce or tahini dressing for extra creaminess. A squeeze of fresh lemon juice right before serving enhances all the flavors.
Make It a Bowl
Turn it into a grain bowl by topping with avocado slices, cherry tomatoes, and a soft-boiled egg. The combination of textures and flavors is absolutely divine. 🥗
Nutrition Facts
Frequently Asked Questions
Why do you toast the rice first?
Toasting enhances the nutty flavor and prevents a gummy texture. It also helps the grains absorb the broth evenly during cooking.
Can I use a different type of rice?
Yes, long-grain rice works, though basmati gives the best texture. Avoid short-grain or instant rice as they won’t hold up as well.
What if my rice is still crunchy after cooking?
Add 2-3 tbsp hot water, cover, and let it rest for an additional 5 minutes. The steam will finish the cooking process.
Can I make this in a rice cooker?
Sauté the aromatics first, then add everything to the rice cooker. Use the standard setting for 15 minutes.

- Jimmy Dean Sausage and Rice Recipe: Hearty One-Pot Savory Delight - October 19, 2026
- Indian Jasmine Rice Recipe: Fragrant Basmati-Free Elegance - October 19, 2026
- KFC Rizo Rice Recipe: Copycat Side Dish With Savory Spice Blend - October 19, 2026