
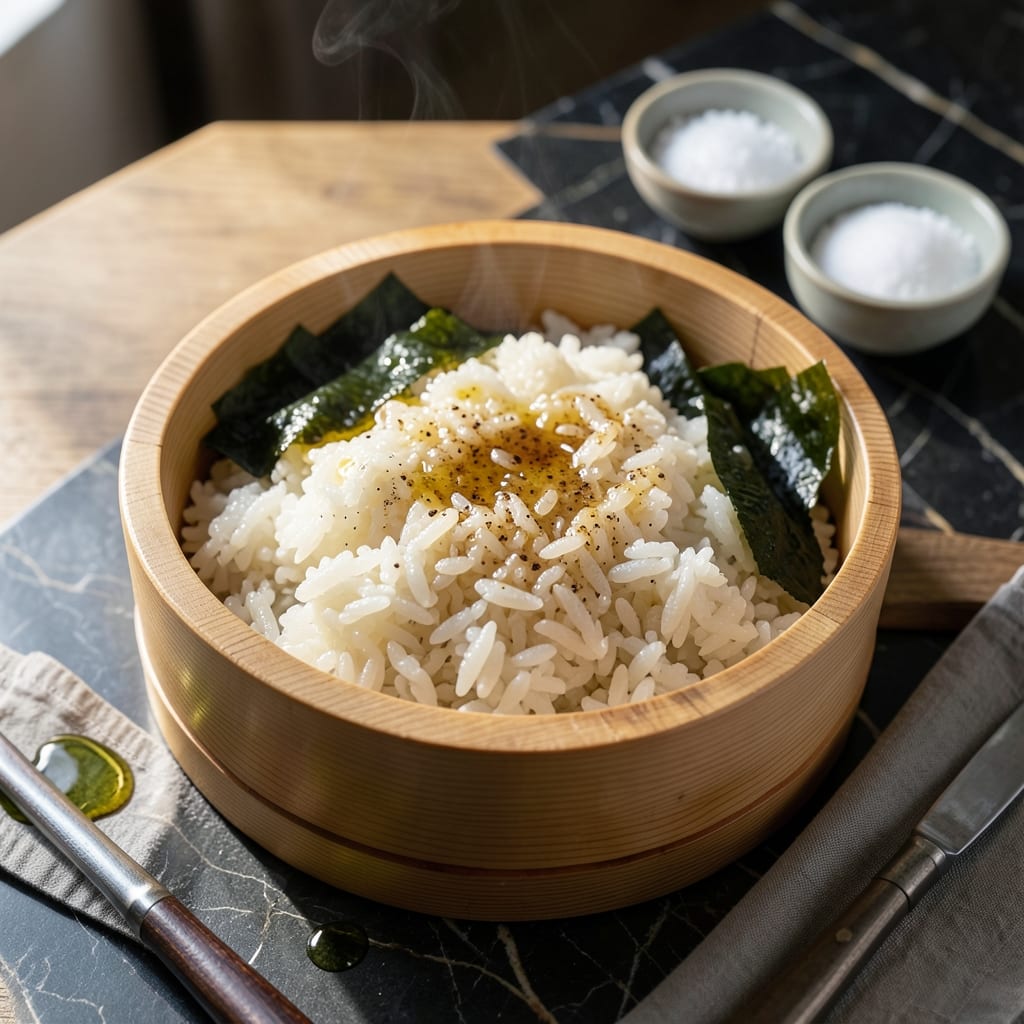
Achieving perfectly cooked Japanese sticky rice requires precision in water ratios and cooking method. This traditional dish forms the foundation of countless Asian meals.
I’ve refined this technique to ensure every grain stays distinct yet clings together beautifully. The key is proper soaking before cooking, which guarantees even texture and optimal stickiness.
The result is glossy, tender rice with just the right chew. Serve it warm alongside grilled proteins, in sushi rolls, or as a base for hearty stews.
With simple ingredients and careful timing, you’ll master this staple dish effortlessly. Here’s how to get it right every time.
Ingredients for Japanese Sticky Rice
Short list of traditional ingredients delivers authentic texture and flavor for this staple dish.
| Ingredient | Amount | Notes |
|---|---|---|
| Japanese Short-Grain Rice 🍚 | 2 cups | Rinsed until water runs clear |
| Water 💧 | 2 ¼ cups | Filtered for best texture |
| Rice Vinegar 🍯 | 2 tbsp | Seasoned variety preferred |
| Granulated Sugar 🍚 | 1 tbsp | Dissolved in vinegar mixture |
| Sea Salt 🧂 | 1 tsp | Fine grain for even distribution |
| Konbu Sheet 🌿 | 1 piece | 2-inch square, optional for depth |
| Sake 🍶 | 1 tbsp | Dry variety for subtle complexity |
| Mirin 🍯 | 1 tbsp | Adds balanced sweetness |
| Toasted Sesame Seeds 🌰 | 1 tsp | For garnish, optional |
| Fresh Cilantro 🌿 | 2 tbsp | Chopped, for serving |
The rice is non-negotiable—Japanese short-grain rice (like Koshihikari or Nishiki) is essential for that signature stickiness. Asian grocery stores or the international aisle at Whole Foods will have it. Look for labels specifying ‘sushi rice’ or ‘glutinous rice.’ Avoid long-grain varieties; they lack the starch content needed. For the konbu, Eden Foods makes a reliable dried version that rehydrates beautifully (worth the extra minute).
No rice vinegar? Apple cider vinegar at half the amount works, but the flavor will differ. Skip the konbu if unavailable—it’s a subtle enhancement, not a dealbreaker. For a vegan touch, ensure your mirin is hon-mirin (true fermented mirin) rather than aji-mirin, which can contain fish. The sugar can be swapped for coconut sugar if avoiding refined, but dissolve it completely.
Uncooked rice keeps indefinitely in a cool, dry place. Once cooked, it’s best served fresh but holds for 2 days refrigerated in an airtight container. For longer storage, freeze in portions for up to 3 months—reheat with a splash of water to revive texture.
Why You’ll Love This Recipe
- Five Ingredients Only: Honestly, it’s just rice, water, and a quick vinegar-sugar-salt mix—no hunting for obscure spices.
- Sweet-Tangy Balance: That touch of rice vinegar and sugar gives it a subtle brightness that makes every bite beg for another.
- Pairs With Anything: I toss it with veggies, serve it under teriyaki chicken, or eat it plain. My daughter even rolls it into sushi.
- Budget Stretcher: A pound of short-grain rice feeds us for days, and leftovers reheat like a dream.
Step-by-Step Instructions for Japanese Sticky Rice
Master this technique for consistently perfect grains with ideal texture and subtle seasoning.
Step 1: Prepare the Rice and Konbu for Cooking
Place the 2 cups Japanese Short-Grain Rice in a fine-mesh strainer and rinse under cold running water until the water runs completely clear. This removes excess starch that could make the rice gummy rather than perfectly sticky. I typically rinse for 3-4 minutes with gentle agitation.
While the rice drains, add the 1 piece Konbu Sheet to a medium bowl with the 2.25 cups Water. The konbu will infuse the liquid with subtle umami depth. Let it soak for 10 minutes before removing the sheet—this step is optional but adds authentic complexity.
Step 2: Cook the Rice with Precision
Combine the drained rice and konbu-infused 2.25 cups Water in a heavy-bottomed pot with a tight-fitting lid. For best results, use filtered water as specified in the ingredients. Bring to a boil over medium-high heat without stirring.
Once boiling, immediately reduce heat to low, cover, and simmer undisturbed for 15 minutes. Resist the urge to lift the lid—the trapped steam is crucial for even cooking. After 15 minutes, remove from heat and let it steam, covered, for an additional 10 minutes. The grains should be tender with a slight bite.
Step 3: Create the Seasoned Rice Vinegar Mixture
In a small saucepan, combine the 2 tbsp Rice Vinegar, 1 tbsp Granulated Sugar, and 1 tsp Sea Salt. Warm over low heat just until the sugar and salt dissolve completely—this should take 2-3 minutes. Remove from heat and stir in the 1 tbsp Sake and 1 tbsp Mirin.
This seasoned vinegar mixture, called sushi-su, adds the signature tangy-sweet balance that defines properly prepared sticky rice. The sake and mirin contribute subtle depth without overpowering the rice’s natural flavor.
Step 4: Fold and Finish the Perfect Batch
Transfer the cooked rice to a large, shallow wooden or glass bowl. Using a rice paddle or silicone spatula, gently fold in the sushi-su mixture while fanning the rice with a hand-held fan or piece of cardboard. This cooling process gives the rice its characteristic glossy appearance.
Continue folding for 2-3 minutes until the liquid is fully absorbed and the rice reaches room temperature. The grains should glisten slightly and hold together when pressed but separate easily when lifted. This technique prevents mushiness while ensuring even seasoning.
Step 5: Garnish and Serve Immediately
Sprinkle the rice with 1 tsp Toasted Sesame Seeds for nutty aroma and visual appeal. The seeds add a delicate crunch that contrasts beautifully with the soft rice. For serving, top with 2 tbsp Fresh Cilantro if desired—its bright, citrusy notes complement the rice’s subtle sweetness.
Serve the rice while still warm for the best texture. Each grain should maintain its individual integrity while sticking together just enough to hold its shape. This balance of stickiness and separation is the hallmark of properly prepared Japanese sticky rice.
Pro Tips For Making Japanese Sticky Rice
- Rinse Thoroughly: Wash the rice in 3-4 changes of water until it runs nearly clear—I learned this the hard way after ending up with gummy, starchy rice.
- Soak 30 Minutes: Let the rice soak in cold water for a full 30 minutes before cooking; it guarantees even hydration and that perfect sticky texture.
- Skip the Peek: Resist the urge to lift the lid while steaming—releasing the steam drops the temperature and messes with the cook time.
- Warm the Vinegar: Mix the rice vinegar, sugar, and salt in a small bowl and microwave for 10-15 seconds before folding into the rice—it dissolves the sugar faster and coats the grains evenly.
Serving Suggestions for This Dish
Sushi Night Foundation
This rice is the perfect base for homemade sushi rolls. Spread a ½-inch layer on nori sheets, leaving a border at the top. I love adding thin cucumber, avocado, and crab stick fillings for classic combinations. Roll tightly with a bamboo mat for perfect shape.
Bowl Meals
Create a nourishing donburi bowl by topping warm rice with protein and veggies. Try teriyaki chicken, soft-cooked egg, pickled radish, and scallions. The rice soaks up the sauces beautifully. I drizzle with 1 tsp sriracha mayo for extra flair.
Grilled Accompaniment
Serve alongside yakiniku (Japanese grilled meats) for an authentic experience. The rice’s mild sweetness balances rich, savory meats perfectly. I shape it into onigiri triangles with a strip of nori for portable, picnic-friendly portions.
Stew Pairing
Use as a base for hearty dishes like beef sukiyaki or chicken curry. The rice absorbs the broth’s flavors as you eat. I add 1 tbsp furikake (rice seasoning) on top for an umami boost. 💛
Breakfast Option
Transform leftovers into ochazuke by pouring hot green tea over rice. Top with pickled plum, flaked salmon, and toasted nori strips. The contrast of warm tea and cool toppings is divine.
Dessert Twist
For a sweet treat, shape into small balls and fill with red bean paste. Roll in toasted coconut or kinako powder (roasted soybean flour). These mochi-inspired bites make delightful party desserts.
Nutrition Facts
Frequently Asked Questions
What’s the best rice-to-water ratio?
Use 1:1.125 ratio—2 cups rice to 2.25 cups water. This ensures tender grains without mushiness. Always rinse first to remove excess starch.
Why rinse the rice before cooking?
Rinsing removes surface starch that can make rice gummy. Continue until water runs clear—usually 3-4 minutes. This step guarantees the perfect sticky yet distinct texture.
Can I make this without a rice cooker?
Yes! Use a heavy pot with a tight lid. Bring to boil, then simmer on low heat for 15 minutes, followed by 10 minutes off-heat steaming. Works just as well.
How long can I store cooked rice?
Keep in an airtight container in the fridge for up to 2 days. For longer storage, freeze for 3 months. Reheat with a splash of water to restore moisture.

- Mujadara Rice and Lentils Recipe: Earthy Spiced Lentils With Caramelized Onions - November 1, 2026
- Naija Fried Rice Recipe: Street-Style Spice With Veggie Crunch - November 1, 2026
- Mushy Rice Recipe: Fluffy Grains Transformed in Minutes - November 1, 2026