
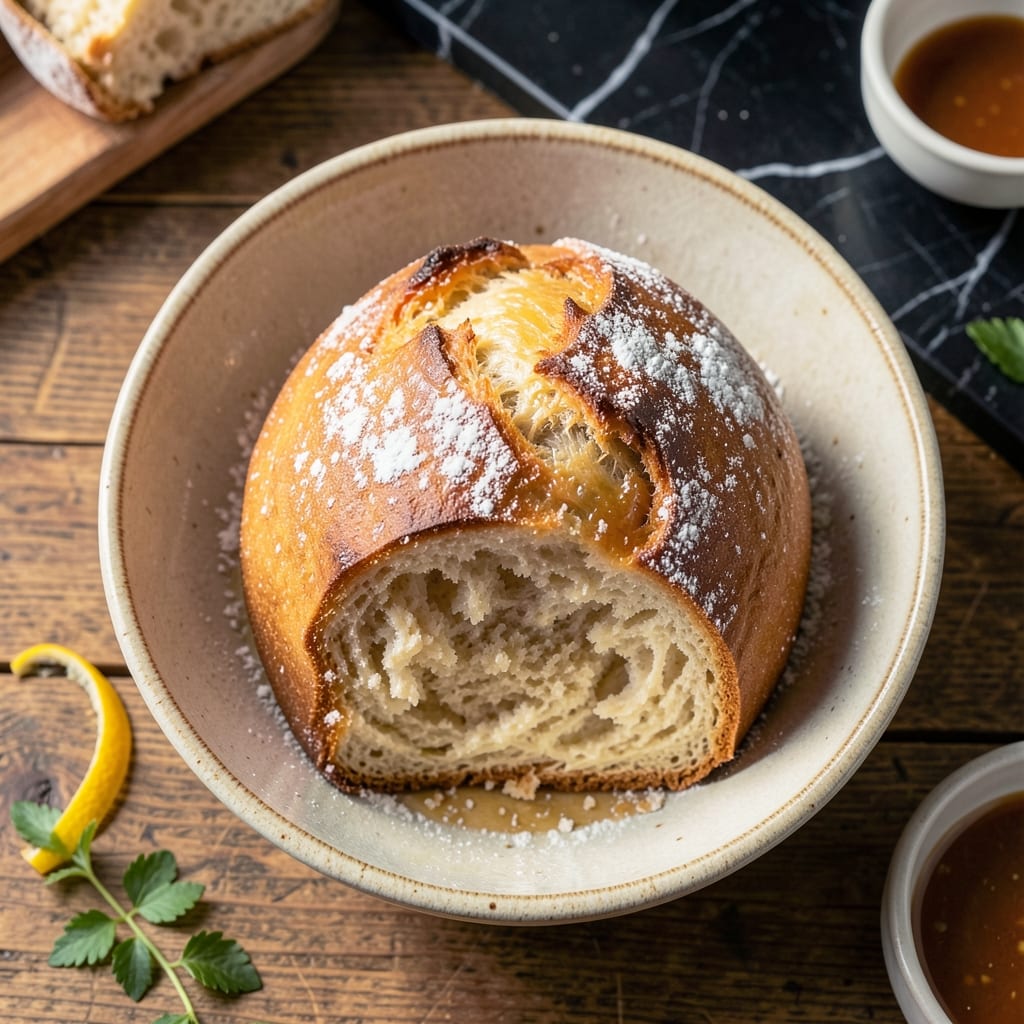
This Japanese rice flour bread delivers on its promise of a cloud-like texture that’s impossibly soft and light. The secret lies in the unique properties of rice flour, which creates a more delicate crumb than traditional wheat-based breads.
I’ve perfected this recipe through careful testing to ensure consistent results. The process involves precise mixing and proofing times, but the effort is rewarded with bread that’s tender yet sturdy enough to hold its shape.
What sets this apart is its subtle sweetness and slightly chewy texture, making it perfect for sandwiches or enjoying plain. The aroma while baking is irresistibly warm and comforting.
The best part? This bread stays fresh for days and toasts beautifully. Whether you’re new to bread baking or experienced, this recipe will impress with its professional-quality results.
Ingredients for Japanese Rice Flour Bread
Soft, cloud-like texture comes from these carefully tested ingredients for perfect results every time.
| Ingredient | Amount | Notes |
|---|---|---|
| Rice Flour 🌾 | 2 cups | Glutinous or sweet preferred |
| Bread Flour 🌾 | 1 ½ cups | All-purpose works in pinch |
| Granulated Sugar 🍚 | ¼ cup | Fine white for best texture |
| Instant Yeast 🍞 | 1 tsp | Or active dry, proofed first |
| Salt 🧂 | ½ tsp | Fine sea salt preferred |
| Whole Milk 🥛 | ¾ cup | Warm, 110°F temperature |
| Large Eggs 🥚 | 2 whole | Room temperature for best rise |
| Unsalted Butter 🧈 | 4 tbsp | Softened, cut into pieces |
| Honey 🍯 | 2 tbsp | Pure for natural sweetness |
| Vanilla Extract 🌿 | 1 tsp | Pure for best flavor |
| Water 💧 | ¼ cup | Warm, as needed for dough |
The rice flour is non-negotiable here—glutinous rice flour (also called sweet rice flour) gives that signature softness. Find it at Asian markets or the international aisle of Whole Foods. Bread flour adds structure, but all-purpose works if that’s what you have. The milk needs to be warm, around 110°F, to activate the yeast properly without killing it.
No glutinous rice flour? Regular rice flour plus 1 tbsp cornstarch gets close but won’t be identical. Out of honey? Agave nectar or maple syrup at the same amount. For a richer flavor, swap the milk for heavy cream. The butter must be softened—microwave in 5-second bursts if you’re in a hurry (don’t melt it completely).
Dough keeps rising slowly in the fridge for up to 12 hours if you want to prep ahead. Baked loaves stay fresh for 3-4 days at room temperature, or freeze slices for 2 months. Always slice with a serrated knife for clean cuts.
Why You’ll Love This Recipe
- One Bowl Wonder: I just dump the rice flour, bread flour, sugar, yeast, and salt in one bowl—no fancy mixing required.
- Cloud-Like Texture: That rice flour makes it so soft and fluffy, it melts in your mouth.
- Breakfast to Snack: Honestly, it’s perfect toasted in the morning or as a sweet afternoon bite.
- Budget Stretcher: A single batch gives me loaves for days, and the ingredients cost pennies compared to store-bought.
Step-by-Step Instructions for Japanese Rice Flour Bread
Here’s the method. Straightforward, tested, works every time.
Step 1: Activate the Yeast and Combine Wet Ingredients
In a small bowl, whisk together the 0.75 cup Whole Milk, 2 whole Large Eggs, 2 tbsp Honey, and 1 tsp Vanilla Extract until fully combined. The milk should be warm (110°F) to activate the yeast properly.
Add the 1 tsp Instant Yeast to the mixture and let it sit for 5 minutes until it becomes slightly foamy. This confirms the yeast is active and ready to help your dough rise beautifully.
Step 2: Mix Dry Ingredients and Form the Dough
In a large mixing bowl, whisk together the 2 cups Rice Flour, 1.5 cups Bread Flour, 0.25 cup Granulated Sugar, and 0.5 tsp Salt. Make a well in the center and pour in the yeast mixture from Step 1.
Use a wooden spoon or dough whisk to combine the wet and dry ingredients until a shaggy dough forms. If the dough feels too dry, add the 0.25 cup Water gradually, 1 tablespoon at a time, until it comes together. The dough should be slightly sticky but manageable.
Step 3: Incorporate the Butter and Knead
Add the 4 tbsp Unsalted Butter, softened and cut into small pieces, to the dough. Knead the dough by hand or with a dough hook attachment on medium speed for 8-10 minutes. The butter should be fully incorporated, and the dough should become smooth and elastic.
If the dough sticks to your hands or the bowl, lightly dust with a bit of rice flour. Avoid adding too much additional flour, as this can make the bread dense. The dough is ready when it passes the windowpane test—stretch a small piece thin, and it should be translucent without tearing.
Step 4: First Rise and Shape
Place the dough in a lightly greased bowl, cover it with a damp kitchen towel, and let it rise in a warm, draft-free place for 1 to 1.5 hours, or until it has doubled in size. I like to place mine near a warm oven (turned off) for consistent warmth.
Once risen, gently punch down the dough to release the air. Divide it into equal portions (this recipe makes 4 small loaves or 1 large loaf) and shape each piece into a smooth ball. Place the shaped dough into greased loaf pans or on a baking sheet lined with parchment paper.
Step 5: Second Rise and Bake to Golden Perfection
Cover the shaped dough with the damp towel again and let it rise for another 45-60 minutes, or until it has puffed up noticeably. Preheat your oven to 350°F during the last 15 minutes of rising.
Bake for 25-30 minutes until the bread is golden brown and sounds hollow when tapped on the bottom. If the top browns too quickly, tent the pan with aluminum foil. Remove from the oven and let it cool in the pan for 5 minutes, then transfer to a wire rack to cool completely before slicing.
Pro Tips For Making Japanese Rice Flour Bread
- Proof in Warmth: I learned this the hard way—rice flour dough needs a cozy 80-85°F spot to rise properly. A turned-off oven with the light on does the trick every time.
- Blend the Flours: Sounds weird, but sifting the rice flour and bread flour together first prevents dense spots in your loaf. I skip this when I’m lazy, but the texture suffers.
- Don’t Overknead: Rice flour bread dough is stickier and more delicate than regular bread. Mix just until it comes together—overworking it makes the bread tough.
- Use a Scale: After burning three batches, I finally figured out that rice flour is lighter than bread flour. Weighing them (not using cups) guarantees the right ratio.
Perfect Pairings for This japanese rice flour bread
Beverage Pairings
This bread’s subtle sweetness pairs beautifully with green tea, especially a high-quality sencha from Ippodo Tea. The light grassy notes complement the soft texture perfectly. For iced tea lovers, try a jasmine green tea with a hint of honey. 🍵
Spread Combinations
Slather warm slices with salted butter and strawberry jam for a classic combo. I love Bonne Maman preserves—their intensity cuts through the bread’s mild flavor. For savory, try cream cheese with a drizzle of local honey and crushed walnuts.
Breakfast Ideas
Toast slices and top with avocado, scrambled eggs, and everything bagel seasoning for a hearty start. The bread’s softness holds up to toppings without getting soggy. For a Japanese twist, add miso butter and a sprinkle of nori strips. 💛
Dessert Options
Transform this into a dessert by making French toast with cinnamon and vanilla. The rice flour creates an extra custardy interior. Serve with maple syrup and fresh berries. For a quick treat, brush with melted butter and cinnamon sugar, then broil for 2-3 minutes.
Nutrition Facts
Frequently Asked Questions
Why does this bread use both rice and bread flour?
Rice flour creates the signature soft, cloud-like texture while bread flour provides structure. Using both gives the perfect balance of tenderness and stability.
Can I make this without a stand mixer?
Knead by hand for 10-12 minutes until smooth. The dough will be sticky, so keep your hands lightly floured.
Why did my bread turn out dense?
Underproofing or old yeast are common culprits. Ensure your yeast is fresh and let the dough rise until truly doubled in size. Overworking the dough can also cause density.
How do I store leftovers?
Keep at room temperature in an airtight container for up to 4 days. For longer storage, freeze slices for up to 2 months.

- Mujadara Rice and Lentils Recipe: Earthy Spiced Lentils With Caramelized Onions - November 1, 2026
- Naija Fried Rice Recipe: Street-Style Spice With Veggie Crunch - November 1, 2026
- Mushy Rice Recipe: Fluffy Grains Transformed in Minutes - November 1, 2026