
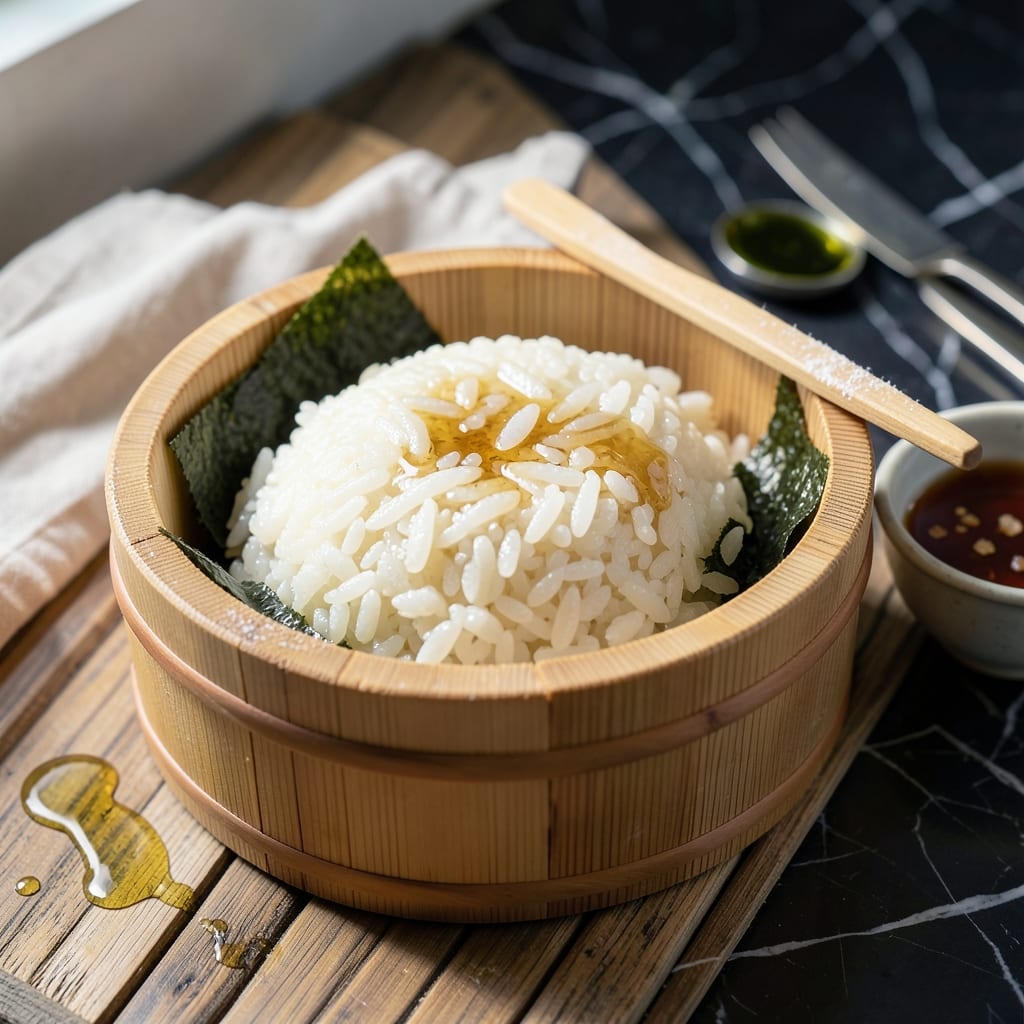
Achieving perfect sushi rice at home requires precision in every step, from rinsing to seasoning. This method delivers the ideal balance of sweet and tangy flavor that defines authentic Japanese sushi rice.
The key lies in the proper ratio of rice to water and the careful incorporation of mirin, rice vinegar, and sugar. Each grain should remain distinct yet sticky enough to hold its shape when formed.
I developed this technique through years of practice, refining the process to ensure consistent results. The vinegared mixture transforms plain rice into the foundation of exceptional sushi or rice bowls.
Serve as a base for nigiri, rolls, or as a complement to fresh seafood. This recipe sets the standard for homemade sushi rice.
Ingredients for Japanese Sushi Rice Recipe Mirin
Twelve ingredients transform simple short-grain rice into authentic sushi rice with sweet and tangy perfection.
| Ingredient | Amount | Notes |
|---|---|---|
| Sushi Rice 🍚 | 2 cups | Short-grain Japanese variety preferred |
| Water 💧 | 2 ½ cups | Filtered for best results |
| Rice Vinegar 🍯 | ½ cup | Unseasoned Japanese rice vinegar |
| Mirin 🍶 | 3 tbsp | Authentic Japanese sweet rice wine |
| Granulated Sugar 🍚 | 2 tbsp | Dissolves evenly in vinegar mixture |
| Kosher Salt 🧂 | 1 tsp | Diamond Crystal preferred for consistency |
| Nori Sheets 🍱 | 4 sheets | For serving or rolling |
| Fresh Sashimi-Grade Salmon 🐟 | ½ lb | Optional, for nigiri or bowls |
| Fresh Sashimi-Grade Tuna 🐟 | ½ lb | Optional, for nigiri or bowls |
| Pickled Ginger 🌿 | ¼ cup | For serving alongside |
| Wasabi Paste 🟢 | 2 tbsp | Adjust to taste preference |
| Soy Sauce 🥢 | ¼ cup | For dipping or seasoning |
The rice is non-negotiable—Japanese short-grain sushi rice is essential for the right texture. Koshihikari or Calrose brands are reliable and widely available at Asian markets or well-stocked supermarkets. Mirin is often found in the international aisle; avoid aji-mirin (contains added salt). For the vinegar, Mitsukan or Marukan are trusted brands that deliver consistent acidity.
No mirin? Substitute with 1 tbsp sugar plus 2 tbsp dry white wine, though the flavor won’t be identical. Rice vinegar can be replaced with apple cider vinegar in a pinch, but reduce by 25% as it’s more assertive. For seafood, ensure it’s sashimi-grade—ask your fishmonger for confirmation. The nori should be crisp; if it’s been sitting open, toast it briefly over low heat.
Uncooked rice stores indefinitely in a cool, dark pantry. Once prepared, sushi rice is best used within 4 hours (keep at room temperature, covered). Leftovers can be refrigerated for 24 hours but are best avoided for raw fish applications. The vinegared mixture can be prepped 1 day ahead and stored in the fridge.
Why You’ll Love This Recipe
- One Pot Wonder: I just dump rice, water, and a quick mix of rice vinegar, mirin, and sugar in my rice cooker and walk away.
- Sweet-Tangy Magic: The mirin and vinegar balance is spot-on—slightly sweet, perfectly sticky, and never overpowering.
- Meal Prep Hero: I make a big batch Sunday night and it’s ready for sushi bowls, rolls, or even fried rice all week.
- Pantry Staples Only: No last-minute grocery runs. I always have these five ingredients on hand, so it’s my go-to when I’m in a pinch.
Step-by-Step Instructions for Japanese Sushi Rice with Mirin
Master the technique for consistently perfect vinegared rice every time you make it.
Step 1: Rinse and Prepare the Sushi Rice
Place the 2 cups Sushi Rice in a fine-mesh strainer and rinse under cold running water. I agitate the rice with my hand in a circular motion, watching as the water runs from milky white to nearly clear—this removes excess starch that would make the rice gummy.
It typically takes 4-5 rinses to achieve the right clarity. Drain the rice thoroughly in the strainer for 10 minutes, then let it sit undisturbed for 30 minutes to absorb moisture evenly. This resting period ensures uniform cooking.
Step 2: Cook the Rice to Ideal Texture
Combine the drained rice and 2.5 cups Water in a heavy pot with a tight-fitting lid. I prefer using filtered water for the cleanest flavor. Bring to a boil over medium-high heat, then immediately reduce to low heat and cover.
Simmer undisturbed for 15 minutes, then remove from heat and let it steam, still covered, for an additional 10 minutes. The rice should be tender with no hard center when tested. Avoid peeking during cooking—released steam disrupts the process.
Step 3: Prepare the Seasoning Mixture
While the rice cooks, combine the 0.5 cup Rice Vinegar, 3 tbsp Mirin, 2 tbsp Granulated Sugar, and 1 tsp Kosher Salt in a small saucepan. Heat over low heat just until the sugar and salt dissolve completely, stirring gently.
Remove from heat immediately once dissolved—boiling would evaporate the vinegar and concentrate the flavors too intensely. Set aside to cool to room temperature. This balance of sweet, salty, and acidic is what defines authentic sushi rice.
Step 4: Fold the Seasoning into the Rice
Transfer the cooked rice to a wide, shallow wooden bowl (or a glass baking dish if wood isn’t available). Using a rice paddle or silicone spatula, gently fold in the cooled seasoning mixture with a cutting motion rather than stirring.
I fan the rice with a handheld fan while folding to cool it quickly and create that signature glossy finish. Continue until the rice is evenly coated and has reached body temperature—this typically takes 5-7 minutes of consistent folding and fanning.
The finished rice should be sticky enough to hold its shape when pressed but still separate easily into individual grains.
Step 5: Serve or Use for Rolling
Use the seasoned rice immediately for nigiri or rolls, or cover with a damp towel to prevent drying if serving later. For traditional presentation, keep the 4 sheets Nori Sheets, 0.5 lb Fresh Sashimi-Grade Salmon, and 0.5 lb Fresh Sashimi-Grade Tuna ready for assembly.
Serve with the 0.25 cup Pickled Ginger, 2 tbsp Wasabi Paste, and 0.25 cup Soy Sauce on the side for dipping. The rice should maintain its gloss and slightly tacky texture for up to 2 hours at room temperature.
Pro Tips For Making Japanese Sushi Rice Recipe Mirin
- Rinse Thoroughly: Wash the sushi rice in 3-4 changes of cold water until it runs nearly clear—this removes excess starch so your grains stay separate and sticky, not gummy.
- Warm the Vinegar: Gently heat the rice vinegar, mirin, and sugar mixture until the sugar dissolves completely—cold sugar grains will leave your rice unevenly seasoned.
- Skip the Overmixing: When folding the vinegar mixture into cooked rice, use a cutting motion with a spatula instead of stirring—mashing the grains turns them mushy.
- Use a Wooden Tub: I learned this the hard way—a wooden hangiri or even a wide glass bowl cools the rice faster and absorbs excess moisture better than a metal pot.
Pro Cooking Tips for Great japanese sushi rice recipe mirin
Rinsing Precision
The first secret is in the rinse. I use cold water and agitate the 2 cups Sushi Rice with my hand for 30 seconds per rinse, watching the water turn from cloudy to clear. It usually takes 4-5 rinses to remove enough starch for that perfect sticky-yet-separate texture. 💧
Water Ratio Control
For the cooking liquid, I always use 2.5 cups Water for every 2 cups Sushi Rice. A heavy pot with tight lid prevents steam escape. Bring to a boil, then immediately drop to low heat for even cooking.
Steaming Mastery
After 15 minutes of simmering, turn off the heat and let it steam covered for 10 minutes. I never peek during this time—the trapped steam is what transforms the rice from cooked to perfect. The grains should be tender with no chalky center.
Seasoning Temperature
For the vinegar mixture, heat just until sugar dissolves—never let it boil. I use low heat and remove immediately once the 2 tbsp Granulated Sugar and 1 tsp Kosher Salt disappear. Cooling to room temp prevents cooking the rice further when mixed.
Folding Technique
Transfer rice to a wide wooden bowl. I use a rice paddle with a cutting motion, not stirring, to avoid mashing the grains. Fanning while folding creates that signature gloss and cools it quickly. This step takes 5-7 minutes for perfect results. ✨
Nutrition Facts
Frequently Asked Questions
Why do I need to rinse the rice so thoroughly?
Rinsing removes excess starch that would make the rice gummy rather than sticky. Stop when the water runs nearly clear, usually after 4-5 rinses.
Can I substitute mirin with something else?
Use 1 tbsp sugar + 2 tbsp dry white wine as a substitute, though the flavor won’t be identical. Authentic mirin adds depth that’s hard to replicate.
How long can I keep prepared sushi rice?
Use it within 4 hours at room temperature or refrigerate for up to 24 hours. Avoid using leftovers for raw fish applications.

- Indian Jasmine Rice Recipe: Fragrant Basmati-Free Elegance - October 19, 2026
- KFC Rizo Rice Recipe: Copycat Side Dish With Savory Spice Blend - October 19, 2026
- Jeerakasala Rice Recipe: Fragrant Cumin-Infused Kerala Delight - October 19, 2026