
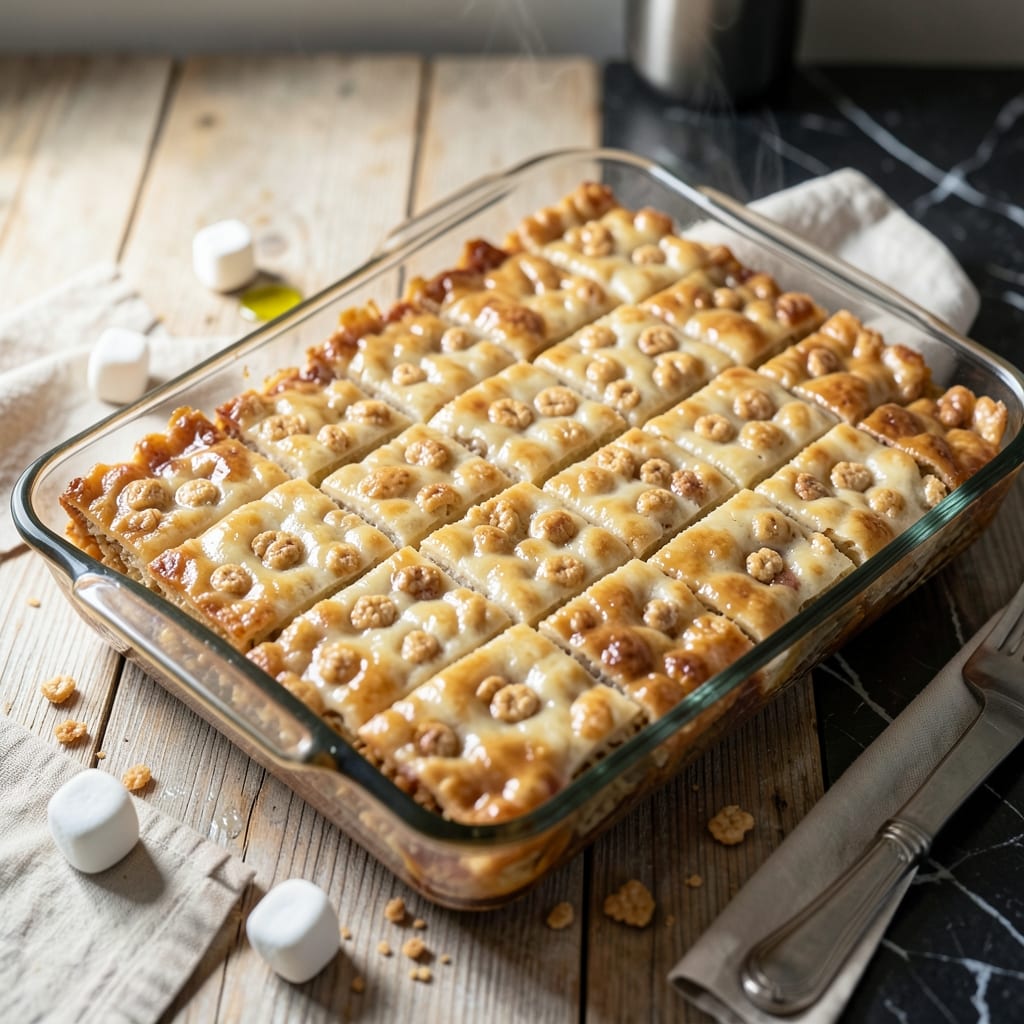
There’s a reason these treats have stood the test of time—crispy, buttery, and perfectly sweet in every bite. This version stays true to the original method with a few pro tips to ensure the best texture and flavor.
Melted marshmallows and butter bind the Rice Krispies into squares that hold their shape without being rock-hard. The key is working quickly while the mixture is still warm and sticky, pressing it evenly into the pan.
You’ll get golden, crackly squares with that signature classic crunch. Let them set completely before cutting to keep the edges clean and the texture just right.
Ideal for parties, lunchboxes, or an easy dessert. This recipe delivers every time.
Ingredients for Jet Puffed Rice Krispies
Five simple ingredients deliver that nostalgic crunch everyone loves in every square.
| Ingredient | Amount | Notes |
|---|---|---|
| Jet Puffed Marshmallows 🍬 | 10 oz | Mini or regular size |
| Rice Krispies Cereal 🥣 | 6 cups | Kellogg's brand recommended |
| Unsalted Butter 🧈 | ½ cup | 1 stick, for melting |
| Pinch of Salt 🧂 | 1 pinch | Balances sweetness |
| Vanilla Extract 💧 | 1 tsp | Pure extract preferred |
The marshmallows are the backbone here. Jet Puffed are the gold standard—consistent melt and perfect sweetness. I grab the 10-ounce bag (about 40 regular marshmallows) from Walmart or Target. Butter quality matters less here since it’s just for binding, but unsalted lets you control the salt level. Kellogg’s Rice Krispies have the right texture and snap that cheaper brands can’t match.
No Jet Puffed? Store-brand marshmallows work in a pinch, but they might melt differently. Want extra flavor? Swap 1/4 cup of the cereal for Cocoa Krispies (adds chocolatey depth). The vanilla is optional but worth the extra minute—it rounds out the flavor. If you’re out of vanilla, a pinch of cinnamon adds a nice warmth without overpowering.
These keep at room temperature for up to 3 days in an airtight container. For longer storage, freeze for 6 weeks (they’ll soften slightly when thawed). Press the mixture firmly into the pan—this prevents crumbly squares.
Why You’ll Love This Recipe
- One Pot Wonder: I melt the butter, toss in the Jet Puffed marshmallows, and stir in the cereal—no extra bowls, no fuss.
- That Vanilla Kiss: The vanilla extract turns the gooey marshmallow-butter mix into something ridiculously good.
- Crowd Pleaser: Honestly, I’ve served these at birthday parties, school events, and even a last-minute potluck.
- Budget Friendly: A box of Rice Krispies and a bag of marshmallows feed a whole group for under ten bucks.
Step-by-Step Instructions for Jet Puffed Rice Krispies Treats
Here’s the method. Straightforward, tested, works every time.
Step 1: Melt the Butter and Prepare the Pan
In a large pot, melt the 0.5 cup Unsalted Butter over low heat. I use a light-colored pot to better monitor the melting process and avoid burning. Once melted, add the 1 pinch Pinch of Salt and stir for 10 seconds until dissolved.
While the butter melts, lightly grease a 9×13-inch baking dish with additional butter or non-stick spray. This prevents the finished treats from sticking and makes cutting easier later. Set the prepared pan aside until ready to use.
Step 2: Combine Marshmallows and Vanilla
Add all 10 oz Jet Puffed Marshmallows to the melted butter. Increase heat to medium-low and stir continuously with a wooden spoon or silicone spatula. The marshmallows will begin to soften and melt within 2-3 minutes.
Once the mixture is about 70% melted, add the 1 tsp Vanilla Extract and continue stirring. Remove from heat when the marshmallows are completely melted and the mixture is smooth. Be careful not to overheat—burnt marshmallows will give your treats a bitter taste.
Step 3: Incorporate the Cereal
Working quickly, add all 6 cups Rice Krispies Cereal to the marshmallow mixture. Use a spatula to fold the cereal into the marshmallow mixture, pressing gently to ensure every piece is evenly coated. The cereal will begin to lose its crispness as it absorbs the warm marshmallow mixture.
The mixture will be thick and sticky. If you notice the cereal isn’t fully coated, continue folding for another 20-30 seconds until uniform. Avoid overmixing, as this can crush the cereal and make the treats dense instead of light and airy.
Step 4: Press and Set the Treats
Transfer the cereal mixture to your prepared baking dish. Use a buttered spatula or your buttered hands to press the mixture evenly into the pan. Press firmly but don’t compact too tightly—you want the treats to hold together but still have that classic airy texture.
Let the treats cool at room temperature for 20-30 minutes until completely set. You’ll know they’re ready when the top is firm to the touch and no longer sticky. For faster setting, you can refrigerate for 10-15 minutes, but room temperature cooling gives the best texture.
Step 5: Cut and Serve
Once set, use a sharp knife to cut the treats into 12 equal squares. For clean cuts, run your knife under hot water between each slice. This prevents the marshmallow from sticking to the blade and dragging the cereal.
Serve immediately or store in an airtight container at room temperature for up to 3 days. These treats are best enjoyed fresh but maintain their texture well if stored properly. The cereal should retain a slight crispness with a gooey marshmallow center in every bite.
Pro Tips For Making Jet Puffed Rice Krispies
- Melt Butter Slowly: Use low heat when melting the butter to prevent it from browning. I learned this the hard way—burnt butter makes the whole batch taste bitter.
- Use Fresh Marshmallows: Jet Puffed marshmallows work best when they’re fresh and soft. After using stale ones once, I finally figured out they just don’t melt as smoothly.
- Press Gently: When pressing the mixture into the pan, don’t compact it too hard or the treats will be dense. A light touch keeps them airy and crisp.
- Add Vanilla Last: Stir in the vanilla extract after removing the marshmallow mixture from heat. High heat can dull its flavor, and I was skeptical until I tried it—now it’s non-negotiable.
Storing and Reheating jet puffed rice krispies
Room Temperature Storage
Once completely set, store your treats in an airtight container at room temperature. They’ll stay fresh for up to 3 days while maintaining that perfect crispy-chewy texture. I use a glass container with a snap-tight lid for best results. 💪
Freezer Storage
For longer storage, freeze treats in a single layer on a baking sheet for 1 hour, then transfer to a freezer bag. They’ll keep well for up to 6 weeks. When ready to eat, thaw at room temperature for 30-60 minutes before serving.
Avoiding Sogginess
To prevent moisture buildup, place a sheet of parchment paper between layers if stacking. Never store while still warm—the trapped heat creates condensation that makes treats soggy. Always let them cool completely first.
Re-crisping Method
If your treats lose their crunch, revive them in a 300°F oven for 5-7 minutes. Watch closely to avoid over-browning. This works particularly well for day-old treats that have absorbed a bit of humidity.
Portion Control
Cut into individual squares before freezing for easy grab-and-go portions. Wrap each piece in plastic wrap for extra protection against freezer burn. This method keeps treats tasting fresh for the full 6-week storage period.
Serving Fresh
For the best texture, serve at room temperature. If you must refrigerate, let them sit out for 15-20 minutes before eating. The cereal will soften slightly but regain its snap as it warms up.
Nutrition Facts
Frequently Asked Questions
Can I use mini marshmallows instead of regular?
Yes! Mini marshmallows melt faster, so reduce heat to low and stir constantly. They’ll incorporate more evenly into the mixture.
Why are my treats hard instead of crispy?
Overmixing or pressing too firmly can make them dense. Work quickly and press just enough to hold shape, then let cool completely for 30 minutes.
Can I add chocolate chips to the mixture?
Fold in 1 cup of chocolate chips after mixing in the cereal. The residual heat will soften them slightly without melting completely.
How do I keep them from sticking to the pan?
Grease the pan well with butter or non-stick spray before pressing in the mixture. For extra insurance, line with parchment paper.

- Mujadara Rice and Lentils Recipe: Earthy Spiced Lentils With Caramelized Onions - November 1, 2026
- Naija Fried Rice Recipe: Street-Style Spice With Veggie Crunch - November 1, 2026
- Mushy Rice Recipe: Fluffy Grains Transformed in Minutes - November 1, 2026