
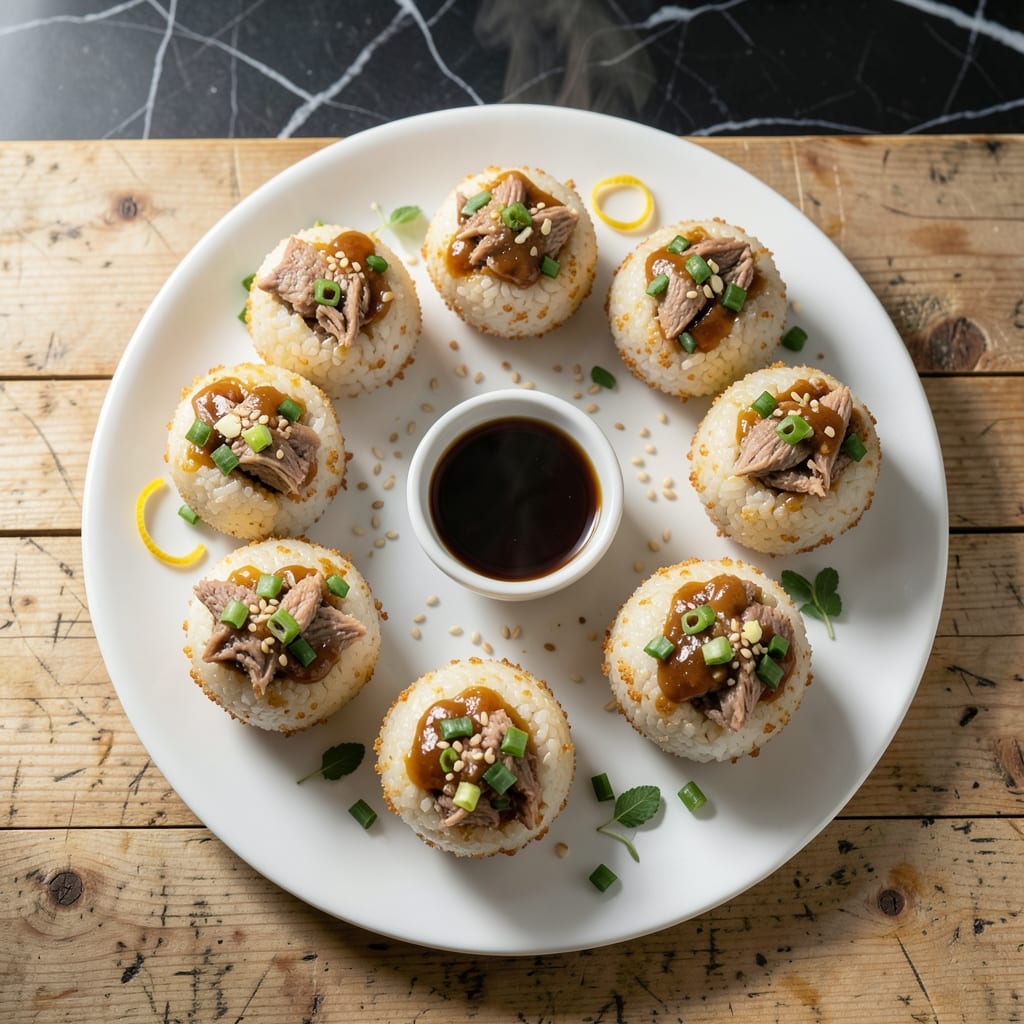
I’ve perfected the art of Korean tuna rice balls, delivering a crispy exterior with a soft, flavorful center every time. This dish combines simple pantry staples with a few key techniques to achieve that ideal texture contrast.
The secret lies in using day-old rice and pressing the mixture firmly before frying. A light coating of breadcrumbs ensures that satisfying crunch, while the tuna and seasoning blend creates a savory, umami-rich filling.
These rice balls come together quickly with minimal effort, making them ideal for snacking or serving as a side. The frying process locks in moisture while creating a golden, crispy shell.
Serve warm for the best experience, when the outside is at its most satisfying and the inside remains tender and flavorful.
Ingredients for Korean Tuna Rice Balls
Pantry staples meet a few fresh touches to create these golden, crispy bites with tender centers.
| Ingredient | Amount | Notes |
|---|---|---|
| Cooked Short-Grain White Rice 🍚 | 3 cups | Day-old, chilled preferred |
| Canned Tuna in Water 🐟 | 2 cans | Drained, flaked (5 oz each) |
| All-Purpose Flour 🌾 | ¼ cup | For binding mixture |
| Panko Breadcrumbs 🍞 | 1 ½ cups | For crispy coating |
| Large Eggs 🥚 | 2 whole | Beaten for breading |
| Soy Sauce 🥫 | 2 tbsp | Low-sodium preferred |
| Sesame Oil 🫒 | 1 tbsp | Toasted for depth |
| Green Onions 🧅 | 4 whole | Thinly sliced for filling |
| Garlic Cloves 🧄 | 2 cloves | Minced for seasoning |
| Gochujang 🌶️ | 1 tbsp | Korean chili paste (optional) |
| Neutral Cooking Oil 🫒 | 2 cups | For frying (vegetable or canola) |
| Sesame Seeds 🌰 | 1 tbsp | Toasted for garnish |
| Salt 🧂 | ½ tsp | Adjust to taste |
| Black Pepper 🌶️ | ¼ tsp | Freshly ground preferred |
The rice is key here—day-old short-grain (like sushi rice) holds together best. Trader Joe’s or any Asian market will have what you need. The tuna should be water-packed for cleaner flavor, and drain it really well (squeeze in a paper towel if needed). For the breadcrumbs, panko gives that extra crunch, but regular works in a pinch. I always grab mine from the baking aisle at Kroger.
No gochujang? Sriracha plus a pinch of sugar gets you close. Out of green onions? Chives or regular onion (finely diced) work. The soy sauce can be tamari for gluten-free. If you’re avoiding eggs, cornstarch slurry (2 tbsp cornstarch + 3 tbsp water) binds the rice mixture decently. Fresh tuna isn’t worth it here—canned holds up better to frying (and is way cheaper).
Fry in batches to avoid crowding the pan—keeps the oil temp steady. Leftovers keep in the fridge for 2-3 days (reheat in air fryer for best crispiness). The rice mixture can be prepped a day ahead—store covered in the fridge. Freeze cooked balls for up to 1 month (thaw before reheating).
Why You’ll Love This Recipe
- Minimal Effort: I just mix rice, tuna, and a couple pantry staples—no fancy techniques or hard-to-find ingredients.
- Crispy Outside, Creamy Inside: That panko crust gives a satisfying crunch, while the rice stays soft and the tuna adds a subtle savory depth.
- Lunchbox Hero: These keep well for days, so I pack them for picnics, school lunches, or even a quick desk meal.
- Budget Friendly: Canned tuna and leftover rice mean I spend pennies per serving. Honestly, it’s my cheapest protein-packed meal.
Step-by-Step Instructions for Korean Tuna Rice Balls
Here’s how to make these crispy, flavorful rice balls with a tender center every time.
Step 1: Prepare the Tuna Filling
Drain the 2 cans Canned Tuna in Water thoroughly and flake with a fork. In a bowl, combine the tuna with 2 tbsp Soy Sauce, 1 tbsp Sesame Oil, thinly sliced 4 whole Green Onions, and 2 minced Garlic Cloves.
Add 1 tbsp Gochujang, 0.5 tsp Salt, and 0.25 tsp Black Pepper. Mix well until everything is evenly coated. The filling should look moist but not soupy—this ensures every bite is packed with flavor.
Step 2: Shape and Coat the Rice Balls
Place 3 cups Cooked Short-Grain White Rice in a large bowl. With damp hands, take a handful of rice and press it into a flat disc. Add a spoonful of the tuna mixture to the center, then fold the rice around it to form a ball.
Roll the ball gently between your palms to smooth it out. Repeat until all rice and filling are used. Chill these balls in the refrigerator for 15 minutes to firm them up—this prevents them from falling apart during breading.
Step 3: Bread the Rice Balls
Set up a breading station with three shallow bowls. Place 0.25 cup All-Purpose Flour in the first, 2 beaten Large Eggs in the second, and 1.5 cups Panko Breadcrumbs in the third.
Roll each chilled rice ball in the flour, shaking off excess. Dip it into the beaten eggs, letting any excess drip off. Finally, roll it in the panko, pressing gently to ensure full coverage. The panko creates that promised crispy texture, so don’t skip this step.
Step 4: Fry to Golden Perfection
Heat 2 cups Neutral Cooking Oil in a deep pot to 350°F. Use a thermometer to ensure accuracy—this temperature is key for even cooking without burning the breading.
Fry the rice balls in batches for 3-4 minutes until they’re golden brown all over. Avoid overcrowding the pot, which can lower the oil temperature and lead to greasy results. Drain on a wire rack or paper towels to maintain crispiness.
Step 5: Garnish and Serve
Sprinkle the hot rice balls with 1 tbsp Sesame Seeds for a nutty finish. Serve immediately while the outside is still crispy and the inside warm and soft. These are best enjoyed fresh, so gather everyone around the table right away.
If you’re making a big batch, keep the fried rice balls warm in a 200°F oven on a wire rack, but they’re at their peak straight from the fryer.
Pro Tips For Making Korean Tuna Rice Balls
- Chill the Rice First: Use day-old or refrigerated rice—freshly cooked is too sticky and will fall apart when shaping. I learned this the hard way after my first three batches collapsed mid-fry.
- Drain Tuna Well: Press the canned tuna in a fine-mesh strainer for 30 seconds to remove excess water, or your rice balls will be soggy inside. Sounds tedious, but it actually changes the outcome.
- Double-Coat for Crisp: Dip the rice balls in flour, then egg, then panko, and repeat the egg and panko layers. This guarantees a shatteringly crisp crust that holds together when frying.
- Skip Cold Oil: Heat your oil to 350°F before adding the rice balls—cold oil makes them absorb too much grease and turn limp. After burning my first batch, I finally figured out the right temperature matters most.
Pro Cooking Tips for Perfect Results
Rice Selection Matters
Using day-old short-grain rice like sushi rice is non-negotiable for me. Fresh rice is too moist and sticky, making it hard to shape. I always grab Koshihikari rice from the Asian aisle at H Mart—it holds together perfectly. 💪
Chilling for Success
After shaping, chill your rice balls for at least 15 minutes in the fridge. This firms them up so they don’t fall apart during breading. I’ve skipped this step before and regretted it—don’t make my mistake!
Breading Station Setup
Use three shallow bowls for flour, beaten eggs, and panko. Press the rice balls gently into the panko to ensure full coverage. I like to use one hand for wet ingredients and one for dry to keep things tidy.
Oil Temperature Control
Maintain 350°F oil temperature for even cooking. A candy thermometer clipped to the pot side gives accurate readings. If the oil smokes, it’s too hot—reduce the heat immediately. 🌡️
Frying in Batches
Fry in small batches to avoid crowding the pot. Too many rice balls at once lowers the oil temp, leading to greasy results. I use a slotted spoon to turn them gently for even browning.
Draining Properly
Drain on a wire rack or paper towels to maintain crispiness. A rack allows air circulation on all sides, preventing soggy bottoms. Sprinkle with sesame seeds while still hot for maximum flavor adhesion.
Nutrition Facts
Frequently Asked Questions
Can I use fresh rice instead of day-old?
Fresh rice is too moist and sticky, making shaping difficult. Day-old rice holds together better and fries up crispier. If you must use fresh, spread it on a tray for 30 minutes to dry slightly before shaping.
How do I keep them crispy after frying?
Drain on a wire rack instead of paper towels to allow air circulation. For reheating, use an air fryer at 375°F for 3-4 minutes to restore crispiness. Never microwave, as it makes them soggy.
Can I bake instead of fry?
Yes! Bake at 400°F for 15-20 minutes, turning halfway. Brush with oil first for extra crispiness.

- Mujadara Rice and Lentils Recipe: Earthy Spiced Lentils With Caramelized Onions - November 1, 2026
- Naija Fried Rice Recipe: Street-Style Spice With Veggie Crunch - November 1, 2026
- Mushy Rice Recipe: Fluffy Grains Transformed in Minutes - November 1, 2026