
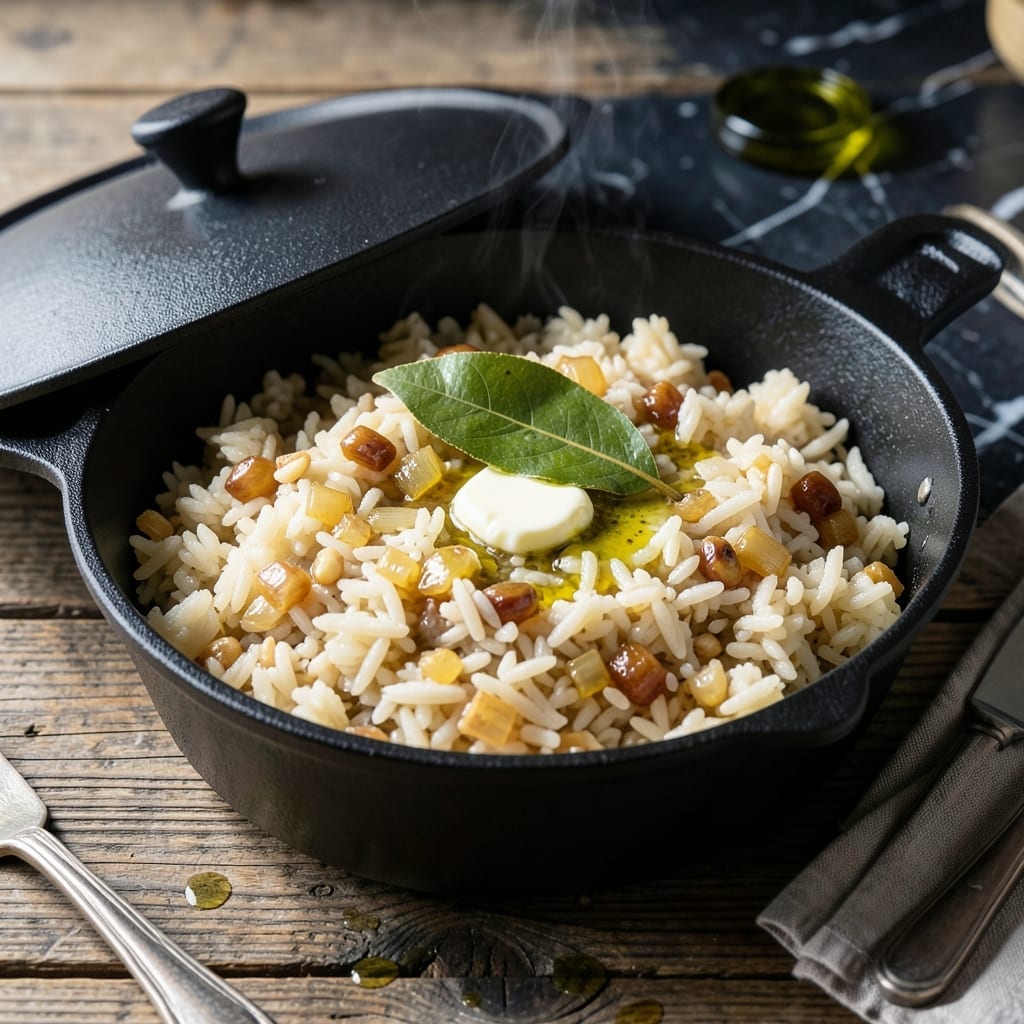
This rice dish redefines what side dishes can be with its plump, juicy texture and rich, savory depth. I developed this method after years of dry, lackluster rice that never quite hit the mark.
The secret lies in the cooking liquid—a flavorful broth that infuses every grain while maintaining moisture. A precise ratio of liquid to rice and a tight-fitting lid ensure steam works its magic, transforming ordinary rice into something extraordinary.
Each bite delivers tender grains bursting with flavor, never mushy or dry. The technique guarantees consistent results, whether you’re serving it alongside grilled meats or as a base for stir-fries and curries.
Master this fundamental method and elevate every meal with perfectly cooked rice that steals the show.
Ingredients for Juicy Rice
A precise selection of ingredients transforms humble rice into a savory, plump masterpiece every time.
| Ingredient | Amount | Notes |
|---|---|---|
| Long-Grain White Rice 🍚 | 2 cups | Rinsed until water runs clear |
| Chicken Broth 🍲 | 3 ½ cups | Low-sodium preferred for control |
| Unsalted Butter 🧈 | 2 tbsp | Divided for toasting and finishing |
| Yellow Onion 🧅 | 1 whole | Finely diced for even distribution |
| Garlic Cloves 🧄 | 3 cloves | Minced to release maximum flavor |
| Bay Leaf 🍃 | 1 whole | Removed before serving |
| Fresh Thyme Sprigs 🌿 | 2 whole | Stems removed, leaves only |
| Kosher Salt 🧂 | 1 tsp | Diamond Crystal brand preferred |
| Freshly Ground Black Pepper 🌶️ | ½ tsp | Coarse grind for texture |
| Dry White Wine 🍷 | ¼ cup | Optional for acidity balance |
| Fresh Parsley 🌿 | ¼ cup | Chopped, for final garnish |
| Lemon Zest 🍋 | 1 tsp | Finely grated for brightness |
The rice quality cannot be overstated. Jasmine or basmati long-grain white rice delivers the ideal texture—avoid instant or pre-cooked varieties. Whole Foods and Trader Joe’s carry excellent options. For the broth, low-sodium chicken stock allows you to control the seasoning precisely. The butter should be European-style for superior fat content, which enriches the grains without greasiness.
No white wine? Substitute with additional broth and a squeeze of lemon. Fresh thyme can be replaced with dried at one-third the quantity. If you lack bay leaves, a pinch of ground bay leaf works, though whole is superior. The onion and garlic are non-negotiable for the aromatic base, but shallots can stand in for the onion in a pinch.
Cooked rice holds 4-5 days refrigerated in an airtight container. For longer storage, freeze in portions for up to 3 months. Reheat with a splash of water or broth to restore moisture. Always bring to room temperature before reheating for best texture.
Why You’ll Love This Recipe
- One Pot Magic: I love that it all cooks together in one pot—just rice, broth, butter, onion, and garlic, no fancy steps.
- Rich & Savory: The chicken broth and butter soak into every grain, and the garlic-onion combo makes it irresistibly flavorful.
- Meal Prep Hero: It reheats beautifully, so I make a big batch for lunches all week. Even better the next day.
- Budget Friend: Long-grain rice and simple pantry staples keep costs low, but it tastes like a restaurant side dish.
Step-by-Step Instructions for Juicy Rice
This method ensures perfectly plump grains with rich, savory depth in every bite.
Step 1: Toast the Rice and Aromatics
In a heavy-bottomed pot with a tight-fitting lid, melt 1 tablespoon unsalted butter over medium heat. Add the rinsed 2 cups long-grain white rice and the finely diced yellow onion. Stir frequently for 3-4 minutes until the rice turns translucent at the edges and the onion softens.
This toasting step enhances the nutty depth of the rice while building a flavor foundation. The grains should appear slightly glassy, and the onion should become translucent without browning. Be careful not to let the butter burn—adjust the heat as needed.
Step 2: Deglaze and Build Flavor
Add the minced 3 cloves garlic cloves, 1 whole bay leaf, and leaves from 2 whole fresh thyme sprigs. Stir for 30 seconds until the garlic becomes fragrant but hasn’t browned.
Pour in the 0.25 cup dry white wine and scrape up any browned bits from the bottom of the pot. Simmer for 1-2 minutes until the liquid reduces by half and the raw alcohol smell dissipates. This step extracts maximum flavor from the aromatics and creates a rich base.
Step 3: Add Broth and Season
Pour in the 3.5 cups chicken broth, then add 1 tsp kosher salt and 0.5 tsp freshly ground black pepper. Stir well to distribute the rice evenly and bring the mixture to a gentle boil over medium-high heat.
This is where the magic happens—the liquid should just cover the rice by about ½ inch. If you notice it’s significantly higher or lower, double-check your measurements. The broth should be lightly seasoned at this point; taste and adjust if needed.
Step 4: Simmer Until Tender
Once boiling, reduce heat to low, cover with the lid, and simmer for 18-20 minutes. Do not stir during cooking—this can break the grains and release excess starch, resulting in mushy rice.
You’ll know it’s done when all liquid is absorbed and the rice is tender with a slight bite. If the top appears dry but the bottom is still firm, add 2-3 tablespoons of water, cover, and cook for another 2-3 minutes.
Step 5: Rest and Finish
Remove the pot from heat and let it sit covered for 10 minutes. This crucial resting period allows steam to finish cooking the rice evenly and ensures plump, separate grains.
After resting, fluff with a fork and stir in the remaining 1 tablespoon unsalted butter, 0.25 cup chopped fresh parsley, and 1 tsp lemon zest. Remove the bay leaf before serving. The parsley adds freshness while the lemon zest brightens the savory flavors.
Pro Tips For Making Juicy Rice
- Toast the Rice: Cook the rice in the butter with the onions and garlic for 2-3 minutes until slightly golden—I learned this the hard way, but it adds a nutty depth that plain steamed rice lacks.
- Use Warm Broth: Pour in chicken broth straight from the fridge and your rice will take forever to cook evenly; heat it first to near simmering for consistent results.
- Skip the Stirring: Resist the urge to stir once the liquid is added; it breaks the grains and turns your juicy rice into a mushy disappointment.
- Rest Before Serving: After cooking, let it sit covered for 5-10 minutes—this lets the steam redistribute so every bite is moist, not just the top layer.
Troubleshooting Great juicy rice
Rice Still Crunchy
If your rice remains undercooked, it likely needs more liquid or time. Add ¼ cup hot broth or water, cover tightly, and cook for 5 more minutes on low. Check that your lid fits properly—steam is essential for even cooking. 💡
Mushy Texture
Over-stirring or too much liquid causes this issue. Avoid stirring after the initial mix and measure your broth precisely. If it happens, drain excess liquid and spread rice on a baking sheet to dry slightly. Use 1.75:1 liquid-to-rice ratio next time.
Bland Flavor
Boost seasoning by toasting the rice longer in butter before adding liquid. Use low-sodium broth so you can control salt levels. Finish with a squeeze of lemon or extra herbs to brighten the dish. Taste as you go and adjust.
Burnt Bottom
This occurs with heat that’s too high or insufficient liquid. Always use medium-low heat after boiling and ensure your pot has a heavy bottom. If you see browning, immediately reduce heat and add 2 tbsp water to deglaze.
Uneven Cooking
Uneven heat distribution or lifting the lid too often can cause this. Use a heavy pot and resist peeking during cooking. If the top is dry but bottom is wet, turn off heat and let it steam covered for 5-10 minutes. 🔥
Sticky Rice
Rinsing the rice before cooking removes excess starch that causes stickiness. Use cold water until it runs clear. Also, let the rice rest covered after cooking to allow grains to separate naturally.
Nutrition Facts
Frequently Asked Questions
What’s the ideal liquid-to-rice ratio?
Use a 1.75:1 ratio of liquid to rice for perfect texture every time. For 2 cups rice, that means 3.5 cups broth. This ensures enough moisture without making it mushy.
Why does the rice need to rest after cooking?
Resting for 10 minutes allows steam to redistribute, finishing the cooking process evenly. This step prevents dry spots and helps grains separate naturally for fluffier results.
Can I make this ahead of time?
Yes! Cooked rice stays fresh in the fridge for 4-5 days in an airtight container. Reheat with a splash of broth to restore moisture. Freeze for up to 3 months for longer storage.
How do I prevent a burnt bottom?
Use medium-low heat after boiling and a heavy-bottomed pot. If browning occurs, reduce heat immediately and add 2 tablespoons water to deglaze. Never skip stirring during toasting.

- Mujadara Rice and Lentils Recipe: Earthy Spiced Lentils With Caramelized Onions - November 1, 2026
- Naija Fried Rice Recipe: Street-Style Spice With Veggie Crunch - November 1, 2026
- Mushy Rice Recipe: Fluffy Grains Transformed in Minutes - November 1, 2026