
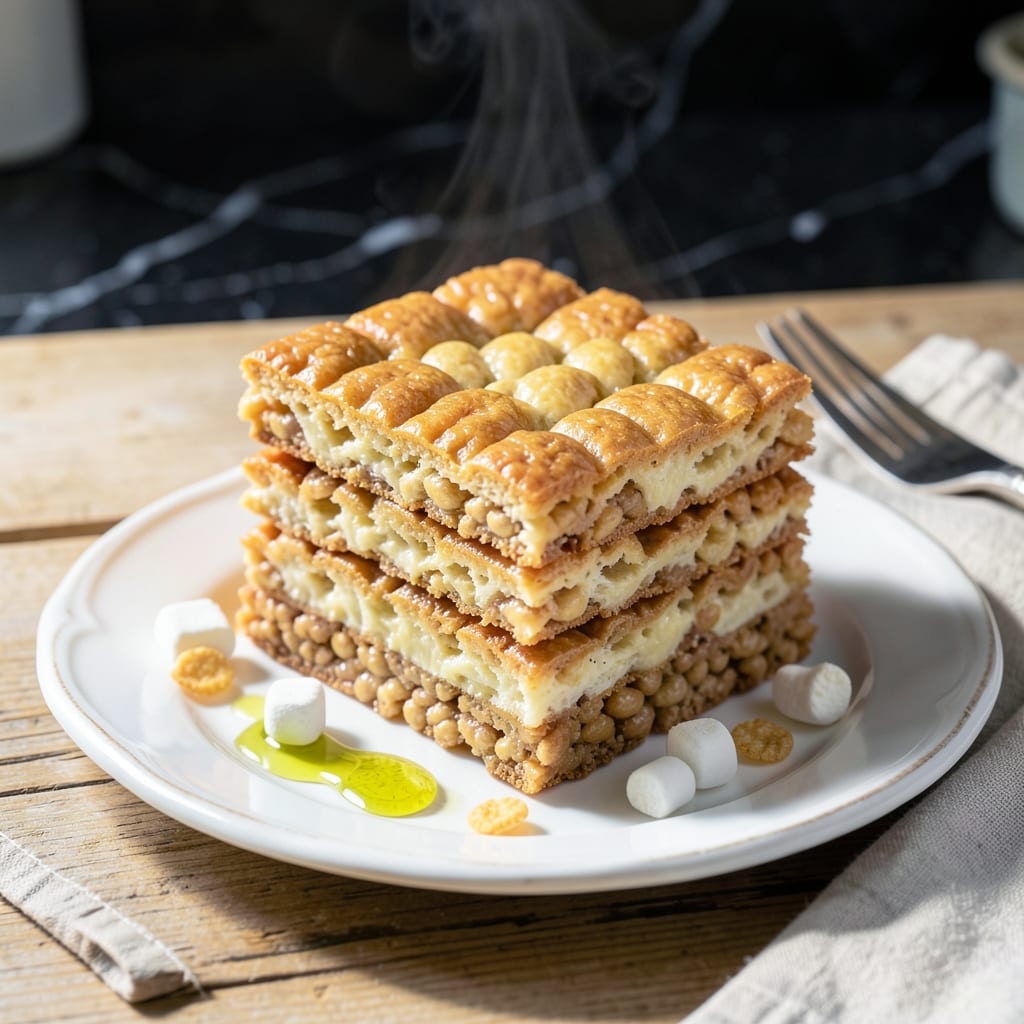
There’s a reason this no-bake treat has remained a classic for generations. The combination of crispy cereal, melted marshmallows, and rich butter creates an irresistible texture that’s both chewy and crunchy.
I’ve tested countless variations, but nothing beats the original method for its perfect balance of simplicity and flavor. The key is using fresh marshmallows and allowing the mixture to cool just enough before pressing into the pan.
What you’ll get is a batch of golden-brown squares with that signature snap, crackle, and pop in every bite. These treats stay fresh for days and travel well for picnics or school lunches.
Perfect for parties, bake sales, or a quick homemade dessert. Here’s how to make them right.
Ingredients for Kellogs Rice Krispie Treat
Just five ingredients for that nostalgic snap, crackle, and pop everyone loves.
| Ingredient | Amount | Notes |
|---|---|---|
| Rice Krispies Cereal 🥣 | 6 cups | Kellogg's brand recommended |
| Mini Marshmallows ⚪ | 10 oz | Fresh for best melt |
| Unsalted Butter 🧈 | ¼ cup | Or salted, adjust to taste |
| Vanilla Extract 💧 | 1 tsp | Pure for best flavor |
| Salt 🧂 | ¼ tsp | Fine grain preferred |
The marshmallows are doing the heavy lifting here—jet-puffed or store brand both work, but avoid the stale ones hiding in the back of your pantry. Kellogg’s Rice Krispies are the classic for a reason (that signature crunch), but generic crispy rice cereal is fine in a pinch. The butter should be real, not margarine. I always use unsalted so I can control the salt level myself.
No mini marshmallows? Regular marshmallows cut into quarters work, but they take longer to melt. Want extra flavor? Add a pinch of cinnamon or cocoa powder. Need to make these vegan? Swap the butter for coconut oil—same amount. The vanilla can be skipped if you’re out, but it really rounds out the flavor.
These keep at room temperature in an airtight container for 3-4 days. They actually get a little chewier the next day. For longer storage, freeze for up to 2 months—just thaw before serving.
Why You’ll Love This Recipe
- One Bowl Wonder: I melt the butter and marshmallows in the same pot I mix everything in—no extra dishes to wash.
- That Vanilla Magic: The splash of vanilla turns the simple marshmallow-butter combo into something rich and aromatic.
- Party or Pajamas: I’ve served these at birthdays and also eaten half the pan in my sweatpants at 10 p.m.
- Stays Fresh for Days: Left in a sealed container, they stay soft and chewy for up to three days—my lunchbox hero.
Step-by-Step Instructions for Classic Rice Krispie Treats
Here’s how to nail these nostalgic squares with the perfect crunch and gooey texture.
Step 1: Melt Butter and Prepare the Marshmallows
In a large pot, melt the 0.25 cup unsalted butter over low heat. Watch for the foam to subside—that’s your cue it’s fully melted. Don’t let it brown; we want pure buttery flavor here.
Immediately add the 10 oz mini marshmallows and stir constantly with a silicone spatula. This prevents sticking and ensures even melting. You’ll see the marshmallows start to collapse after 2-3 minutes, then transform into a smooth, glossy mixture.
Step 2: Add Flavor Enhancers
Once the marshmallow mixture is completely melted and smooth, remove the pot from heat. Stir in the 1 tsp vanilla extract and 0.25 tsp salt. The vanilla adds depth, while the salt balances the sweetness—trust me, it makes a difference.
Real talk: this is the moment that matters. If you skip the salt, your treats will taste flat. Give it a good stir for 15 seconds to distribute everything evenly before moving to the next step.
Step 3: Fold in the Cereal
Working quickly (the mixture sets fast), add all 6 cups Rice Krispies cereal to the pot. Use your spatula to fold gently but thoroughly, pressing down slightly to ensure every piece gets coated in that sticky marshmallow goodness.
You’ll notice the cereal starts to soften as it absorbs the warm mixture. Stop folding once you see no more dry spots—this usually takes about 30-45 seconds. The cereal should glisten but still retain its signature crunch.
Step 4: Press and Shape the Treats
Transfer the mixture to a greased 9×13-inch baking dish. Lightly grease your spatula or hands with butter to prevent sticking, then press the mixture evenly into the pan. Don’t compact it too hard—just enough to create an even layer.
Here’s the thing—if you press too firmly, you’ll lose that airy texture we all love. The top should look slightly domed in the center. Let it sit at room temperature for 10-15 minutes to set before cutting.
Step 5: Cut and Serve
Once the treats are cool to the touch, use a sharp knife to cut into 12 equal squares. For clean cuts, dip the knife in hot water and wipe it between each slice. The treats should hold their shape but still feel slightly tacky to the touch.
Serve immediately or store in an airtight container at room temperature for up to 3 days. Each square should have that perfect balance of crispy cereal and chewy marshmallow, with just the right amount of buttery richness.
Pro Tips For Making Kellogs Rice Krispie Treat
- Melt Butter Low: Keep the heat on medium-low when melting butter for marshmallows—I learned this the hard way after scorching a batch at high heat, which gave the treats a bitter edge.
- Use Fresh Marshmallows: Stale mini marshmallows turn hard and won’t melt smoothly, so check the bag’s freshness date or give them a quick squeeze to test softness.
- Press Lightly: Resist the urge to pack the mixture too tightly into the pan—this makes the treats dense and hard; a gentle press keeps them light and crispy.
- Grease Everything: Butter your spatula, the pan, and even your hands before pressing the mixture down—this prevents sticking and makes cleanup a breeze.
Storing and Reheating This kellogs rice krispie treat
Room Temperature Storage
Let your treats cool completely before storing in an airtight container at room temperature. They’ll stay fresh for 3-4 days, actually getting chewier over time. I use a glass container with a snap-tight lid for best results. 💡
Freezing for Later
For longer storage, wrap individual squares in plastic wrap, then place in a freezer bag. They’ll keep for up to 2 months. Thaw at room temperature for 30 minutes before serving—they’ll taste just as fresh as day one.
Avoid the Fridge
Don’t refrigerate these treats—it makes them rock hard and loses that perfect texture. The marshmallow sets differently in cold temperatures. Stick to room temperature or freezing only.
Reviving Stale Treats
If your treats lose their freshness after a few days, place them in the microwave for 10-15 seconds. This softens the marshmallow just enough to restore that gooey texture without making them mushy.
Travel Tips
For picnics or lunchboxes, pack squares in parchment paper to prevent sticking. They travel well at room temperature for 4-6 hours. I always add an ice pack in warm weather just in case. ❄️
Cutting After Storage
If you stored the whole pan, use a warm knife to cut clean squares. Dip in hot water and wipe between cuts. This works even after freezing—just let the pan thaw slightly first.
Nutrition Facts
Frequently Asked Questions
Can I use regular marshmallows instead of mini?
Yes, but cut them into quarters first for even melting. They take 2-3 minutes longer to dissolve completely. Mini marshmallows are preferred for convenience and consistent texture.
Why did my treats turn out hard?
Over-pressing the mixture or letting it cool too long before shaping causes this. Press gently and work quickly for that perfect chewy-crispy balance.
How do I make them extra gooey?
Add 1 extra cup of marshmallows or reduce cereal to 5 cups. For next-level richness, stir in 2 tablespoons of peanut butter with the melted marshmallows.
Can I make these without butter?
Substitute 1/4 cup coconut oil for a dairy-free version. The flavor will be slightly different but still delicious.

- Mujadara Rice and Lentils Recipe: Earthy Spiced Lentils With Caramelized Onions - November 1, 2026
- Naija Fried Rice Recipe: Street-Style Spice With Veggie Crunch - November 1, 2026
- Mushy Rice Recipe: Fluffy Grains Transformed in Minutes - November 1, 2026