
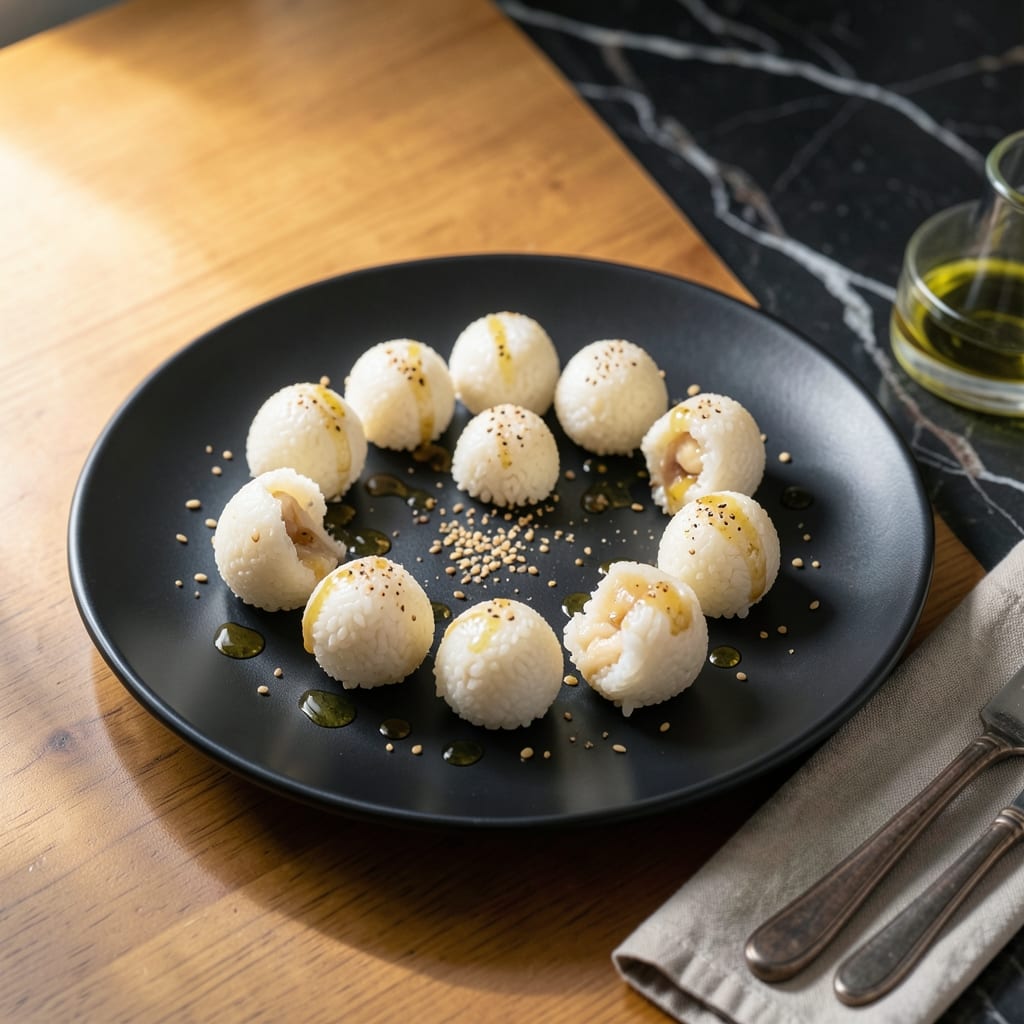
This traditional Korean street food transforms simple rice into crispy, bite-sized snacks with an irresistible texture. I’ve perfected a method that ensures every piece stays light and airy, just like the versions sold at bustling markets.
The secret lies in pressing the rice thin and frying it until golden. A touch of salt enhances the natural flavor, while the cooking process creates that signature crunch. It’s surprisingly simple to recreate at home.
What you’ll get are delicate, golden bites that shatter with each bite, offering a satisfying contrast between the outer crunch and tender interior. They’re perfect for snacking or serving as a unique appetizer.
Ready in under 30 minutes, this vegan-friendly treat will become your new go-to for gatherings or solo cravings.
Ingredients for Korean Rice Snack
Transform everyday rice into crispy, golden bites with just a handful of pantry staples.
| Ingredient | Amount | Notes |
|---|---|---|
| Short-Grain White Rice 🍚 | 2 cups | Uncooked, rinsed thoroughly |
| Water 💧 | 2 ½ cups | For cooking rice |
| Sea Salt 🧂 | 1 tsp | Fine grain, divided |
| Neutral Oil 🫒 | 1 ½ cups | For frying, like vegetable or canola |
| Sesame Oil 🫒 | 1 tsp | Toasted, for finishing |
| Garlic Powder 🧄 | ½ tsp | Optional, for extra flavor |
| Onion Powder 🧅 | ½ tsp | Optional, for depth |
| Sugar 🍚 | ¼ tsp | Optional, balances salt |
| Toasted Sesame Seeds 🌿 | 1 tbsp | For garnish, optional |
| Nori Sheets 🌊 | 2 sheets | Optional, for wrapping variation |
The rice is everything here. Short-grain white rice gives that sticky texture needed to hold the shape—jasmine or basmati won’t work. Rinse it until the water runs clear to remove excess starch (this prevents gumminess). I grab mine from H Mart or any Asian market for the best quality. For the oil, any neutral variety with a high smoke point works, but avocado oil gives the cleanest flavor.
No sesame oil? Skip it—the snappy texture still shines. Want extra crunch? Press the rice thinner before frying. The salt can be adjusted to taste, but don’t skip it entirely (it enhances the rice’s natural sweetness). For a nutty twist, swap sesame seeds for crushed peanuts. The nori sheets are purely optional but add a fun street-food vibe (toast them lightly first).
These keep 2-3 days in an airtight container, though they’re best fresh. Re-crisp in a 350°F oven for 5-10 minutes if needed. Freezing isn’t recommended—the texture suffers. Make a double batch though; they disappear fast (trust me on this one).
Why You’ll Love This Recipe
- Five Ingredients: I love that it only needs short-grain rice, water, sea salt, and a splash of sesame oil—nothing complicated.
- Crispy outside, soft inside: That toasty edge from the neutral oil with the tender center? I make seconds just for that bite.
- Snack or side: Between us, I serve these at parties, pack them for lunch, and still sneak a few straight from the pan.
- Dirt Cheap: Honestly, a big bag of rice and two oils stretch forever—way kinder to my wallet than chips.
Step-by-Step Instructions for Korean Rice Snack
Here’s my foolproof method for achieving that perfect crispy texture you’re craving.
Step 1: Cook and Season the Rice
Rinse the 2 cups Short-Grain White Rice thoroughly until the water runs clear—this removes excess starch and prevents gummy results. Cook the rice with the 2.5 cups Water according to package instructions, but reduce the water slightly for firmer grains.
Once cooked, let it cool completely. Spread it on a tray to speed this up. While still warm, season with ½ tsp Sea Salt, 0.5 tsp Garlic Powder, 0.5 tsp Onion Powder, and 0.25 tsp Sugar. Mix gently but thoroughly—you want every grain coated. This seasoning ensures flavor in every bite.
Step 2: Shape and Prepare for Frying
With damp hands (to prevent sticking), take small portions of the seasoned rice and press them into compact shapes. I like to make either small patties or oblong bites—about 1-inch thick. The key is to compress them firmly so they hold together during frying.
If using the 2 sheets Nori Sheets, cut them into strips and wrap each rice piece before frying. This adds a subtle oceanic flavor and visual appeal. Chill the shaped rice for 30 minutes to help them maintain structure when they hit the hot oil.
Step 3: Fry to Golden Perfection
Heat the 1.5 cups Neutral Oil in a deep pot to 350°F. The oil should be deep enough to submerge the rice bites completely. To test the temperature, drop in a small piece of rice—if it sizzles immediately and floats, you’re ready.
Fry the rice bites in batches to avoid crowding the pot, which would lower the oil temperature. Cook for 3-4 minutes until they turn deep golden brown and crispy. Use a slotted spoon to transfer them to a paper towel-lined plate to drain excess oil.
Step 4: Finish and Serve
While the bites are still hot, drizzle them lightly with the 1 tsp Sesame Oil. This adds a nutty aroma that elevates the flavor. Sprinkle with the 1 tbsp Toasted Sesame Seeds for added texture and visual contrast.
Serve immediately while they’re still crispy. The contrast between the crunchy exterior and the slightly chewy interior is what makes these so addictive. If they soften, a quick 2-minute re-fry in hot oil will restore the crispiness.
Pro Tips For Making Korean Rice Snack
- Soak the Rice: Give the short-grain rice a 30-minute soak in cold water before cooking—this guarantees even cooking and that perfect sticky texture for shaping snacks.
- Use Day-Old Rice: My grandmother swore by this, and she was right: leftovers from yesterday hold their shape better and crisp up faster in the pan.
- Skip the Overcrowding: Press the rice into the pan in a thin, even layer with space between pieces—otherwise, they’ll steam instead of getting that golden crust.
- Finish with Sesame Oil: Drizzle just a teaspoon of sesame oil over the snacks right after frying for that nutty aroma that makes them taste authentic.
Make-Ahead Tips for Leftovers
Prep Ahead Strategy
Cook and season the rice up to 2 days in advance. Store it in an airtight container in the fridge. When ready to fry, let it sit at room temperature for 30 minutes to take the chill off. This prevents oil temperature drops when frying.
Shape and Chill
Form all your rice bites and arrange them on a parchment-lined tray. Cover with plastic wrap and refrigerate for up to 24 hours. Chilling firms them up, making frying easier and more consistent. I often do this the night before a party. ✨
Oil Temperature Control
For best results, use a deep fry thermometer—I rely on my CDN ProAccurate. Maintain oil at 350°F throughout. If you’re frying in batches, give the oil 2-3 minutes to recover temperature between batches.
Batch Frying Plan
With 1.5 cups oil, you can fry about 6-8 pieces at a time in a standard pot. Work in batches to avoid overcrowding. Keep finished batches warm in a 200°F oven on a wire rack while you finish frying.
Make-Ahead Flavor Boost
If prepping ahead, hold off on the sesame oil drizzle and sesame seeds until just before serving. This preserves the maximum crunch. The garlic powder and onion powder in the rice keep their flavor well during storage.
Re-crisping Magic
If your snacks lose their crispiness, spread them on a baking sheet and warm in a 375°F oven for 5-7 minutes. They’ll come out nearly as good as fresh. This works for leftovers too. 💫
Nutrition Facts
Frequently Asked Questions
Can I use leftover rice for this?
Yes, but ensure it’s short-grain white rice. Leftover rice works if it’s not too dry. Reheat slightly and add a splash of water to restore moisture before shaping and frying.
How do I keep them crispy longer?
Store in a single layer on a wire rack to allow airflow. Avoid airtight containers until completely cooled. Reheat in a 375°F oven for 5-7 minutes to restore crunch.
Can I bake instead of fry?
Baking at 400°F for 20-25 minutes works, but the texture won’t be as crispy. Use a wire rack on a baking sheet and flip halfway through for even browning.
Why did my snacks fall apart?
This usually happens if the rice isn’t compressed firmly enough.

- Mujadara Rice and Lentils Recipe: Earthy Spiced Lentils With Caramelized Onions - November 1, 2026
- Naija Fried Rice Recipe: Street-Style Spice With Veggie Crunch - November 1, 2026
- Mushy Rice Recipe: Fluffy Grains Transformed in Minutes - November 1, 2026