
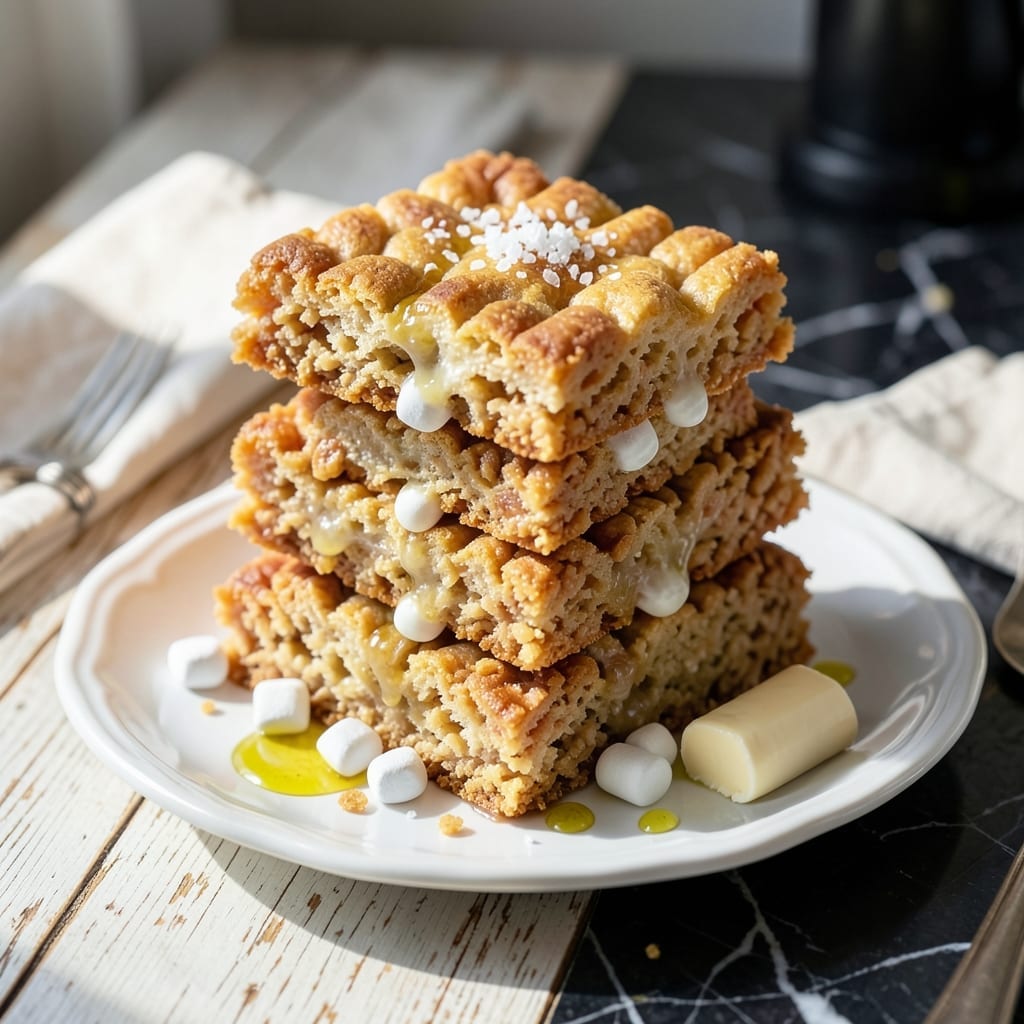
There’s a reason this no-bake classic has stood the test of time—it’s foolproof and ready in 15 minutes. I rely on this recipe for quick gatherings, school events, or last-minute cravings.
The method is simple: melt butter and marshmallows together until smooth, then fold in crispy rice cereal until every piece is coated. Press the mixture into a pan and let it set—no oven required.
What you’ll get is a pan of perfectly chewy, gooey squares with just the right amount of crispness. They hold their shape when cut but still melt in your mouth.
Ideal for parties, lunchboxes, or an easy treat. Here’s how to make them.
Ingredients for Kraft Marshmallow Rice Krispie Treats
Butter, marshmallows, cereal. That is literally all you need for these.
| Ingredient | Amount | Notes |
|---|---|---|
| Unsalted Butter 🧈 | ¼ cup | Melted for binding |
| Mini Marshmallows 🍬 | 10 oz | Regular or jumbo, chopped |
| Crispy Rice Cereal 🥣 | 6 cups | Kellogg's Rice Krispies preferred |
| Vanilla Extract 🌿 | ½ tsp | Pure for best flavor |
| Salt 🧂 | ¼ tsp | Fine grain for balance |
The marshmallows are the soul here. Kraft Jet-Puffed are the classic pick—consistent melt, perfect chew. Butter quality matters less (unsalted is standard so you control the salt), but don’t skimp on the cereal. Rice Krispies from any grocery store work, but fresh boxes snap better than the sad stale ones at the back of the pantry.
No mini marshmallows? Large ones chopped up work fine—just takes a minute longer to melt. Vegan route? Dandies marshmallows melt like a dream. Want extra crunch? Swap half the cereal for Corn Flakes. The vanilla extract is subtle but worth the splash (don’t skip it).
These keep 3-4 days at room temp in an airtight container. They’ll soften over time, but honestly, they’re usually gone within 24 hours. Freeze for up to 2 months if you somehow have leftovers.
Why You’ll Love This Recipe
- One Bowl Wonder: I melt butter, toss in mini marshmallows, and stir in cereal—cleanup’s just a spatula and my favorite bowl.
- That Vanilla Magic: The splash of vanilla turns the melted marshmallow-butter mix into something rich and nostalgic.
- Party or Lunchbox: I’ve served these at birthdays and packed them for school snacks—equally loved in both places.
- Stays Fresh for Days: Honestly, they taste just as good on day three as day one if I can keep them hidden that long.
Step-by-Step Instructions for Kraft Marshmallow Rice Krispie Treats
This no-bake classic comes together in minutes with just a pot and a spoon.
Step 1: Melt the Unsalted Butter
In a large pot, melt the 0.25 cup Unsalted Butter over low heat. I like to use a light-colored pot so I can see when the butter is fully melted without browning. You want it just liquid, not foamy or golden.
Watch carefully—butter can go from melted to burnt quickly. Once it’s completely liquid with no solid pieces remaining, you’re ready for the next step. Don’t turn up the heat to speed this up; gentle heat prevents scorching.
Step 2: Toast the Mini Marshmallows
Add all 10 oz Mini Marshmallows to the melted butter. Stir constantly with a wooden spoon or silicone spatula as they begin to melt. The marshmallows will first soften, then collapse into a thick, gooey mixture.
This process takes about 3-4 minutes on low heat. Keep stirring and scraping the bottom of the pot to prevent hot spots. You’ll know it’s ready when the mixture is smooth with no visible marshmallow pieces—just a glossy, molten blend.
Real talk: if you rush this step with high heat, you’ll get a burnt, bitter flavor. Low and slow is the only way to go.
Step 3: Add Vanilla and Salt
Remove the pot from heat and immediately stir in the 0.5 tsp Vanilla Extract and 0.25 tsp Salt. The vanilla adds depth of flavor that balances the sweetness, while the salt enhances all the other flavors.
Stir for 15-20 seconds until fully incorporated. The mixture will be thick and sticky, and it might look like it’s seizing up a bit—that’s normal. The residual heat from the marshmallow mixture will keep it workable.
Step 4: Fold in the Crispy Rice Cereal
Working quickly, add all 6 cups Crispy Rice Cereal to the pot. Use your spoon or spatula to fold the cereal into the marshmallow mixture, pressing down gently to ensure every piece gets coated.
This step requires a bit of elbow grease—the mixture is incredibly sticky. Scrape the sides and bottom of the pot to incorporate any stray marshmallow. You’ll know you’re done when there are no dry cereal pieces left and the mixture is uniform.
Here’s the thing—if the mixture starts to cool and becomes too stiff to mix, place the pot back on low heat for 10-15 seconds to soften it slightly, then continue mixing.
Step 5: Shape and Set the Treats
Transfer the mixture to a greased 9×13-inch baking dish or line it with parchment paper for easy removal. Use a greased spatula or buttered fingers to press the mixture evenly into the pan. Press firmly but don’t compact it too tightly—you want chewy treats, not dense ones.
Let the treats cool at room temperature for 30-45 minutes until completely set. You’ll know they’re ready when you can cut them with a sharp knife and they hold their shape. For faster setting, you can refrigerate for 15-20 minutes, but I find room temperature gives the best texture.
Cut into squares and enjoy your classic, no-bake creation. These are best the day they’re made but will keep for up to 2 days in an airtight container at room temperature.
Pro Tips For Making Kraft Marshmallow Rice Krispie Treats
- Melt Butter Low: Use medium-low heat when melting the butter to prevent browning—burnt butter will give your treats an off flavor. I learned this the hard way after ruining a batch with over-eager heat.
- Use Fresh Marshmallows: Stale mini marshmallows don’t melt as smoothly and can leave your treats grainy. Sounds weird, but it works: squeeze one to test—if it’s hard, grab a fresher bag.
- Skip the Overmixing: Stir the cereal into the marshmallow mixture just until coated, or the Rice Krispies will lose their crispness. After burning three batches, I finally figured out that overworking makes them dense.
- Press Lightly: Use buttered hands or a spatula to press the mixture into the pan—don’t compact it like a gym workout, or the treats will turn out tough. My grandmother swore by this, and she was right.
Pro Cooking Tips for This Recipe
Butter Melting Mastery
Always use low heat when melting the 0.25 cup Unsalted Butter. A light-colored pot helps you spot any browning before it happens. Butter burns fast, so keep your eye on it. I learned this the hard way my first time. 🌡️
Marshmallow Melting Magic
Add all 10 oz Mini Marshmallows at once and stir constantly. The process takes 3-4 minutes—don’t rush it with higher heat. Scrape the bottom of the pot to prevent sticking. The mixture is ready when it’s smooth and glossy.
Quick Flavor Boost
Remove from heat before adding 0.5 tsp Vanilla Extract and 0.25 tsp Salt. The residual heat will incorporate them perfectly. Stir for 15-20 seconds until fully blended. This small step makes a big difference in flavor.
Cereal Coating Technique
Fold in all 6 cups Crispy Rice Cereal quickly while the mixture is still warm. Press gently to ensure every piece is coated. If it starts to cool and stiffen, return to low heat for 10-15 seconds to soften.
Perfect Pressing
Use buttered fingers or a greased spatula to press the mixture into the pan. Press firmly but don’t over-compact—you want chewy, not dense. A 9×13-inch dish works best for even squares. 💡
Setting for Success
Let the treats cool at room temperature for 30-45 minutes until fully set. For faster results, refrigerate for 15-20 minutes, but room temp gives the best texture. Cut into squares only after they’re completely firm.
Nutrition Facts
Frequently Asked Questions
Can I use regular marshmallows instead of mini?
Use 40 large marshmallows (about 10 oz) chopped into smaller pieces. They take slightly longer to melt, so keep the heat on low and stir constantly.
Why are my treats hard instead of chewy?
Over-compacting the mixture or using too much heat can make them dense. Press gently into the pan and melt marshmallows on low heat only. Let them set at room temperature for best texture.
How do I keep them from sticking to the pan?
Line your 9×13-inch dish with parchment paper or grease it lightly with butter. Use buttered fingers or a greased spatula to press the mixture evenly.

- Mujadara Rice and Lentils Recipe: Earthy Spiced Lentils With Caramelized Onions - November 1, 2026
- Naija Fried Rice Recipe: Street-Style Spice With Veggie Crunch - November 1, 2026
- Mushy Rice Recipe: Fluffy Grains Transformed in Minutes - November 1, 2026