
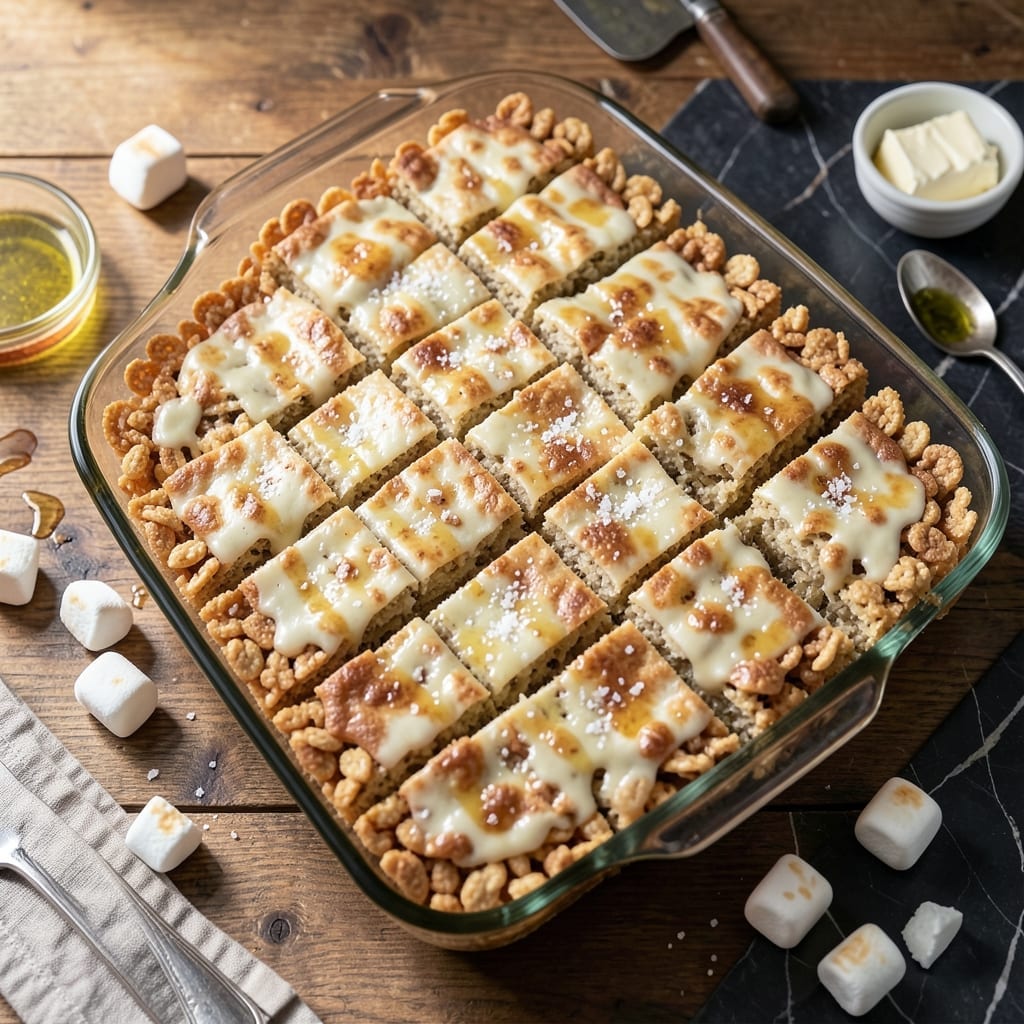
This recipe delivers perfectly chewy, gooey treats scaled for gatherings. The secret is using a full pound of marshmallows to bind a generous amount of cereal.
You’ll end up with thick, rich squares that hold their shape while staying soft. Ideal for parties, school events, or family movie nights.
Ingredients for Family Size Rice Krispies Treats
Seven simple ingredients create thick, chewy squares perfect for feeding a crowd.
| Ingredient | Amount | Notes |
|---|---|---|
| Rice Krispies Cereal 🥣 | 12 cups | Crispy rice cereal preferred |
| Marshmallows 🍬 | 1 lb | Regular or mini marshmallows |
| Unsalted Butter 🧈 | ½ cup | 1 stick, for melting |
| Vanilla Extract 🌿 | 2 tsp | Pure for best flavor |
| Salt 🧂 | ½ tsp | Fine sea salt preferred |
| Light Corn Syrup 🧴 | ¼ cup | Optional for extra chewiness |
| Cooking Spray 🫒 | 1 can | For greasing pan |
The marshmallows are non-negotiable here. Kraft Jet-Puffed are the gold standard—consistent melt and perfect chew. Most grocery stores carry them in the baking aisle. For the cereal, Kellogg’s Rice Krispies gives that classic snap and pop. Avoid generic brands if possible; they can be stale or less crispy. The butter should be unsalted to control the salt level.
No corn syrup? Skip it—these will still be great. Honey or maple syrup at half the amount can sub in a pinch (but texture changes slightly). Out of vanilla? Almond extract at one-quarter the amount works, though flavor shifts. For a fun twist, add 1 cup mini chocolate chips or sprinkles after mixing. Just fold them in gently so they don’t all sink to the bottom.
Store in an airtight container at room temperature for up to 3 days. They’ll stay fresh longer in the fridge for 1 week, but bring to room temp before serving. Freeze for 6 weeks wrapped tightly—thaw overnight before cutting.
Why You’ll Love This Recipe
- One-Bowl Wonder: I melt the butter and marshmallows in the same pot I mix everything in—no extra dishes, just pure efficiency.
- That Vanilla Magic: The splash of vanilla extract turns the sweet, buttery marshmallow into something ridiculously good.
- Feeds the Whole Crew: I make a big batch for school bake sales, and there’s still enough left for midnight snacks.
- Budget-Friendly Batch: A box of cereal and a bag of marshmallows stretch further than you’d think—honestly, my wallet thanks me.
Step-by-Step Instructions for Family Size Rice Krispies Treats
This method ensures perfectly chewy, gooey squares that hold their shape when cut.
Step 1: Prepare the Pan and Measure Ingredients
Begin by thoroughly coating a 9×13-inch baking pan with the cooking spray, including the sides and corners. I use a paper towel to spread it evenly for complete coverage. This prevents sticking and makes cleanup effortless.
Measure out all your ingredients before starting: 12 cups Rice Krispies Cereal, 1 lb Marshmallows, 0.5 cup Unsalted Butter, 2 tsp Vanilla Extract, 0.5 tsp Salt, and 0.25 cup Light Corn Syrup. Having everything ready ensures a smooth process without frantic searching mid-recipe.
Step 2: Melt the Butter and Marshmallow Mixture
In a large, heavy-bottomed pot, melt the 0.5 cup Unsalted Butter over low heat. Once melted, add the 1 lb Marshmallows and stir constantly with a silicone spatula or wooden spoon. The marshmallows will begin to soften and collapse after 2-3 minutes.
When about half the marshmallows have melted, add the 0.25 cup Light Corn Syrup, 2 tsp Vanilla Extract, and 0.5 tsp Salt. Continue stirring until the mixture is completely smooth with no visible marshmallow lumps. This should take 5-7 minutes total. Remove from heat immediately once smooth to prevent scorching.
Step 3: Incorporate the Rice Krispies Cereal
Working quickly before the mixture sets, add all 12 cups Rice Krispies Cereal to the pot. Using the same spatula, fold the cereal into the marshmallow mixture with a gentle pressing motion. The goal is to coat every piece evenly without crushing the cereal.
You’ll notice the mixture becomes thick and slightly glossy as the cereal absorbs the marshmallow coating. Stop folding once all the cereal is incorporated and no dry pieces remain visible. The entire process should take 1-2 minutes—any longer and the mixture may begin to harden in the pot.
Step 4: Press and Shape in the Prepared Pan
Transfer the mixture to your prepared 9×13-inch pan. Using your spatula or the back of a large spoon, press the mixture evenly into all corners and edges. For the smoothest top, I like to lightly coat my hands with additional cooking spray and press down firmly with my palms.
The mixture should fill the pan completely with a uniform thickness of about 1.5 inches. Press down until the surface looks compressed and even. Avoid over-handling, as this can make the treats too dense. Let the pan sit undisturbed for 5 minutes to begin setting.
Step 5: Cool Completely Before Cutting
Allow the treats to cool at room temperature for at least 1 hour before cutting. This cooling time is crucial—cutting too soon will result in messy, misshapen squares. The surface should feel firm to the touch and the edges should have pulled slightly away from the pan.
Once fully set, use a sharp knife coated with a bit of cooking spray to cut into 20 equal squares. Wipe the knife between cuts for clean edges. Store the treats in an airtight container at room temperature for up to 3 days, though they’re best enjoyed fresh.
Pro Tips For Making Family Size Rice Krispies Treats
- Melt Low and Slow: Use medium-low heat when melting the butter and marshmallows—high heat will scorch them, leaving a burnt taste. I learned this the hard way after ruining a batch with impatient heat.
- Grease Everything Twice: Butter your spatula, bowl, and pan before pressing the mixture—yes, even if you think it’s enough the first time. Sounds excessive, but it keeps the treats from sticking like glue.
- Press Lightly, Don’t Pack: Gently press the Rice Krispies into the pan—don’t smash them or you’ll crush the cereal and end up with dense, chewy bricks instead of crispy, airy squares.
- Add Salt Last: Stir in the pinch of salt after combining the marshmallows and cereal. It distributes better and won’t get lost in the melted butter like it did the first three times I tried.
Dietary Considerations for This Dish
Gluten-Free Option
Use Kellogg’s gluten-free Rice Krispies—they’re clearly labeled and taste identical to the original. The texture and snap remain perfect, and you won’t notice any difference in the final result. Just verify the label to ensure no cross-contamination.
Vegan Adaptation
Swap in Dandies vegan marshmallows and Earth Balance plant-based butter. Both melt beautifully and maintain that classic gooey texture. I’ve tested this version many times—it’s just as chewy and delicious as the original. 🌱
Skip the vanilla extract if it’s not alcohol-free, as some brands contain trace amounts.
Dairy-Free Considerations
Use Miyoko’s or Country Crock plant butter instead of dairy butter. The flavor difference is minimal, and the binding power remains the same. Ensure your marshmallows are also dairy-free—most standard brands already are.
Low-Sugar Version
Replace half the marshmallows with sugar-free Jet-Puffed to cut sugar content significantly. The texture stays soft, though slightly less sticky. Add 1 extra tbsp of corn syrup to help with binding.
Nut-Free Note
This recipe is naturally nut-free, but always check your cereal and marshmallow labels. Some facilities process nuts, so look for “nut-free facility” labels if allergies are severe. 💡
Nutrition Facts
Frequently Asked Questions
Can I use a smaller pan for thicker treats?
Yes, a 9×9-inch pan will make thicker squares, but they may be harder to cut. Press the mixture in firmly and allow extra cooling time for clean slices.
Why did my treats turn out hard instead of chewy?
Overheating the marshmallow mixture is the most common cause. Keep the heat on low and remove from the stove as soon as it’s smooth. Stirring too long can also dry it out.
How do I keep them from sticking to the knife?
Coat your knife with cooking spray between each cut. Wipe it clean with a damp cloth for the sharpest edges.
Can I make these ahead of time?
They stay fresh for 3 days at room temperature in an airtight container. For longer storage, freeze for up to 6 weeks.

- Glutinous Rice Flour Bread Recipe: Soft Pillows with Nutty Depth - October 12, 2026
- Green Rice Casserole Recipe: Cheesy Baked Comfort with Vibrant Herbs - October 12, 2026
- Glutinous Rice Coconut Milk Recipe: Chewy Sweetness With Tropical Depth - October 12, 2026