
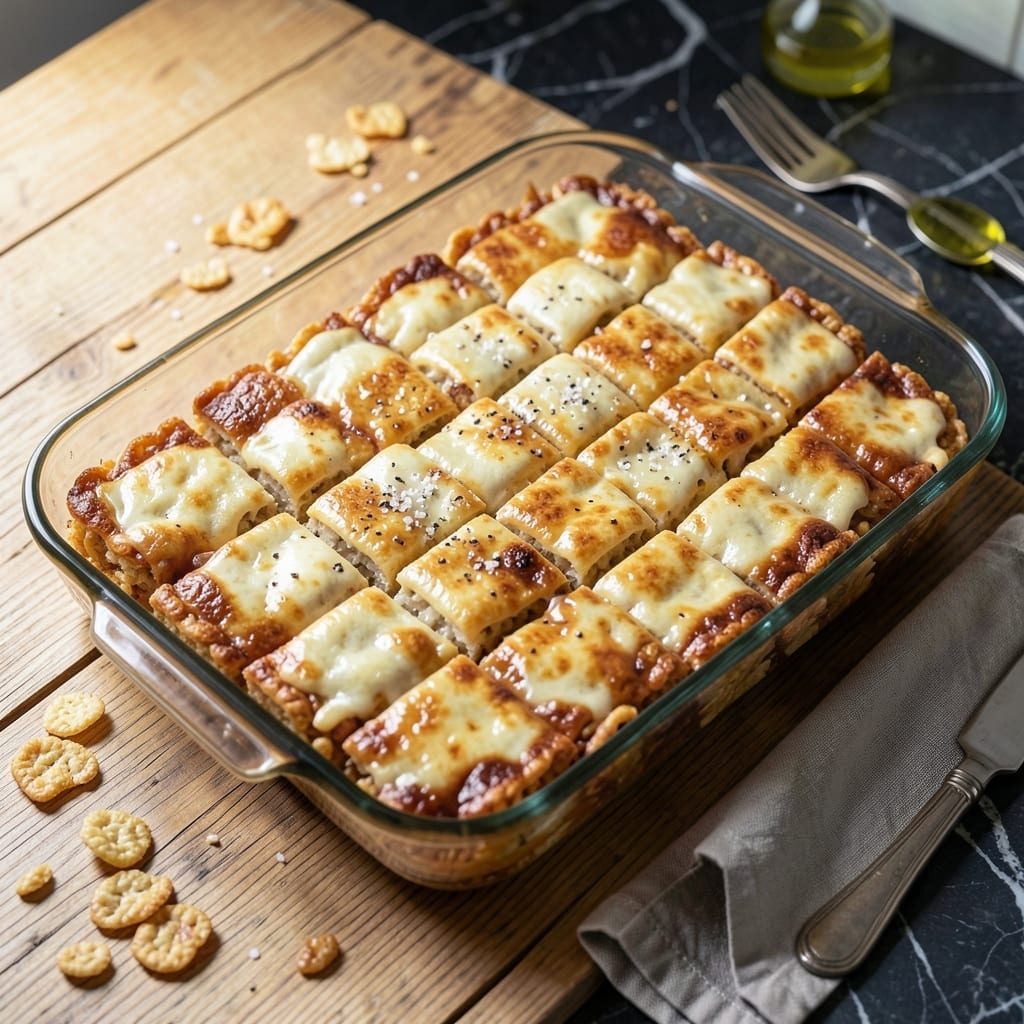
Crafting gluten-free Rice Krispies treats requires just one swap: use certified gluten-free crispy rice cereal. This simple change keeps the classic crunch and gooey marshmallow magic intact.
The process stays the same—melt butter and marshmallows, mix with cereal, then press into a pan. The result is the nostalgic treat you love, now safe for gluten-free diets.
Ingredients for Gluten Free Rice Krispies
Just a handful of ingredients for that nostalgic crunch we all love so much.
| Ingredient | Amount | Notes |
|---|---|---|
| Certified Gluten-Free Crispy Rice Cereal 🌾 | 6 cups | Check label for certification |
| Mini Marshmallows 🍬 | 10 oz | Regular or vegan variety |
| Unsalted Butter 🧈 | ¼ cup | Or vegan butter alternative |
| Vanilla Extract 🌿 | 1 tsp | Pure extract preferred |
| Sea Salt 🧂 | ¼ tsp | Fine grain for even distribution |
| Light Corn Syrup 💧 | 2 tbsp | Optional for extra gooeyness |
| Powdered Sugar 🍚 | 2 tbsp | For dusting, optional |
The cereal is the star here—Kellogg’s makes a certified gluten-free version that’s identical to the original. You’ll find it in the gluten-free aisle at Whole Foods or Sprouts. Any mini marshmallows work, but if you’re avoiding gelatin, Dandies brand is a great vegan option (and they melt just as well). The butter can be unsalted or salted, but unsalted lets you control the salt level better.
No corn syrup? Honey or maple syrup works in a pinch, though the texture might be slightly different. For a marshmallow-free version, melted caramel plus a splash of cream can bind the cereal (one-third the amount of marshmallows). If you’re out of vanilla, skip it—the butter and salt carry enough flavor. Want extra crunch? Add 1/4 cup toasted almonds to the mix.
These keep at room temperature in an airtight container for up to 3 days (if they last that long). For longer storage, wrap individual treats in parchment paper and freeze for 2 months. They’ll soften slightly when thawed, but a quick 10-second microwave brings back the gooey magic.
Why You’ll Love This Recipe
- One Pot Wonder: I melt the butter and marshmallows in a single saucepan, stir in the crispy rice, and we’re done in 15 minutes flat.
- Vanilla Cloud: The vanilla extract plus a pinch of sea salt turns the marshmallow goo into something ridiculously good.
- Party or Lunchbox: I’ve packed these squares for school pickups and served them on a platter for birthdays—same batch, zero stress.
- Stays Fresh: They keep in an airtight tin for up to three days, so I can double the recipe and actually have leftovers.
Step-by-Step Instructions for Gluten Free Rice Krispies Treats
This method delivers perfectly crispy-edged, gooey-centered treats with minimal effort and maximum satisfaction.
Step 1: Melt and Bloom the Butter Mixture
In a large pot, melt the 0.25 cup unsalted butter over low heat. I prefer a light-colored pot so I can monitor the color change—you want to avoid browning the butter. Once fully melted, add the 10 oz mini marshmallows and the 2 tbsp light corn syrup.
Stir constantly with a silicone spatula, scraping the bottom to prevent sticking. The marshmallows will begin to collapse and melt into a glossy, stretchy mixture after about 5-7 minutes. You’ll know it’s ready when the last marshmallow lumps disappear and the mixture pulls away from the sides slightly.
Remove from heat and immediately stir in the 1 tsp vanilla extract and 0.25 tsp sea salt. This is when the magic happens—the vanilla deepens the flavor and the salt balances the sweetness perfectly.
Step 2: Fold in the Cereal Off Heat
Working quickly (the mixture sets fast), add all 6 cups certified gluten-free crispy rice cereal at once. Use your spatula to fold the cereal into the marshmallow mixture, pressing down gently to ensure every piece gets coated.
The cereal will seem like too much at first, but keep folding. Within 30-45 seconds, the mixture will transform into a sticky, cohesive mass with no dry spots. Be careful not to overmix—you want to maintain some of the cereal’s crispness for texture contrast.
Real talk: If the mixture starts to set before fully incorporated, return the pot to low heat for 10-15 seconds to soften it slightly, then continue folding. The residual heat from the pot usually does the trick.
Step 3: Press and Shape the Treats
Transfer the mixture to a parchment-lined 8×8-inch or 9×9-inch baking dish. I like to lightly dampen my hands with water (or use buttered hands) to prevent sticking as I press the mixture evenly into the pan.
Use the spatula first to spread it out, then switch to your hands for the final press. Apply firm, even pressure to create a uniform layer—this ensures consistent texture throughout. Don’t compact it too tightly, though, or your treats will be dense instead of light and airy.
Let the mixture cool at room temperature for 15-20 minutes until set but still slightly warm. You’ll know it’s ready when the top looks matte rather than glossy and holds its shape when gently pressed.
Step 4: Cut and Finish with Powdered Sugar
Once set, use a sharp knife to cut into 16 squares (for 4 servings of 4 treats each). For clean cuts, run your knife under hot water and wipe it dry between each slice. This prevents the marshmallow from dragging and creating uneven edges.
If using, dust the tops with the 2 tbsp powdered sugar for a bakery-style finish. I like to use a fine-mesh sieve to create an even, snowy layer. The sugar adds a touch of elegance and cuts through the richness slightly.
Let the treats cool completely before serving—this final rest allows them to firm up just enough to hold their shape when picked up. The ideal treat should have crisp edges, a gooey center, and that signature snap of the cereal in every bite.
Pro Tips For Making Gluten Free Rice Krispies
- Melt Butter Low: Use low heat when melting the butter to prevent the marshmallows from seizing up or burning—I learned this the hard way after ruining a batch with impatient high heat.
- Check Your Cereal: Not all rice cereal is gluten-free, so double-check the label for certification, even if the box says “rice” prominently.
- Press While Warm: Press the mixture into the pan immediately after mixing, while the marshmallows are still gooey—waiting even 2 minutes makes it harder to shape.
- Butter Your Hands: Lightly grease your hands with butter before pressing the mixture into the pan to avoid sticky fingers and a crumbly mess.
Serving Suggestions for This Dish
Classic Presentation
Serve these treats on a simple white platter for a clean, nostalgic look. The contrast between the golden treats and white dish makes them pop. I like to arrange them in a 3×3 grid for a bakery-style display. 💫
Party Platter Ideas
For gatherings, create a fun dessert board with alternating rows of treats and fresh strawberries or raspberries. The fruit’s tartness balances the sweetness beautifully. Add chocolate-dipped pretzels for crunch variety.
Single-Serve Style
Wrap individual treats in parchment paper and tie with twine for adorable party favors. This also keeps them fresh longer. For kids’ parties, add a small lollipop stick to make them easy to handle.
Dipped Variations
Melt 1 cup chocolate chips and dip half of each treat for a gourmet touch. White chocolate with sprinkles works great for celebrations. Let the chocolate set on parchment for 10 minutes before serving.
Ice Cream Pairing
Serve warm treats alongside a scoop of vanilla ice cream for a sundae experience. The temperature contrast is divine. Drizzle with caramel sauce for extra decadence.
Beverage Pairings
These go perfectly with cold milk or a hot chocolate bar. For adults, try a coffee stout beer—the malty notes complement the marshmallow beautifully. 🍫
Nutrition Facts
Frequently Asked Questions
Can I use regular Rice Krispies for this?
No, regular cereal contains malt flavor derived from barley, which isn’t gluten-free. Always use certified gluten-free crispy rice cereal to keep the recipe safe. Brands like Kellogg’s clearly label their gluten-free version.
How do I keep the treats from getting hard?
Don’t overcook the marshmallow mixture or press too firmly when shaping. Store in an airtight container at room temperature for up to 3 days. A quick microwave for 10 seconds can restore gooeyness if needed.
What can I substitute for marshmallows?
For a vegan option, use Dandies brand marshmallows. For a marshmallow-free version, melted caramel plus 1 tablespoon cream per 1 cup of cereal works well, though the texture will differ slightly.
Can I add mix-ins to the recipe?
Try adding 1/4 cup of toasted nuts, chocolate chips, or dried fruit after folding in the cereal. Sprinkles work too for a festive touch. Just avoid anything that will make the treats too wet.

- Fresh Turmeric Rice Recipe: Golden Grains with Earthy Warmth - October 7, 2026
- French Onion Brown Rice Recipe: Umami-Rich Grains With Caramelized Depth - October 7, 2026
- Rice Noodle Soup Recipe: Aromatic Broth with Silky Strands - October 7, 2026