
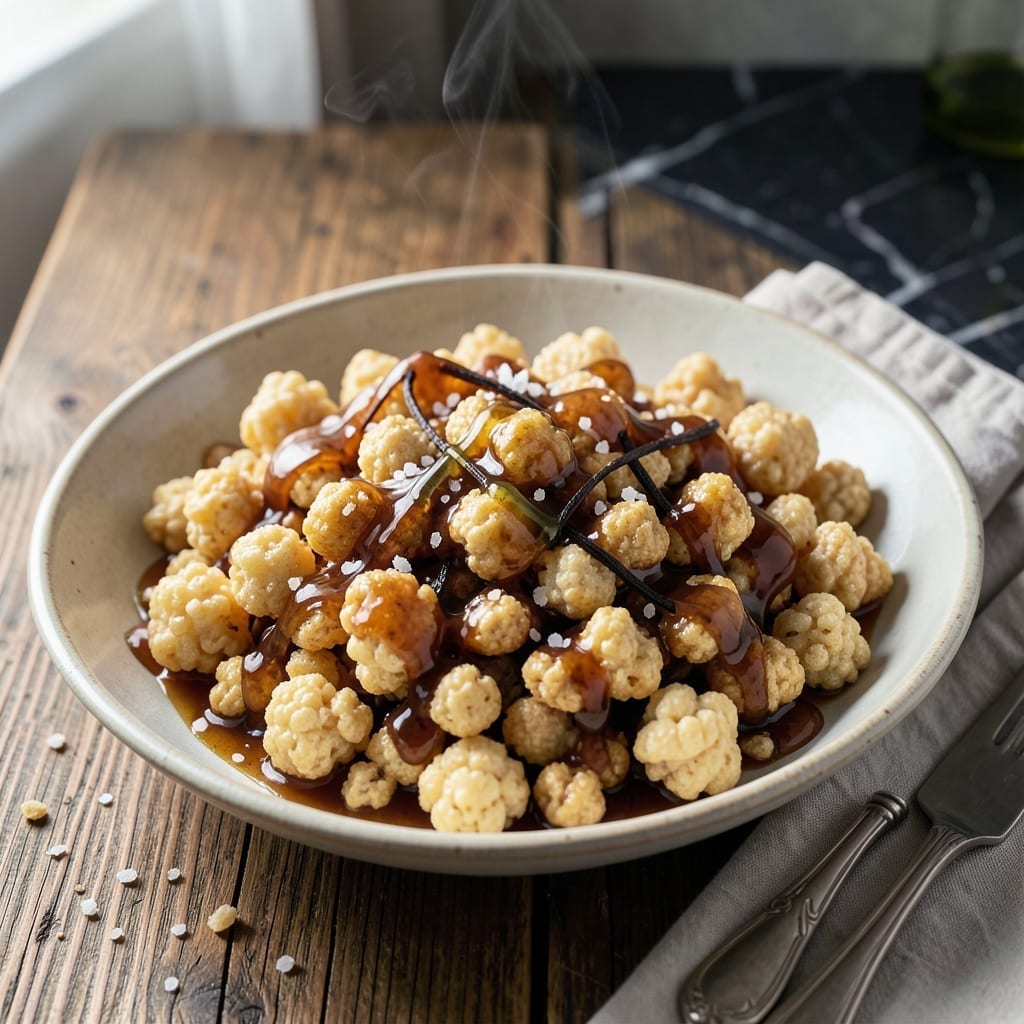
This homemade cereal delivers crispy satisfaction without the store-bought markup. I developed this method after too many mornings of soggy boxed cereal, determined to create something better.
The process transforms plain rice into light, airy puffs with a satisfying crunch. A hot oven and precise timing are key—too long and you’ll lose the delicate texture. The result is worth the attention to detail.
Serve this with cold milk, yogurt, or fresh fruit for a breakfast that feels both nostalgic and elevated. The puffs stay crispy much longer than commercial versions, making them perfect for meal prep.
Ready in under 30 minutes, this recipe proves homemade cereal can be both simple and superior. The technique works with other grains too, opening up endless possibilities.
Ingredients for Puffed Rice Cereal
Transform simple rice into crispy, airy puffs with these pantry staples and a few extras.
| Ingredient | Amount | Notes |
|---|---|---|
| White Long-Grain Rice 🌾 | 2 cups | Uncooked, rinse before use |
| Water 💧 | 4 cups | For cooking rice |
| Sea Salt 🧂 | ½ tsp | Fine grain preferred |
| Coconut Oil 🥥 | 2 tbsp | Melted, or refined for neutral taste |
| Maple Syrup 🍁 | 2 tbsp | Pure, for light sweetness |
| Vanilla Extract 🌿 | 1 tsp | Pure, not imitation |
| Ground Cinnamon 🌶️ | ½ tsp | Optional, for warmth |
| Baking Soda 🧪 | ¼ tsp | Helps puffing process |
| Almond Milk 🥛 | 1 cup | Unsweetened, for serving |
| Fresh Blueberries 🫐 | 1 cup | For topping, optional |
| Sliced Almonds 🌰 | ¼ cup | Toasted, for crunch |
The rice quality matters here. Jasmine or long-grain white rice puffs best—avoid instant or pre-cooked varieties as they won’t achieve the right texture. For organic options, Lundberg Farms or 365 by Whole Foods are reliable choices. The coconut oil should be refined if you want a neutral flavor, but unrefined works too for a subtle tropical note.
No maple syrup? Agave nectar or date syrup at equal amounts work well. Vanilla extract can be swapped for almond extract at half the quantity for a different flavor profile. For nut-free versions, sunflower oil replaces coconut oil seamlessly. The cinnamon is optional but adds warmth—cardamom or nutmeg can substitute if preferred.
Store puffed rice in an airtight container at room temperature for up to 2 weeks. For longer storage, freeze in resealable bags for 3 months. Re-crisp in the oven at 300°F for 5 minutes if needed.
Why You’ll Love This Recipe
- One Pot Wonder: I just toss rice, water, and a pinch of sea salt in a pot, let it do its thing, then crisp it up with coconut oil—no fancy steps.
- Sweet and Salty Crunch: The maple syrup caramelizes into little pockets of sweetness that play perfectly against the sea salt flakes.
- Breakfast or Snack: I make a big batch on Sunday, and it’s just as good over yogurt as it is straight from the jar for a 3 p.m. pick-me-up.
- Pantry Staples Only: Between us, white rice, coconut oil, and maple syrup are already in my cabinet, so this costs me nothing extra.
Step-by-Step Instructions for Puffed Rice Cereal
This method delivers consistently light and crispy results with minimal effort.
Step 1: Prepare and Cook the Rice Base
Begin by rinsing the 2 cups White Long-Grain Rice under cold water until the water runs clear. This removes excess starch that could prevent proper puffing. Combine the rinsed rice with the 4 cups Water and 0.5 tsp Sea Salt in a medium saucepan.
Bring to a boil over high heat, then reduce to low, cover, and simmer for 15-18 minutes until the water is absorbed and the rice is fully cooked. The grains should be tender but still distinct—overcooked rice will become mushy and won’t puff properly.
Step 2: Create the Puffing Mixture
While the rice is still hot, transfer it to a large mixing bowl. Immediately add the 2 tbsp Coconut Oil, 2 tbsp Maple Syrup, 1 tsp Vanilla Extract, 0.5 tsp Ground Cinnamon, and 0.25 tsp Baking Soda. The baking soda is crucial—it reacts with the syrup to create tiny air pockets that expand during cooking.
Stir vigorously with a wooden spoon for 2-3 minutes until the mixture becomes sticky and the baking soda is fully incorporated. You’ll notice the mixture lighten in color slightly as the chemical reaction begins. Ensure every grain is evenly coated to guarantee uniform puffing.
Step 3: Bake Until Crisp and Puffed
Preheat your oven to 375°F. Spread the rice mixture in an even layer on a parchment-lined baking sheet. Use the back of your spoon to press it down lightly—this helps create a uniform surface for even baking.
Bake for 20-25 minutes, stirring halfway through, until the rice turns golden brown and crisp. Watch for the edges to start curling slightly—this visual cue indicates the puffing process is working. The cereal should be dry to the touch and make a light crunching sound when stirred.
Step 4: Cool Completely and Store
Remove the baking sheet from the oven and let the cereal cool completely on the pan. This step is critical—hot cereal will lose its crispness if transferred too soon. As it cools, you’ll hear faint crackling sounds as the cereal finishes crisping up.
Once fully cooled, break the puffed rice into clusters or individual pieces as desired. The cereal will continue to crisp slightly as it cools to room temperature. Transfer to an airtight container for storage.
Step 5: Serve with Toppings
Portion the puffed rice into bowls and pour 1 cup Almond Milk over each serving. The milk will soften the cereal slightly while maintaining its crisp texture. Top with 1 cup Fresh Blueberries and 0.25 cup Sliced Almonds for added freshness and crunch.
Serve immediately—the contrast between the crispy cereal and cold milk is best enjoyed fresh. For optimal texture, consume within 2-3 days of preparation, though the cereal will keep in an airtight container for up to a week.
Pro Tips For Making Puffed Rice Cereal
- Rinse the Rice: Soak the white long-grain rice for 30 minutes before cooking—this removes excess starch and helps it puff evenly when fried or baked.
- Heat the Oil: Get the coconut oil smoking hot before adding the rice; I learned this the hard way after several batches turned out soggy instead of crisp.
- Drain Well: After cooking the rice, spread it on a tray and let it dry completely—any moisture left will turn your puffed cereal into a chewy mess.
- Sweeten After Puffing: Toss the puffed rice with maple syrup only after it’s fully crisp, or the sugar will burn before the rice even puffs.
Creative Variations of These Flavors
Sweet & Spiced Chai
Swap the vanilla extract for 1 tsp chai spice blend and add ¼ tsp cardamom to the cinnamon. This Boston-inspired twist reminds me of Nonna’s kitchen—warm, aromatic, and perfect with cold almond milk. 💛
Chocolate Lover’s Dream
Stir 2 tbsp cocoa powder into the cooked rice before baking, then drizzle with melted dark chocolate after cooling. The bitterness balances the maple syrup beautifully. I test this often—it’s a crowd-pleaser every time.
Tropical Coconut
Use unrefined coconut oil for a stronger flavor, and add ¼ cup shredded coconut to the rice mixture before baking. Top with fresh mango chunks—this combo tastes like a vacation in a bowl.
Savory Snack Mix
Skip the maple syrup and vanilla extract, and instead toss the cooked rice with 1 tbsp nutritional yeast and ½ tsp smoked paprika. Bake as usual for a salty, crunchy snack. Honestly, this might be my favorite variation.
Perfect for movie nights or on-the-go energy. Stores well for 2 weeks in an airtight container.
Cinnamon Sugar Crunch
After baking, toss the puffed rice with 1 tbsp granulated sugar and an extra ½ tsp cinnamon. The sugar caramelizes slightly in the residual heat, creating an irresistible crunch. I make this for my Irish-Italian family gatherings—always a hit. ✨
Nutrition Facts
Frequently Asked Questions
Can I use brown rice instead of white?
Brown rice works but yields a denser, less crispy result. For best puffing, stick with white long-grain rice. The starch structure in white rice creates the ideal airy texture.
Why did my cereal turn out soggy?
Sogginess usually means it wasn’t baked long enough or cooled properly. Ensure it reaches a golden brown color and cools completely on the pan before storing.
What can I use instead of maple syrup?
Agave nectar or honey work well at equal amounts. Avoid liquid sweeteners with high water content, like simple syrup, as they can prevent crisping.
How do I store puffed rice cereal?
Keep in an airtight container at room temperature for up to 2 weeks. For longer storage, freeze in resealable bags for up to 3 months.

- Japanese Rice Sauce Recipe: Umami-Rich Glaze for Sushi and Bowls - September 25, 2026
- Homemade Tomato Rice Soup Recipe: Rustic Simmered Goodness in a Bowl - September 25, 2026
- Korean Sliced Rice Cake Recipe: Chewy Pillows with Bold Spicy Sauce - September 25, 2026