
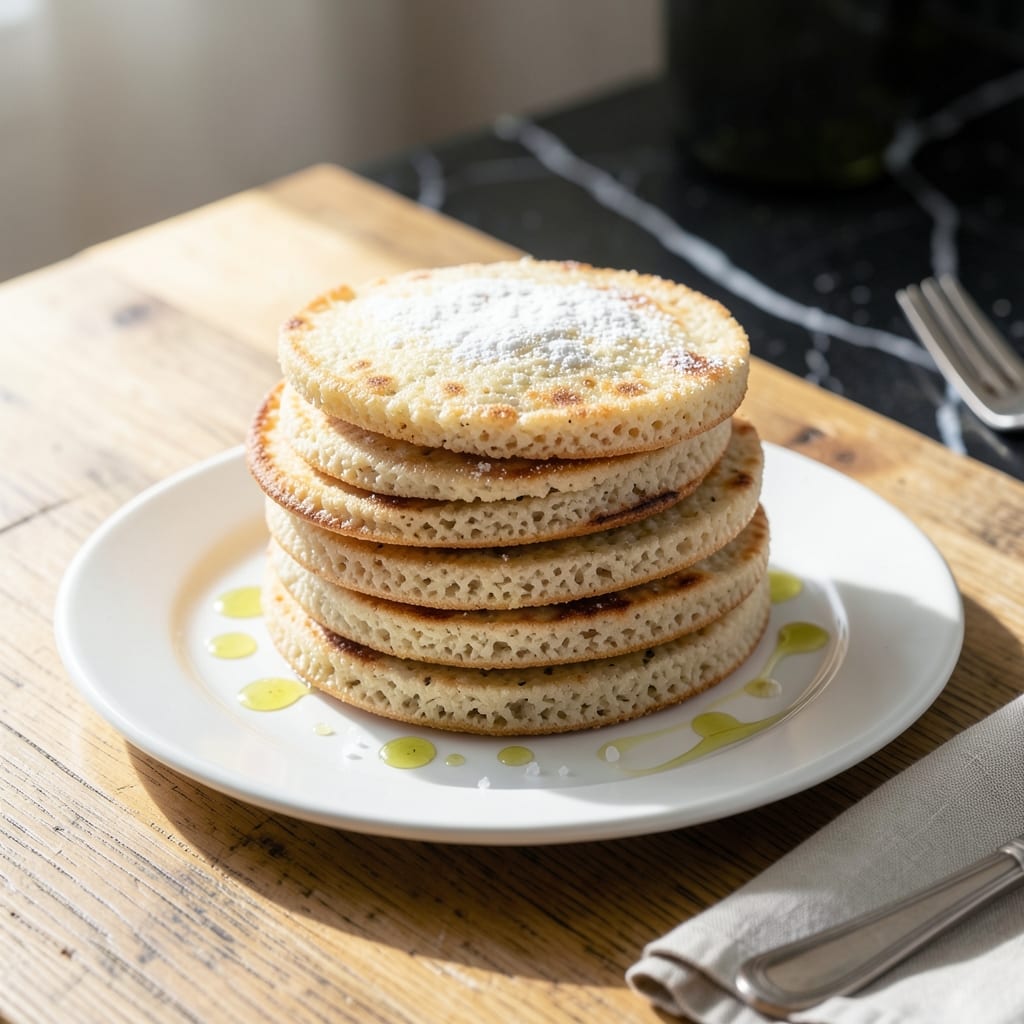
I’ve spent years perfecting this homemade version to match the crunchy texture and light flavor of the original. The secret lies in precise cooking times and the right rice variety.
This method requires just 4 ingredients and delivers the same airy, crisp bite you love. No special equipment—just a stovetop and a little patience.
What you get is a snack that’s identical to store-bought but with the satisfaction of making it yourself. Each cake puffs perfectly and stays fresh for days.
Ideal for topping with nut butter, avocado, or enjoying plain. Here’s how to recreate this classic at home.
Ingredients for Quaker Rice Cake Copycat
Just four pantry staples for that signature light, crispy crunch you crave.
| Ingredient | Amount | Notes |
|---|---|---|
| White Rice Flour 🌾 | 1 cup | Fine, uncooked rice flour |
| Water 💧 | 1 ¼ cups | Filtered for best texture |
| Salt 🧂 | ½ tsp | Fine sea salt preferred |
| Neutral Cooking Oil 🫒 | 2 tbsp | For greasing molds |
The rice flour is everything here—Bob’s Red Mill is my go-to for consistent texture (the fine grind matters). Most grocery stores carry it in the baking aisle, but Asian markets often have better prices for larger bags. Don’t confuse it with rice meal or ground rice, which won’t give you that airy puff. If you’re milling your own, use short-grain white rice for the closest match to the original.
No rice flour? All-purpose flour won’t work here—the starch content is all wrong. But you can sub in tapioca starch at a 1:1 ratio for a slightly chewier texture (still crispy, just different). The salt can be adjusted to taste, but don’t skip it entirely. If your water is heavily chlorinated, use filtered or bottled to avoid any off-flavors in the final cakes.
Store cooled cakes in an airtight container at room temperature for up to 5 days. They’ll soften slightly but stay crisp if kept dry. For longer storage, freeze for 1 month—just pop straight from freezer to toaster to revive the crunch.
Why You’ll Love This Recipe
- Four Ingredients Only: I love that this needs just white rice flour, water, salt, and oil—nothing fancy, nothing extra.
- Crispy & Light: The thin, airy texture with that subtle salt hit makes them impossible to stop eating.
- Endless Toppings: I pile them with avocado, nut butter, or even chili—great for snacks, breakfast, or a quick lunch.
- Pantry Staples: Honestly, I always have these ingredients on hand, so I can make a fresh batch whenever the craving hits.
Step-by-Step Instructions for Homemade Rice Cakes
These simple steps transform basic ingredients into crispy, satisfying rice cakes just like your favorite store-bought version.
Step 1: Create the Rice Flour Batter
In a medium saucepan, combine the 1 cup White Rice Flour and 0.5 tsp Salt. I always whisk these dry ingredients together first to eliminate any lumps and ensure even distribution of the salt throughout the mixture.
Gradually pour in the 1.25 cups Water while whisking continuously. This prevents clumping and creates a smooth, thin batter. The consistency should resemble heavy cream—thin enough to pour but thick enough to coat the back of a spoon. Let the mixture rest for 2 minutes to allow the flour to fully hydrate.
Step 2: Cook the Batter into a Thick Dough
Place the saucepan over medium heat and cook the batter, stirring constantly with a wooden spoon or silicone spatula. Within 2-3 minutes, you’ll notice the mixture thickening significantly—it should pull away from the sides of the pan and form a cohesive ball.
The dough is ready when it becomes too stiff to stir easily and leaves a clean path when you drag the spoon through it. This transformation happens quickly, so don’t walk away. Remove the pan from the heat immediately to prevent overcooking, which can make the dough too dry and crumbly.
Step 3: Shape and Steam the Dough
Transfer the hot dough to a lightly greased surface—I use 1 tbsp Neutral Cooking Oil to coat my hands and the work area. Divide the dough into 4 equal portions for consistent sizing. Roll each portion into a smooth ball, then flatten into a ½-inch thick disk.
Place each disk on a square of parchment paper. I’ve found that using a steamer basket works best for this next part. Bring 1 inch of water to a boil in a pot, then place the disks in the steamer, cover, and steam for 15 minutes. The dough will turn translucent and slightly firm to the touch when ready.
Step 4: Cool and Slice for Crispiness
Remove the steamed disks from the pot and let them cool completely on a wire rack—this prevents condensation from making them soggy. As they cool, they’ll firm up significantly. Once cool to the touch, slice each disk horizontally into ⅛-inch thick rounds using a sharp knife.
Here’s the thing—thinner slices yield crispier rice cakes, while thicker ones will be chewier. For that classic Quaker-style crunch, aim for the thinner end of the range. Arrange the slices in a single layer on a clean kitchen towel to absorb any remaining moisture.
Step 5: Dry and Crisp the Rice Cakes
Preheat your oven to 300°F. Lightly brush both sides of each rice cake slice with the remaining 1 tbsp Neutral Cooking Oil. This helps achieve that golden, crispy exterior. Arrange the slices in a single layer on a baking sheet lined with parchment paper.
Bake for 25-30 minutes, flipping halfway through, until the edges are golden brown and the centers are completely dry. The rice cakes should be crisp when cooled—if they’re still soft, return them to the oven for 5-minute increments until fully crisp. Let them cool completely before serving or storing in an airtight container.
Pro Tips For Making Quaker Rice Cake Copycat
- Preheat the Pan: I learned this the hard way—if your pan isn’t screaming hot before adding the oil, the rice cakes will turn out dense and gummy instead of light and crisp. About 3-4 minutes over medium-high heat does the trick.
- Use Fine Rice Flour: Coarse or clumpy rice flour makes for uneven texture. Sift your white rice flour first, or pulse it in a blender for 10 seconds to guarantee a smooth, airy batter.
- Don’t Overmix: Stir just until the batter is smooth, about 20-30 seconds. Overworking it develops gluten in the rice flour, and suddenly your cakes are chewy instead of crisp.
- Press Them Thin: Spread the batter to about ¼-inch thickness in the pan—any thicker and they won’t crisp up properly, no matter how long you cook them. A light hand and a quick swirl of the pan helps.
Make-Ahead Tips for This quaker rice cake copycat
Prep the Batter
Mix your 1 cup White Rice Flour and 0.5 tsp Salt the night before. Store the dry mix in an airtight container to save time. In the morning, just add 1.25 cups Water and whisk—this cuts prep to under 5 minutes. 💡
Steam in Batches
Shape all your dough disks at once, then steam in batches if your pot is small. I use a bamboo steamer with parchment dividers. Each batch takes 15 minutes, so plan accordingly for efficiency.
Oven Drying Hack
After slicing, arrange the rounds on parchment-lined trays and let them air-dry for 1-2 hours before baking. This extra step ensures maximum crispness without extra oven time.
Storage for Freshness
Once cooled, store in ziplock bags with a silica packet to absorb moisture. They’ll stay crisp for up to 5 days at room temperature. For longer storage, freeze for up to 1 month. ❄️
Re-crisping Method
If they soften, pop them in a 350°F oven for 5-10 minutes to revive the crunch. No need to thaw frozen cakes—just bake straight from the freezer.
Topping Prep
Slice toppings like avocado or banana the day of serving. Keep nut butters in small jars for easy spreading. This keeps everything fresh and ready for quick assembly.
Nutrition Facts
Frequently Asked Questions
Can I use brown rice flour instead?
Yes, but expect a nuttier flavor and slightly denser texture. The crispiness won’t be as light as with white rice flour.
Why did my cakes turn out chewy?
They likely weren’t baked long enough or were sliced too thick. Aim for ⅛-inch slices and bake until completely dry and golden brown.
How do I get them extra crispy?
Let the sliced rounds air-dry for 1-2 hours before baking. This removes excess moisture for maximum crunch.
Can I make these without a steamer?
Yes! Use a colander over a pot of boiling water with a tight lid. Just ensure the water doesn’t touch the dough.

- Quaker Rice Cake Copycat Recipe: Crunchy Homemade Delight - September 25, 2026
- Rice Cooker Recipe: Hands-Off Fluffy Grains Every Time - September 25, 2026
- Roast Pork and Rice Recipe: Savory Meat Over Fluffy Grains - September 25, 2026