
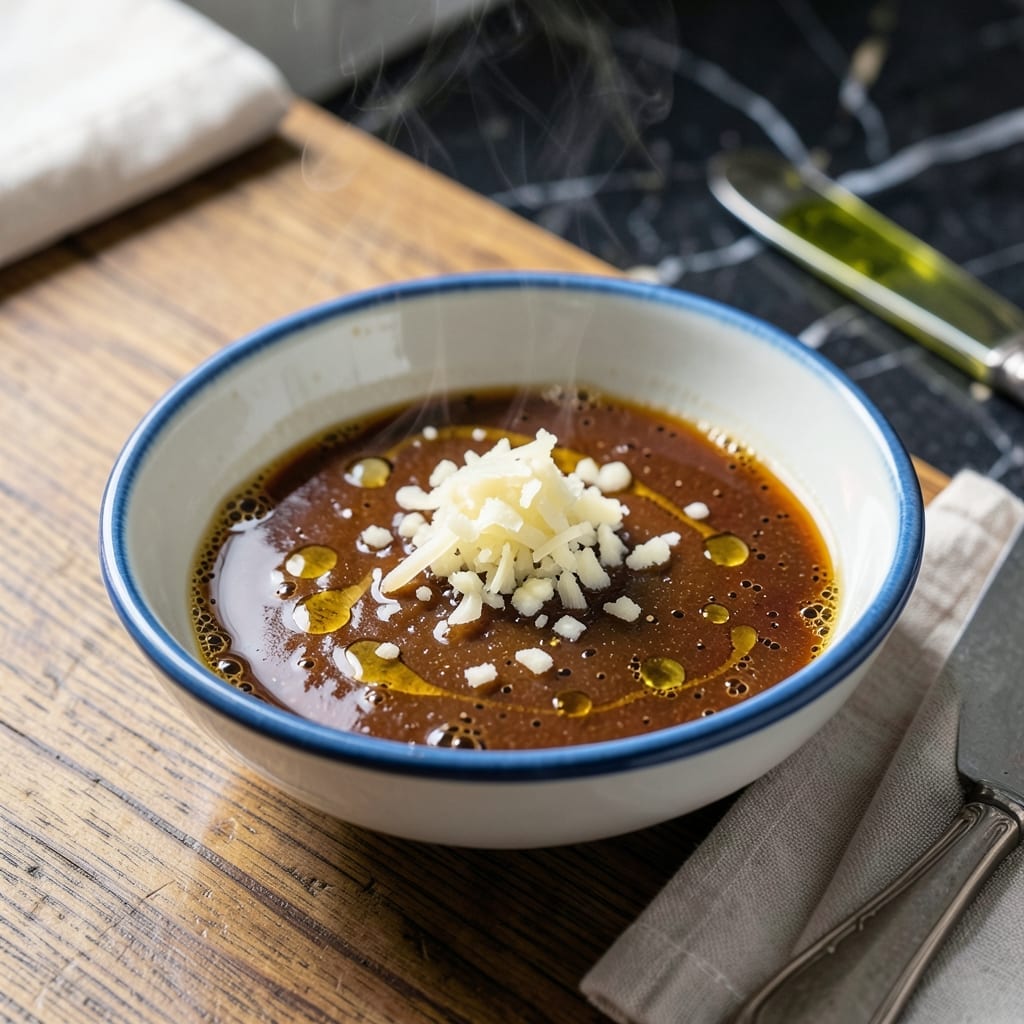
This sauce transforms plain rice into an umami-packed experience with minimal effort. I developed it to add depth to sushi rolls and rice bowls without overpowering the main ingredients.
The secret lies in balancing sweet, salty, and savory elements through soy sauce, mirin, and a touch of sesame oil. These simple ingredients create a glaze that coats every grain perfectly.
With just 5 minutes of prep time, you’ll have a versatile condiment that elevates any rice dish. The sauce keeps well in the fridge, making it ideal for weekly meal prep.
Use it as a finishing touch or mix directly into warm rice for maximum flavor infusion. The difference is immediate and undeniable.
Ingredients for Japanese Rice Sauce
Nine ingredients create this umami-rich glaze that transforms simple rice into something extraordinary.
| Ingredient | Amount | Notes |
|---|---|---|
| Soy Sauce 🫒 | ½ cup | Low-sodium preferred for balance |
| Mirin 🍶 | ¼ cup | Sweet cooking rice wine essential |
| Rice Vinegar 🍚 | 2 tbsp | Mild and slightly sweet variety |
| Sesame Oil 🫒 | 1 tbsp | Toasted for nutty depth |
| Granulated Sugar 🍚 | 1 ½ tbsp | Balances acidity and saltiness |
| Garlic Cloves 🧄 | 2 cloves | Finely grated for even distribution |
| Fresh Ginger 🌿 | 1 tbsp | Peeled and finely grated |
| Scallions 🧅 | 2 whole | Thinly sliced for garnish |
| Toasted Sesame Seeds 🌰 | 1 tbsp | For texture and visual appeal |
The soy sauce is non-negotiable—Kikkoman or Yamasa are reliable choices. For mirin, avoid the cheap imitations; Hon-Mirin (true fermented mirin) delivers authentic depth. Most Asian markets carry these, but Whole Foods and H-Mart are solid backups. The rice vinegar should be mild; Marukan or Mizkan are standard. Fresh ginger and garlic are essential—pre-minced versions lack the vibrant punch this sauce deserves.
No mirin? Use 1 tbsp sugar + 1 tbsp water per tbsp of mirin as a substitute. Out of rice vinegar? Apple cider vinegar at half the amount works in a pinch. For a gluten-free version, swap soy sauce for tamari. The sesame oil can be omitted, but it adds that signature nutty aroma. Scallions can be replaced with chives or green onions—whatever you have on hand.
This sauce keeps beautifully in an airtight container for up to 2 weeks in the fridge. For longer storage, freeze in ice cube trays—thaw only what you need. The flavors meld and intensify over time, so making it a day ahead actually improves the result.
Why You’ll Love This Recipe
- 5-Minute Magic: I just dump all five ingredients in a bowl and stir—no chopping, no fuss.
- Umami Bomb: That first hit of soy and mirin with the vinegar’s tang? I make extra just to drizzle on eggs.
- Dressing or Dip: I’ve slathered it on rice bowls, tossed it with noodles, and even used it as a marinade.
- Pantry Stable: All the ingredients live in my cupboard, so I can whip this up anytime without a grocery run.
Step-by-Step Instructions for Japanese Rice Sauce
This method ensures a perfectly balanced sauce with deep umami flavor and glossy consistency.
Step 1: Combine Liquid Base and Sweeteners
In a small saucepan, whisk together the 0.5 cup Soy Sauce, 0.25 cup Mirin, 2 tbsp Rice Vinegar, and 1.5 tbsp Granulated Sugar until the sugar begins to dissolve. The Mirin adds essential sweetness that balances the saltiness of the soy sauce.
Place the saucepan over medium heat and bring to a gentle simmer, stirring occasionally. You’ll see small bubbles forming at the edges—that’s your cue that the mixture is heating evenly. Don’t let it come to a rolling boil at this stage.
Step 2: Infuse with Aromatics
Add the 2 cloves Garlic Cloves (finely grated) and 1 tbsp Fresh Ginger to the simmering liquid. I always grate these directly into the sauce to ensure even distribution and prevent any fibrous bits from remaining in the final product.
Reduce heat to medium-low and let the mixture simmer for 3-4 minutes. The garlic and ginger will mellow and infuse the sauce with their aromatic compounds. You’ll notice the raw sharpness of the aromatics fading as they cook.
Step 3: Emulsify with Sesame Oil
Remove the saucepan from heat and let it cool for 1 minute. Then whisk in the 1 tbsp Sesame Oil vigorously. The residual heat will help emulsify the oil into the water-based mixture, creating a slightly thicker, glossier sauce.
The sesame oil adds a nutty depth that complements the umami from the soy sauce. You should see the oil fully incorporate into the sauce rather than floating on top. If it separates, simply whisk again until smooth.
Step 4: Cool and Finish
Let the sauce cool to room temperature, about 20-25 minutes. As it cools, it will thicken slightly and the flavors will meld together. This waiting period is crucial for achieving the perfect consistency.
Once cooled, stir in 2 whole Scallions (thinly sliced) and 1 tbsp Toasted Sesame Seeds. These final additions provide freshness, color, and texture. The sauce should now have a beautiful sheen and be ready to drizzle over rice, sushi, or grain bowls.
Pro Tips For Making Japanese Rice Sauce
- Heat the Mirin: I learned this the hard way—gently warming the mirin first helps dissolve the sugar faster and blends flavors more evenly into the soy sauce base.
- Balance the Vinegar: Rice vinegar can overpower, so start with half the amount you think you need, taste, then adjust. I ruined a batch once by dumping it all in at once.
- Toast the Sesame Oil: Add sesame oil at the very end, off the heat. Heating it too long turns the flavor bitter—ask me how I know.
- Use Fine Sugar: Granulated sugar works, but superfine dissolves instantly and saves you from stirring forever. Sounds minor, but it actually changes the outcome.
Essential Equipment for Great japanese rice sauce
Saucepan Choice
I always use a small stainless steel saucepan (like All-Clad’s 1.5-quart) for this recipe. The size ensures even heating without wasting space. Stainless steel reacts well with acidic ingredients like rice vinegar and won’t affect flavors like non-stick can. 🔥
Whisk Selection
A flat-bottomed whisk (I prefer OXO’s 11-inch) is perfect for mixing the sauce smoothly. It reaches all corners of the pan and helps emulsify the sesame oil thoroughly. Avoid balloon whisks—they don’t work as well in small pans.
Fine Grater
For the garlic and ginger, a Microplane is my go-to tool. It creates a fine, even texture that dissolves completely into the sauce. I’ve tried mincing with knives, but the Microplane gives superior results with less effort.
Measuring Tools
Precision matters here, so I use a Pyrex glass measuring cup for liquids and OXO good grips measuring spoons for dry ingredients. The 1.5 tbsp sugar and 1 tbsp sesame oil need exact measurements to maintain the balance of flavors.
Storage Containers
Once cooled, transfer your sauce to a glass jar with airtight lid—I like Ball Mason jars. Glass won’t absorb odors or flavors, and you can see the beautiful sheen of your sauce. Always let it cool completely before sealing to prevent condensation. ❄️
Cleaning Tip
Stainless steel pans can develop a film after cooking acidic sauces. I soak mine in warm water with baking soda for 10 minutes before washing—this lifts any residue without scratching. Never use steel wool on your good pans!
Nutrition Facts
Frequently Asked Questions
What can I use if I don’t have mirin?
Mix 1 tbsp sugar + 1 tbsp water per 1 tbsp mirin needed. For better depth, add a splash of rice vinegar to mimic mirin’s tangy sweetness.
How long does this sauce keep?
Store in an airtight container in the fridge for up to 2 weeks. For longer storage, freeze in ice cube trays for 3 months.
Can I make this gluten-free?
Yes! Swap regular soy sauce for tamari (naturally gluten-free). Verify labels, as some tamari brands may contain trace gluten.
Why did my sauce separate?
This happens if the sesame oil wasn’t whisked in properly. Remove from heat, let cool slightly, then whisk vigorously until smooth.

- Japanese Rice Sauce Recipe: Umami-Rich Glaze for Sushi and Bowls - September 25, 2026
- Homemade Tomato Rice Soup Recipe: Rustic Simmered Goodness in a Bowl - September 25, 2026
- Korean Sliced Rice Cake Recipe: Chewy Pillows with Bold Spicy Sauce - September 25, 2026