
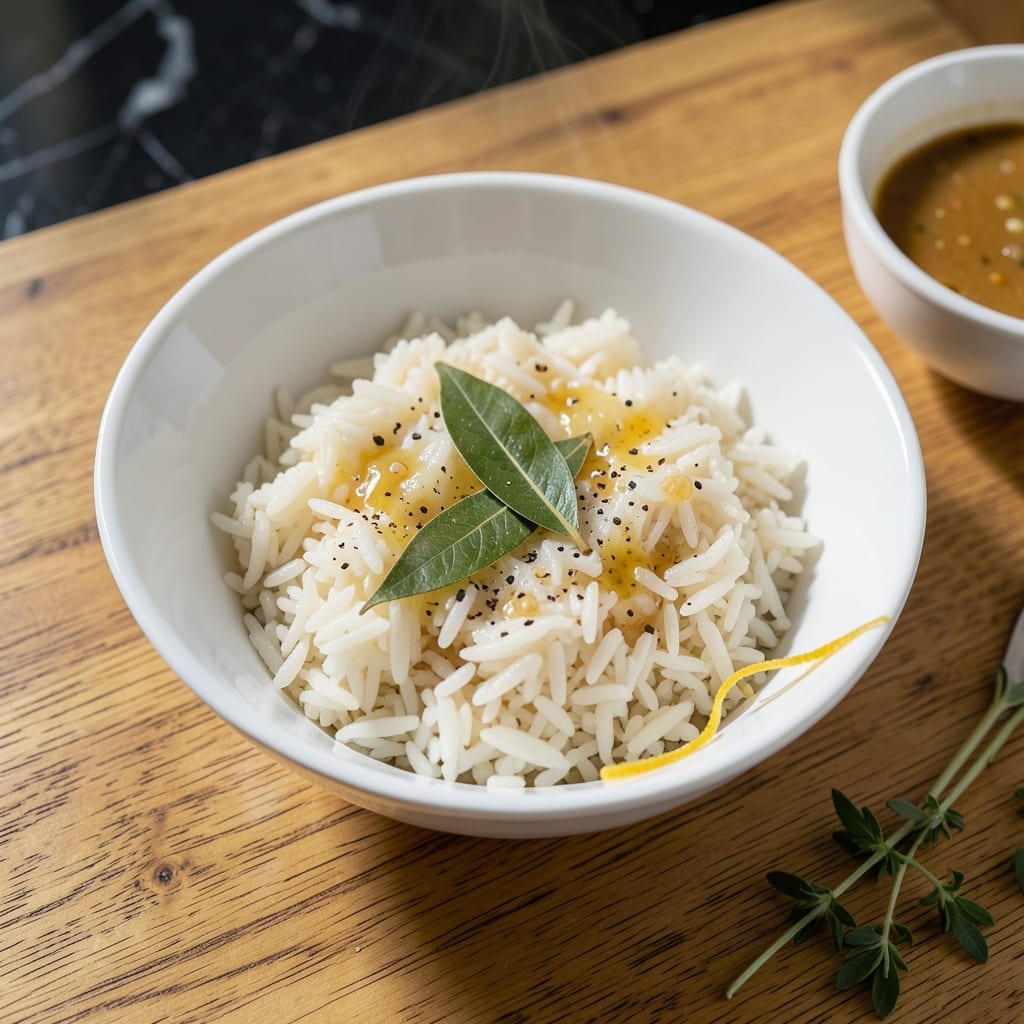
This rice recipe transforms simple ingredients into a dish with remarkable depth and texture. The secret lies in using clarified butter, which adds a rich, nutty flavor without burning.
I’ve perfected this method to ensure every grain stays separate and fluffy, with a subtle sheen that elevates its presentation. The process is straightforward but precise, yielding consistent results every time.
What you’ll achieve is rice that’s tender yet distinct, with a delicate richness that complements any main course. It’s a reliable side that never fails to impress.
Perfect for both everyday meals and special occasions, this technique delivers professional-quality rice with minimal effort.
Ingredients for Martha Stewart Rice
Transform humble rice into restaurant-quality perfection with these essential ingredients.
| Ingredient | Amount | Notes |
|---|---|---|
| Long-Grain White Rice 🍚 | 2 cups | Rinsed until water runs clear |
| Clarified Butter 🧈 | 4 tbsp | Ghee works as substitute |
| Water 💧 | 4 cups | Filtered preferred for best taste |
| Kosher Salt 🧂 | 1 ½ tsp | Diamond Crystal recommended |
| Freshly Ground Black Pepper 🌶️ | ½ tsp | Coarse grind preferred |
| Bay Leaf 🍃 | 1 whole | Dried, removed after cooking |
| Garlic Clove 🧄 | 1 clove | Lightly crushed, optional |
| Shallot 🧅 | 1 whole | Finely minced for aroma |
| Dry White Wine 🍷 | ¼ cup | Sauvignon Blanc or Pinot Grigio |
| Fresh Parsley 🌿 | 2 tbsp | Chopped, for garnish |
The rice must be long-grain for that distinct, separate texture—Basmati or Jasmine are ideal. Clarified butter (or ghee) is non-negotiable for that nutty depth without burning. Find ghee at Whole Foods or Indian markets, or clarify your own by melting butter and skimming the milk solids. Diamond Crystal kosher salt is the standard in professional kitchens for its clean flavor and even distribution.
No clarified butter? Extra-virgin olive oil works in a pinch (though the flavor profile shifts). Skip the wine if needed—just boost the salt slightly. Yellow onion can stand in for shallot, and dried parsley at one-third the amount replaces fresh. The bay leaf adds subtle complexity, but omit it if you’re out—just add a pinch of ground mace instead.
Cooked rice holds for 4-5 days refrigerated, though it’s best fresh. Freeze for up to 3 months in airtight portions. Reheat with a splash of water to restore moisture. Clarified butter keeps indefinitely at room temperature—store in a dark jar away from heat.
Why You’ll Love This Recipe
- One-Pot Wonder: I love that this comes together in a single pot—just rice, clarified butter, and water, and the stove does the rest.
- Buttery Perfection: The clarified butter gives it this rich, nutty depth that plain rice just can’t match.
- Pairs With Anything: Honestly, it’s my go-to side for roast chicken, fish, or even a simple veggie stir-fry.
- Budget-Friendly Staple: A pound of long-grain rice and a few pantry basics stretch into multiple meals without breaking the bank.
Step-by-Step Instructions for Fluffy Rice With Clarified Butter
Master this technique for perfectly separated grains with rich, aromatic depth every time.
Step 1: Sauté Aromatics in Clarified Butter
Heat the 4 tbsp clarified butter in a heavy-bottomed pot over medium heat until it shimmers. Add the finely minced shallot and sauté for 2-3 minutes until translucent and fragrant.
Add the lightly crushed garlic clove and 1 whole bay leaf, cooking for an additional 30 seconds until the garlic releases its aroma. Be careful not to let the shallot or garlic brown—this would impart a bitter flavor.
This base layer infuses the dish with subtle complexity that complements the rice without overpowering it.
Step 2: Toast the Rice and Deglaze
Stir in the 2 cups long-grain white rice and cook for 1-2 minutes, stirring constantly, until the grains become slightly translucent at the edges. This toasting step enhances the nutty flavor of the rice.
Pour in the 0.25 cup dry white wine and stir to deglaze the pot, scraping up any browned bits from the bottom. Let the wine reduce by half—this takes about 1-2 minutes—before proceeding.
The alcohol cooks off, leaving behind a bright, acidic note that balances the richness of the clarified butter.
Step 3: Add Liquids and Seasonings
Pour in the 4 cups water and add the 1.5 tsp kosher salt and 0.5 tsp freshly ground black pepper. Stir well to combine, ensuring the salt and pepper are evenly distributed throughout the liquid.
Bring the mixture to a rolling boil over high heat. Once boiling, reduce the heat to low, cover the pot with a tight-fitting lid, and let it simmer undisturbed. This is critical for even cooking.
Step 4: Cook Until Tender and Fluffy
Allow the rice to cook, covered, for 15-18 minutes. Do not lift the lid or stir during this time—steam is essential for achieving fluffy grains. You’ll know it’s ready when the liquid is fully absorbed and the rice is tender.
Remove the pot from heat and let it rest, still covered, for an additional 5-10 minutes. This resting period allows the grains to steam gently, ensuring they’re light and separate rather than clumped together.
Discard the bay leaf and garlic clove before serving.
Step 5: Fluff and Garnish
Gently fluff the rice with a fork to separate the grains. This step aerates the rice, enhancing its texture and preventing it from becoming dense.
Sprinkle the 2 tbsp fresh parsley over the top just before serving. The parsley adds a fresh, vibrant contrast to the rich, buttery rice.
Serve immediately while hot, with the parsley’s bright green color and fresh aroma complementing the dish beautifully.
Pro Tips For Making Martha Stewart Rice
- Rinse the Rice: Always give your long-grain white rice a quick rinse under cold water before cooking to remove excess starch—I learned this the hard way after ending up with gummy rice more than once.
- Use Clarified Butter: Don’t substitute regular butter; clarified butter has a higher smoke point and won’t burn, which actually changes the outcome for that nutty, rich flavor.
- Watch the Ratio: Stick to 1 ½ cups water for every 1 cup of rice—this isn’t the time to eyeball it, or you’ll risk undercooked grains or a mushy mess.
- Rest Before Serving: Let the rice sit covered off the heat for 10 minutes after cooking; my grandmother swore by this, and she was right—it steams evenly and fluffs up perfectly.
Common Mistakes When Making Perfect Results
Skipping the Rinse
Always rinse your 2 cups long-grain white rice until the water runs clear. Unrinsed grains release excess starch, leading to sticky, gummy texture. I learned this the hard way with my first batch. 💡
Peeking While Cooking
Resist lifting the lid during the 15-18 minute simmer. Releasing steam drops the temperature, causing uneven cooking and potentially undercooked grains. Trust the process—your patience will be rewarded.
Overcrowding the Pot
Use a heavy-bottomed pot that’s at least 2-3 times the volume of your uncooked rice. Too small a pot leads to uneven heat distribution and burnt bottoms. I recommend a 3-quart Dutch oven for this recipe.
Incorrect Liquid Ratio
Stick to the 2:1 water-to-rice ratio (by volume). Too much liquid creates soggy rice, while too little leaves it undercooked. Measure precisely—this isn’t the time for eyeballing.
Skipping the Toast
Toasting the rice in clarified butter for 1-2 minutes develops its nutty flavor. Skipping this step results in bland grains. The subtle browning at the edges is where the magic happens.
Rushing the Rest
Let the rice rest off heat for 5-10 minutes after cooking. This allows the grains to absorb residual steam and firm up. Cutting this short gives you sticky, underdeveloped rice. ✨
Nutrition Facts
Frequently Asked Questions
Can I use regular butter instead of clarified?
Regular butter works, but clarified butter has a higher smoke point and won’t burn. If using regular, melt it first and skim off the milk solids to prevent burning during cooking.
What if I don’t have white wine?
Skip the wine and increase water by 0.25 cup. Add an extra pinch of salt to compensate for the missing acidity. The dish will still turn out flavorful and fluffy.
How do I know when the rice is done?
The rice is ready when all liquid is absorbed and grains are tender, after about 15-18 minutes. Avoid lifting the lid early—this releases essential steam.
Can I make this ahead of time?
Yes, cook and store in an airtight container for up to 4-5 days in the fridge. Reheat with a splash of water to restore moisture and fluffiness.

- Mujadara Rice and Lentils Recipe: Earthy Spiced Lentils With Caramelized Onions - November 1, 2026
- Naija Fried Rice Recipe: Street-Style Spice With Veggie Crunch - November 1, 2026
- Mushy Rice Recipe: Fluffy Grains Transformed in Minutes - November 1, 2026