
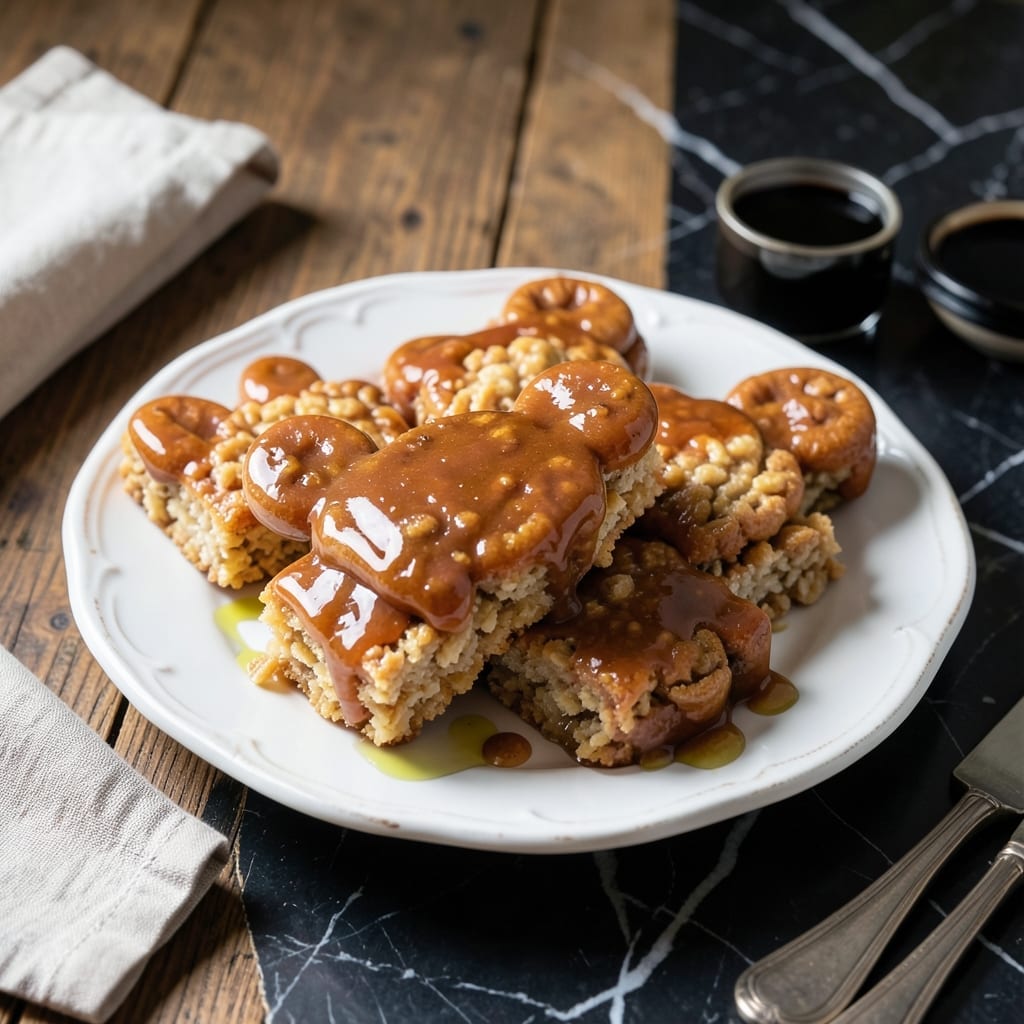
This playful take on a classic treat brings Disney magic to your kitchen without complicated techniques. The secret lies in precise shaping and strategic melting to create those iconic mouse ears.
I’ve perfected the timing so the marshmallow mixture stays pliable long enough for easy forming. A simple cookie cutter or freehand shaping works, but the key is working quickly before the mixture sets.
The result is a festive centerpiece that’s as fun to make as it is to eat. These treats hold their shape perfectly and delight guests of all ages.
Ideal for parties, birthdays, or Disney-themed gatherings. The recipe scales easily for crowds.
Ingredients for Mickey Mouse Rice Krispie Treats
Simple ingredients transform into a magical Disney-inspired treat everyone will love.
| Ingredient | Amount | Notes |
|---|---|---|
| Rice Krispies Cereal 🥣 | 6 cups | Standard variety, not puffed rice |
| Mini Marshmallows 🍬 | 10 cups | Or 40 regular marshmallows |
| Unsalted Butter 🧈 | ½ cup | 1 stick, for melting |
| Vanilla Extract 💧 | 1 tsp | Pure extract preferred |
| Salt 🧂 | ¼ tsp | Fine grain table salt |
| Black Food Coloring Gel 🎨 | 1 tsp | For Mickey's face details |
| Red Food Coloring Gel 🎨 | 1 tsp | For optional bows |
| White Chocolate Chips 🍫 | ½ cup | For decorative accents |
| Mickey Mouse Cookie Cutter 🍪 | 1 whole | About 3-4 inches wide |
| Parchment Paper 📜 | 1 sheet | For easy shaping |
| Cooking Spray 🫕 | 1 can | For greasing tools |
| Toothpicks 🪥 | 6 pieces | For detailing work |
The marshmallows are non-negotiable—Jet-Puffed or Kraft melt the smoothest. I grab mine from Target or Walmart in bulk. Butter quality matters less here since it’s mostly for binding, but avoid margarine (it’s got too much water). The Rice Krispies need to be fresh—stale cereal makes for sad, soggy treats. If you’re adding color, Wilton gel food coloring gives the most vibrant results without thinning the mixture.
No mini marshmallows? Large ones work at the same volume—just cut them into quarters first. Want a shorter ingredient list? Skip the food coloring and use melted chocolate for details instead. The vanilla can be swapped for almond extract if you prefer that flavor. Out of Rice Krispies? Puffed rice cereal (not the same thing, but close enough) or even corn flakes work in a pinch.
These keep in an airtight container at room temp for about 3 days—if they last that long. For longer storage, freeze for up to 6 weeks. Shape them the day of serving for crispest texture. Leftovers make great ice cream toppings (trust me on this one).
Why You’ll Love This Recipe
- 5-Minute Magic: I melt the butter, toss in the marshmallows, and fold in the cereal—done before the microwave beeps again.
- Vanilla Cloud: That hint of vanilla in the warm marshmallow mix makes every bite taste like a fresh-baked hug.
- Party MVP: I shape them into Mickey’s head with store-bought eyes, and suddenly I’m the hero of every kids’ table.
- Pocket Change: A box of cereal, a bag of mini mallows, and I’ve fed a playdate for less than a fast-food combo.
Step-by-Step Instructions for Mickey Mouse Rice Krispie Treats
Making these is simpler than it looks—just follow this method and you’ll have perfect Mickey shapes every time.
Step 1: Melt and Color the Marshmallow Mixture
In a large pot, melt the 0.5 cup unsalted butter over low heat. Once melted, add all 10 cups Mini Marshmallows and stir constantly until completely smooth—this should take about 5-7 minutes. The mixture should look glossy with no marshmallow lumps.
Remove from heat and stir in the 1 tsp Vanilla Extract and 0.25 tsp Salt. Now divide the marshmallow mixture evenly into three portions. Leave one portion plain, mix 1 tsp Black Food Coloring Gel into the second for Mickey’s face, and 1 tsp Red Food Coloring Gel into the third for optional bow details.
Step 2: Combine with Cereal and Shape
Add the 6 cups Rice Krispies Cereal to each colored marshmallow portion, stirring gently until fully coated. I like to use separate bowls for each color to keep them distinct. The cereal should be completely saturated but not soggy—if it seems dry, you may need to work quickly before the mixture sets.
Lightly coat the 1 sheet Parchment Paper with cooking spray to prevent sticking. Press the plain portion onto the parchment into a ½-inch thick rectangle. This will be your base layer. Press the black mixture on top in a slightly smaller rectangle for the face area.
Step 3: Cut and Detail the Mickey Shapes
Once the mixture is cool enough to handle but still pliable (about 10 minutes), use the 1 whole Mickey Mouse Cookie Cutter to cut out shapes. Press firmly through both layers to get clean edges. You should get about 12 shapes from this batch.
For the facial details, use the 6 pieces Toothpicks to gently press indentations for the eyes and nose while the treats are still warm. If adding optional red bows, shape small pieces of the red mixture and attach them to the Mickey heads with a dab of melted white chocolate.
Step 4: Add Final Decorative Touches
Melt the 0.5 cup White Chocolate Chips in the microwave in 20-second bursts, stirring between each, until smooth. Use this to pipe small details like eye highlights or to secure any loose decorative pieces. Let the white chocolate set for 5 minutes before serving.
Let the treats cool completely on the parchment for at least 30 minutes before serving. They should hold their shape firmly but still have that classic Rice Krispie Treat chewiness. Store in an airtight container at room temperature for up to 3 days.
Pro Tips For Making Mickey Mouse Rice Krispie Treats
- Melt Butter Low: Use medium-low heat when melting the butter with marshmallows—I learned this the hard way after scorching two batches. It takes about 5-6 minutes for mini marshmallows to fully dissolve without browning.
- Press While Warm: Shape the Mickey Mouse heads and ears immediately after mixing while the marshmallow is still sticky and pliable. Waiting even 2-3 minutes makes the cereal set too firmly for clean shaping.
- Butter Your Hands: Rub a little softened butter on your hands before pressing the mixture into molds—it prevents sticking and makes smoothing the shapes way easier.
- Use Fresh Cereal: Skip the stale Rice Krispies at the back of the pantry. Fresh cereal gives that perfect crisp texture that makes or breaks these treats.
Regional Styles of This mickey mouse rice krispie treats
Disneyland Style
At Disneyland parks, they use round Mickey head shapes with separate ear pieces attached. I replicate this by cutting 3-inch circles for the face, then adding 2 smaller circles on top for ears. Use melted white chocolate as “glue” to secure the ears. 🗺️
Tokyo Disney Version
In Japan, they often add matcha powder to the marshmallow mix for a green tea flavor. I use 1 tbsp matcha blended into the plain portion. The subtle earthy taste pairs beautifully with the sweetness, and the light green color looks charming against the black face details.
Disney World Florida
The Florida parks favor a thicker base (about ¾-inch) for their Mickey treats. I press my mixture into a greased 9×13-inch pan before cutting. This creates a more substantial treat that holds up better in the humid Florida climate. 💛
California Adventure
For a West Coast twist, I add orange zest to the plain portion—about 1 tbsp of finely grated peel. It gives a bright citrus note that feels very California. The zest also adds a pop of color that complements the classic Mickey design.
Mickey Mouse Clubhouse
Kids love the version with rainbow sprinkles pressed into the ears. I use ¼ cup rainbow jimmies and press them in while the mixture is still warm. This adds texture and makes the treats look extra festive for birthday parties.
Vintage Disney
The original 1950s Disney version used only black and white—no colored details. I replicate this by skipping the red bow portion and using melted dark chocolate for the face details instead of black food coloring. It looks classic and timeless.
Nutrition Facts
Frequently Asked Questions
Can I make these without a cookie cutter?
Yes! Use a 3-inch round glass for the head and 1.5-inch circles for ears. Shape by hand while warm. The key is working fast before the mixture sets.
How do I keep the colors from bleeding?
Use gel food coloring (not liquid) and work quickly. Press colored layers firmly together while still warm. Let cool completely before adding white chocolate details.
Why did my treats turn out hard?
Overcooking the marshmallow mixture is the usual culprit. Melt on low heat only until smooth, about 5-7 minutes. Stir constantly to prevent scorching.
Can I make these gluten-free?
Use certified gluten-free Rice Krispies and ensure all other ingredients are GF. The method remains exactly the same.

- Mujadara Rice and Lentils Recipe: Earthy Spiced Lentils With Caramelized Onions - November 1, 2026
- Naija Fried Rice Recipe: Street-Style Spice With Veggie Crunch - November 1, 2026
- Mushy Rice Recipe: Fluffy Grains Transformed in Minutes - November 1, 2026