
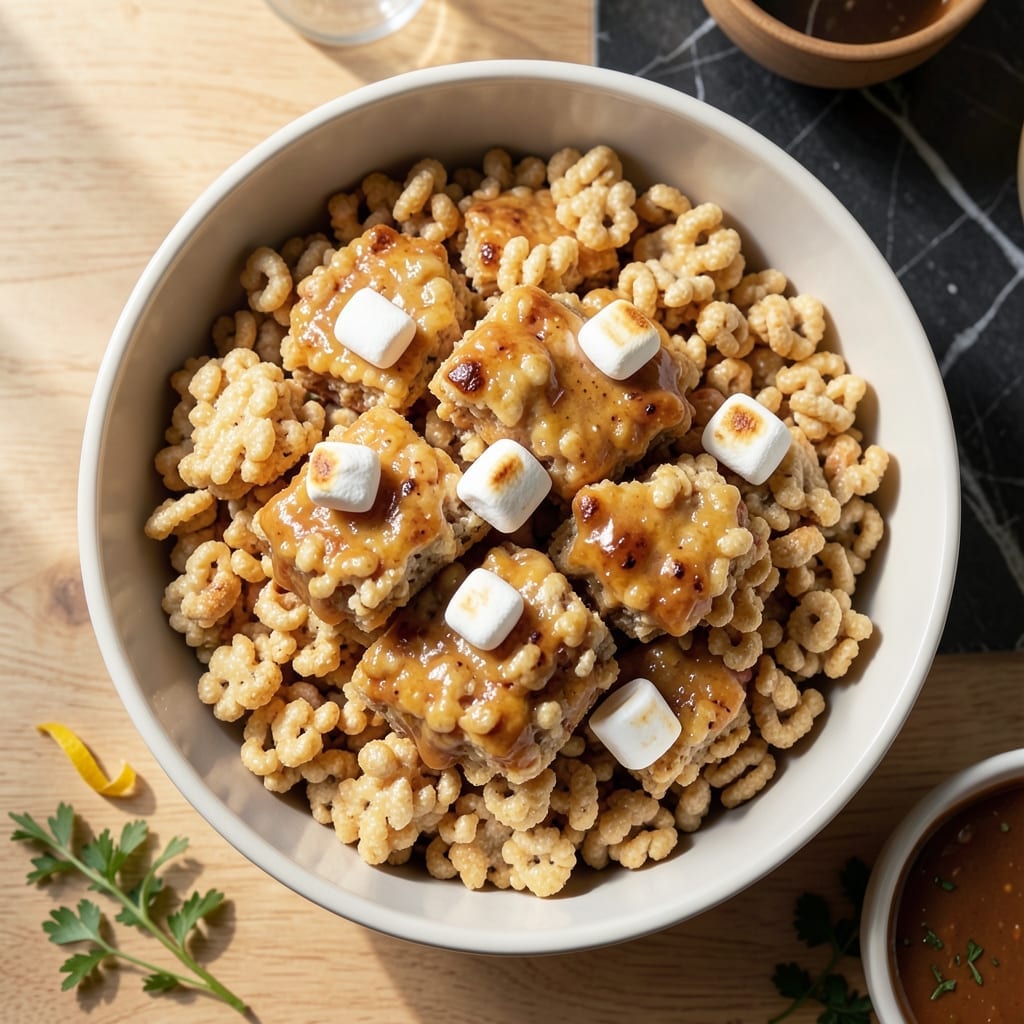
When you need a sweet treat in record time, this method delivers gooey results without turning on the oven. I developed this approach for busy afternoons when cravings strike but patience runs thin.
The secret lies in precise timing and the microwave’s ability to melt marshmallows evenly. Just 5 minutes separates you from warm, chewy squares with that signature crispy texture we all love.
You’ll end up with perfectly set treats that hold their shape when cut but still offer that melt-in-your-mouth quality. No baking required, no messy stovetop, just quick and consistent results every time.
Ideal for lunchboxes, potlucks, or last-minute dessert needs. Here’s how to make them.
Ingredients for Microwavable Rice Crispy Treats
Pantry staples plus marshmallows equal this quick, no-bake treat everyone loves.
| Ingredient | Amount | Notes |
|---|---|---|
| Rice Krispies Cereal 🥣 | 6 cups | Fresh for maximum crispiness |
| Marshmallows 🍬 | 10 oz | Mini or regular size |
| Unsalted Butter 🧈 | 3 tbsp | For smooth melting |
| Vanilla Extract 🌿 | ½ tsp | Pure extract preferred |
| Salt 🧂 | ¼ tsp | Fine grain for even distribution |
| Light Corn Syrup 💧 | 2 tbsp | Keeps treats soft |
| Vegetable Oil 🫒 | ½ tsp | For greasing pan |
| Powdered Sugar ✨ | 2 tbsp | Optional for dusting |
The marshmallows are the star here. Jet-Puffed or store brand both work—just check the freshness date. I grab mine from Walmart in bulk (they keep forever). The cereal needs to be fresh too—stale Rice Krispies make sad, soggy treats. Unsalted butter is key so you can control the salt level. Land O’Lakes is my go-to, but any brand works.
No corn syrup? Honey or maple syrup at the same amount does the trick. Mini marshmallows melt faster, but regular ones work fine if that’s what you’ve got. Want extra flavor? Add a pinch of cinnamon or a dash of almond extract with the vanilla. Butter substitutes (like coconut oil) work, but the flavor changes slightly—still delicious though.
These keep 3-4 days at room temp in an airtight container. Freeze for up to 6 weeks if you want to make ahead. Press them into the pan firmly (don’t skip this part) for clean cuts later.
Why You’ll Love This Recipe
- One Bowl Wonder: I melt the butter and marshmallows together in the same microwave-safe bowl I’ll use for mixing—no extra dishes, just easy cleanup.
- Vanilla Cloud: The vanilla extract turns the marshmallow fluff into this warm, sweet cloud that coats every crispy bite.
- School Lunch Hero: I pack these in little squares for lunchboxes, and they stay soft for days—no crumbly mess.
- Penny Pincher: A box of cereal and a bag of marshmallows feed a crowd for under five bucks. Honestly, it’s my cheapest crowd-pleaser.
Step-by-Step Instructions for Microwavable Rice Crispy Treats
Here’s the method. Straightforward, tested, works every time.
Step 1: Prepare the Microwave-Safe Bowl
Lightly grease a large microwave-safe bowl with the 0.5 tsp vegetable oil. This prevents sticking when you press the mixture later. I use a paper towel to spread it evenly across the bottom and sides—don’t skip this, or you’ll lose half your batch to the bowl.
Add the 3 tbsp unsalted butter to the bowl and microwave on high for 30-45 seconds until completely melted. Watch for the butter to stop looking solid and become fully liquid with no pale chunks remaining. The timing depends on your microwave’s wattage.
Step 2: Create the Marshmallow Mixture
Immediately add the 10 oz marshmallows, 2 tbsp light corn syrup, 0.5 tsp vanilla extract, and 0.25 tsp salt to the melted butter. Stir gently to coat the marshmallows—the corn syrup helps prevent burning while adding chewiness.
Microwave the mixture for 1 minute, then stir well. Repeat this process in 30-second intervals until the marshmallows are completely melted and smooth. This usually takes 2-3 minutes total. Stop when you can stir it into a glossy, lump-free liquid with no marshmallow pieces visible.
Step 3: Incorporate the Cereal
Working quickly (the mixture sets fast), add all 6 cups Rice Krispies Cereal to the bowl. Use a silicone spatula to fold everything together until every piece is thoroughly coated. You’ll hear the cereal start to snap, crackle, and pop—that’s how you know the heat is working its magic.
The mixture will look overly wet at first, but keep folding. Within 30-45 seconds, it should transform into a uniform, slightly sticky mass. If it seems too dry, microwave for an additional 10-15 seconds to soften the marshmallow mixture further.
Step 4: Press and Shape the Treats
Transfer the mixture to a parchment-lined 8×8-inch or 9×9-inch baking dish. Use the greased spatula or buttered hands to press it evenly into the pan. Press firmly but don’t compact it too tightly—you want that signature light, airy texture.
For clean squares, press the top surface smooth with the spatula. Let the treats cool at room temperature for 10-15 minutes until set. They’re ready when they hold their shape when lightly pressed.
Step 5: Cut and Finish
Once cooled, use a sharp knife to cut into 16 squares for serving. For a professional finish, dust the tops lightly with the 2 tbsp powdered sugar using a fine-mesh sieve. This adds a touch of sweetness and makes them look bakery-perfect.
Serve immediately for that ideal balance of crispy edges and gooey centers. Store any leftovers in an airtight container at room temperature for up to 3 days, though they’re best enjoyed fresh within 24 hours when the texture is at its peak.
Pro Tips For Making Microwavable Rice Crispy Treats
- Melt Butter First: Start by melting the butter in the microwave alone for 30-45 seconds—it prevents hot spots that can scorch the marshmallows later.
- Use Fresh Marshmallows: Old marshmallows get dry and tough, so check the bag’s date; the soft, fresh ones melt smoother and bind the cereal better.
- Avoid Over-Mixing: Stir just until the cereal is coated—keep mixing and you’ll crush the Rice Krispies, losing that signature snap.
- Press While Warm: Press the mixture into the pan right after mixing, while it’s still warm and pliable; waiting makes it stiff and harder to shape.
Health Benefits of This Recipe
Energy Boost
These treats provide a quick carbohydrate boost from the cereal and marshmallows, offering rapid energy perfect for active kids or a mid-afternoon slump. A single square contains about 90-100 calories, making it a reasonable portion for a sweet pick-me-up. 💪
Minimal Fat Content
With only 3 tbsp butter spread across 16 servings, each treat has less than 2 grams of fat. This makes them lighter than many baked desserts while still delivering that satisfying richness we all crave.
Low Protein Option
While not a protein source, these contain trace amounts from the cereal. The Rice Krispies provide a small amount of iron-fortified nutrients, contributing to your daily intake in a tasty way.
Portion Control
The small square size naturally encourages portion control. At about 1.5 inches each, it’s easy to enjoy one or two without overindulging. I find this helps satisfy sweet cravings without the guilt.
Allergen Considerations
These are naturally nut-free and egg-free, making them safe for many common allergies. However, they do contain dairy from the butter, so those with lactose intolerance should use a butter substitute. 💡
Quick Satisfaction
The combination of sugar and carbs triggers a rapid serotonin release, providing almost instant mood elevation. That’s why these treats feel so comforting—your brain gets a happiness boost within minutes of eating them.
Nutrition Facts
Frequently Asked Questions
Can I use mini marshmallows instead of regular?
Yes! Mini marshmallows melt faster, so reduce microwave time to 30-second intervals. They create the same gooey texture with slightly less stirring. Perfect for quick prep.
Why did my treats turn out hard?
Over-microwaving or pressing too firmly causes hardness. Stop heating once marshmallows are fully melted, and press gently when shaping. Let cool only 10-15 minutes before cutting.
Can I make these without corn syrup?
Substitute 2 tbsp honey or maple syrup for the same chewy texture. The flavor will be slightly different but just as delicious.
How do I store leftovers?
Keep in an airtight container at room temperature for up to 3 days. For longer storage, freeze for up to 6 weeks and thaw before serving.

- Mujadara Rice and Lentils Recipe: Earthy Spiced Lentils With Caramelized Onions - November 1, 2026
- Naija Fried Rice Recipe: Street-Style Spice With Veggie Crunch - November 1, 2026
- Mushy Rice Recipe: Fluffy Grains Transformed in Minutes - November 1, 2026