
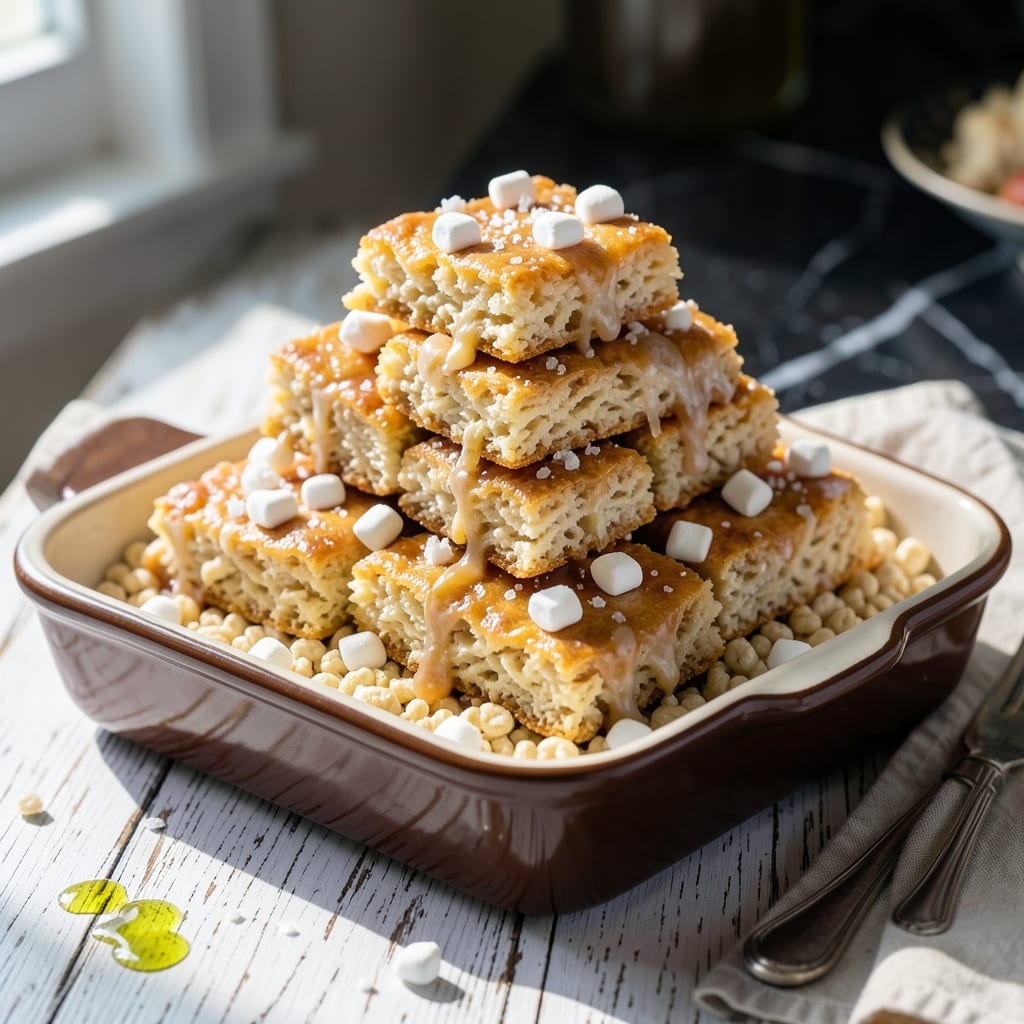
There’s something timeless about homemade marshmallow squares that brings out the kid in all of us. This recipe transforms simple ingredients into a crunchy, chewy treat that’s impossible to resist.
With just a few pantry staples and 10 minutes of effort, you’ll have a batch ready to enjoy. The key is melting the butter and marshmallows together until completely smooth before folding in the cereal.
Every bite delivers that signature snap, crackle, and pop we all love, wrapped in a gooey, sweet embrace. These squares are perfect for parties, lunchboxes, or an afternoon pick-me-up.
No baking required—just mix, press, and let set. Here’s how to make them exactly right.
Ingredients for Kellogg’s Rice Krispie Treats Cereal
Six ingredients transform into that nostalgic crunchy, chewy magic everyone loves.
| Ingredient | Amount | Notes |
|---|---|---|
| Kellogg's Rice Krispies Cereal 🥣 | 6 cups | Fresh for maximum crispness |
| Mini Marshmallows 🍬 | 10 oz | About 5 cups unpacked |
| Unsalted Butter 🧈 | ¼ cup | 1/2 stick, for melting |
| Vanilla Extract 🌿 | 1 tsp | Pure extract preferred |
| Fine Sea Salt 🧂 | ¼ tsp | Balances sweetness perfectly |
| Light Corn Syrup 💧 | 1 tbsp | Keeps marshmallows soft |
| Powdered Sugar 🍚 | ¼ cup | For dusting, optional |
The cereal is non-negotiable here—Kellogg’s Rice Krispies give you that signature snap, crackle, and pop. Generic brands work in a pinch, but the texture just isn’t the same (trust me, I’ve tried). Grab the freshest box you can find; stale cereal makes for sad, soggy squares. The marshmallows? Mini size melts faster and distributes better than the big ones.
No corn syrup? Skip it entirely—the treats will be slightly firmer but still delicious. Want extra richness? Swap the unsalted butter for European-style (higher fat content). The vanilla is subtle but worth it—pure extract over imitation. If you’re feeling fancy, a pinch of cinnamon in the melt adds warmth (about 1/8 teaspoon).
These keep at room temperature for 2-3 days in an airtight container. For longer storage, freeze for up to 6 weeks—thaw at room temp before serving. Pressing them into a parchment-lined pan (worth the extra minute) makes cutting a breeze.
Why You’ll Love This Recipe
- 5-Minute Magic: I can have these ready before the kids finish their homework—just melt, mix, and press.
- Buttery Vanilla Snap: The browned butter and vanilla make the marshmallows taste like a fancy dessert, not a boxed cereal hack.
- Party or Lunchbox: I’ve packed them for school snacks and served them at birthday parties—equally loved both ways.
- Budget Stretcher: A $3 box of Rice Krispies and a bag of mini marshmallows yields two dozen treats. Honestly, my wallet’s favorite part.
Step-by-Step Instructions for Crunchy Marshmallow Squares
Follow this method precisely and you’ll have perfectly gooey, crisp-edged treats every time.
Step 1: Melt the Butter and Prepare Marshmallow Base
In a large pot, melt the 0.25 cup Unsalted Butter over low heat. I always use a light-colored pot here so I can see when the butter turns golden yellow without browning. Once melted, add the 10 oz Mini Marshmallows and stir constantly with a silicone spatula.
Add the 1 tbsp Light Corn Syrup and 0.25 tsp Fine Sea Salt to the pot. The corn syrup prevents the marshmallows from becoming too stiff when set, while the salt balances the sweetness. Continue stirring until the mixture is completely smooth and no marshmallow lumps remain—this should take about 5-7 minutes.
Step 2: Incorporate Vanilla and Combine with Cereal
Remove the pot from heat and stir in the 1 tsp Vanilla Extract. The vanilla adds depth to the flavor profile, so I recommend using pure extract rather than imitation. Let the mixture sit for 1 minute to cool slightly—this prevents the cereal from becoming soggy when combined.
Add all 6 cups Kellogg’s Rice Krispies Cereal at once. Using a spatula, fold gently but thoroughly until every piece is evenly coated with the marshmallow mixture. You’ll know it’s ready when the cereal loses its crispness and takes on a glossy sheen. Work quickly here—the mixture begins to set as it cools.
Step 3: Press and Shape the Treats
Transfer the mixture to a 9×13-inch baking dish lined with parchment paper. I find that lightly greasing my spatula with butter helps prevent sticking as I press the mixture evenly into the pan. Use the spatula to press down firmly, ensuring the top is flat and the edges are well-defined.
For perfectly even treats, press the mixture into the corners first, then work your way toward the center. The pressure should be firm but not so hard that you crush the cereal. Let the mixture sit at room temperature for 10 minutes to begin setting before cutting.
Step 4: Cut and Finish with Optional Powdered Sugar
Using a sharp knife, cut the mixture into 12 equal squares. For clean cuts, dip the knife in hot water between each slice and wipe it clean. This prevents the marshmallow mixture from dragging and creating uneven edges.
If desired, dust the treats lightly with the 0.25 cup Powdered Sugar using a fine-mesh sieve. This step is optional but adds a nice finishing touch and extra sweetness. Let the treats cool completely for 30 minutes before serving to allow them to set fully and develop that signature slightly crisp exterior.
Pro Tips For Making Kellogg’S Rice Krispie Treats Cereal
- Melt Butter Low: Use medium-low heat when melting the butter to prevent browning—burnt butter will make your treats taste bitter. I learned this the hard way after ruining a batch with overzealous heat.
- Use Fresh Marshmallows: Skip the stale mini marshmallows; fresh ones melt smoother and give that perfect gooey texture. Sounds obvious, but I’ve regretted using old ones from the back of the pantry.
- Press Lightly: Resist the urge to compact the mixture too hard into the pan—just press enough to hold shape. Over-pressing turns them dense and chewy instead of light and crispy.
- Add Salt Last: Sprinkle the fine sea salt over the top right after pressing into the pan, not into the marshmallow mix. This keeps the flavor balanced and avoids clumping.
Flavor Customization for kelloggs rice krispie treats cereal
Chocolate Lovers
Add ½ cup semi-sweet chocolate chips to the melted marshmallow mixture. I like using Ghirardelli for their smooth texture. For extra richness, stir in 2 tbsp cocoa powder with the vanilla extract. 🌟
Peanut Butter Twist
Mix in ½ cup creamy peanut butter with the melted marshmallows. This creates a nutty, gooey variation that’s irresistible. I recommend Jif or Skippy for consistent results.
Fruity Fun
Fold in 1 cup dried cranberries or raisins with the cereal for a chewy, tangy surprise. Mini M&M’s also work wonderfully for a colorful, kid-friendly option.
Spiced Warmth
Add ½ tsp cinnamon or ¼ tsp pumpkin pie spice to the marshmallow mixture while melting. This gives your treats a cozy, autumnal twist that’s perfect for cooler months.
Coconut Delight
Stir in 1 cup shredded coconut after combining the cereal. Toast the coconut lightly in a dry pan for 2-3 minutes beforehand for extra flavor. 💫
Salty-Sweet
Sprinkle crushed pretzels or sea salt flakes on top after pressing into the pan. The contrast of salt with the sweet marshmallow is divine.
Nutrition Facts
Frequently Asked Questions
Can I use regular marshmallows instead of mini?
Yes, but cut them into smaller pieces first for even melting. Mini marshmallows dissolve faster and distribute more evenly, but regular ones work in a pinch.
How do I make them extra crispy?
Press the mixture lightly into the pan instead of compacting firmly. Let them set for 1 hour before cutting, and store in an airtight container with parchment between layers.
Why did my treats turn out hard?
Overheating the marshmallow mixture or pressing too firmly causes hardness. Use low heat and fold in cereal immediately after melting for the best texture.
Can I make these gluten-free?
Use gluten-free Rice Krispies and verify all other ingredients are certified gluten-free. The texture may vary slightly but will still be delicious.

- Mujadara Rice and Lentils Recipe: Earthy Spiced Lentils With Caramelized Onions - November 1, 2026
- Naija Fried Rice Recipe: Street-Style Spice With Veggie Crunch - November 1, 2026
- Mushy Rice Recipe: Fluffy Grains Transformed in Minutes - November 1, 2026