
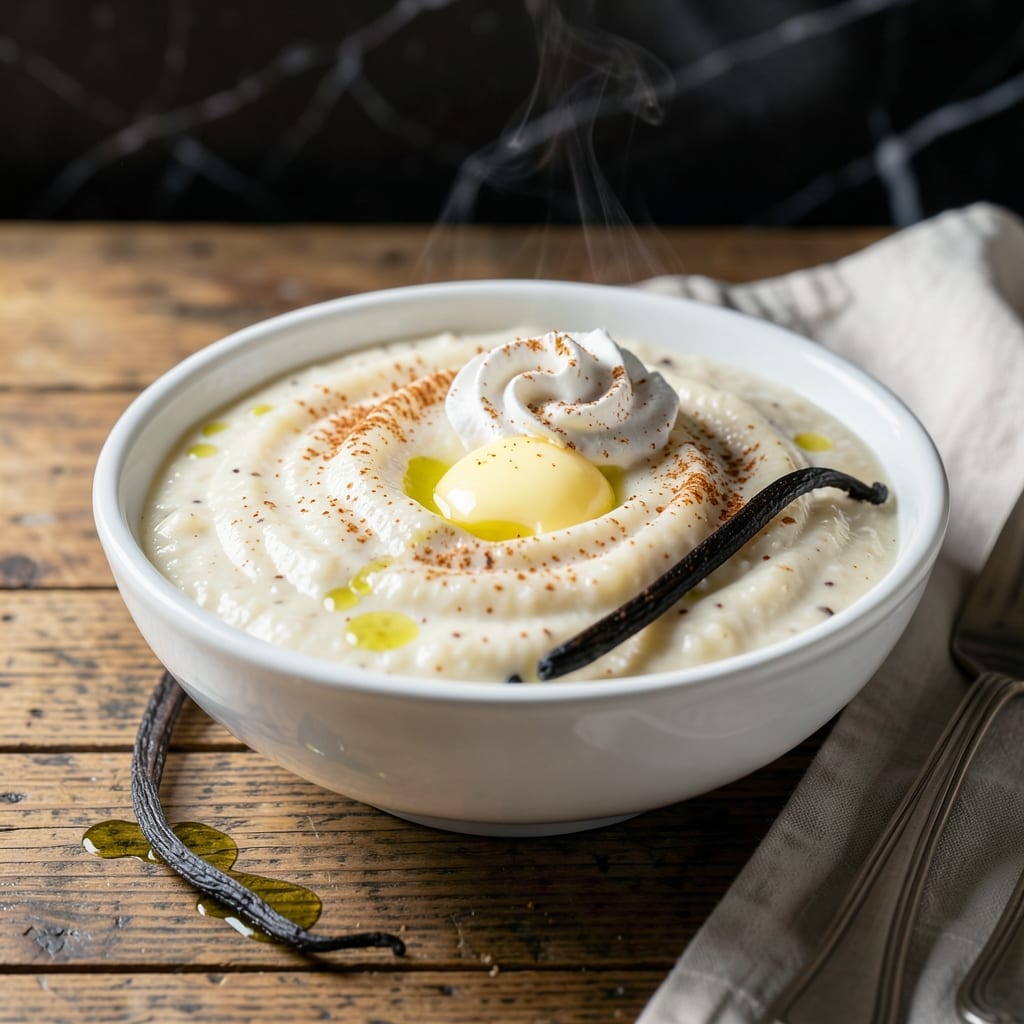
This rice pudding delivers pure comfort in every creamy spoonful, with a silky texture that only slow cooking can achieve.
The secret lies in the gentle simmering of rice in whole milk with vanilla, creating a rich, velvety dessert that feels both nostalgic and indulgent.
Ingredients for Milky Rice Pudding
Creamy, comforting, and perfectly spiced with vanilla and cinnamon for that nostalgic appeal.
| Ingredient | Amount | Notes |
|---|---|---|
| Short-Grain White Rice 🍚 | ¾ cup | Arborio or sushi rice works best |
| Whole Milk 🥛 | 4 cups | Full-fat for creaminess |
| Granulated Sugar 🧂 | ½ cup | Adjust to taste preference |
| Vanilla Extract 🌿 | 2 tsp | Pure extract preferred |
| Vanilla Bean 🌱 | 1 whole | Split and scraped, optional |
| Unsalted Butter 🧈 | 2 tbsp | For richness and depth |
| Ground Cinnamon 🌶️ | ½ tsp | Freshly ground for best flavor |
| Salt 🧂 | ¼ tsp | Enhances all flavors |
| Heavy Cream 🥛 | ½ cup | For extra silkiness |
| Raisins 🍇 | ½ cup | Optional, plump in warm water first |
| Ground Nutmeg 🌰 | 0.125 tsp | Freshly grated preferred |
The rice is the foundation. Short-grain varieties like Arborio or sushi rice release starch for that signature creaminess. Whole milk is non-negotiable—lower fat versions won’t deliver the same richness. For the best vanilla flavor, use both extract and a scraped bean if you’re feeling fancy. Organic Valley or local dairy brands have the best milk quality for this.
No whole milk? Half-and-half mixed with water in a pinch, but the texture won’t be as velvety. Swap raisins for dried cranberries or chopped dates if you prefer. The cinnamon can be replaced with cardamom for a cozy twist. If avoiding dairy entirely, full-fat coconut milk works, but the flavor profile will shift slightly.
This pudding thickens as it cools. Serve warm for the silkiest texture, or chilled for a firmer dessert. Stores in the fridge for 4-5 days—reheat gently with a splash of milk. Freezes beautifully for up to 3 months if you double the batch.
Why You’ll Love This Recipe
- One Pot Wonder: I love how this comes together in a single saucepan—just rice, milk, and sugar simmering while I do other things.
- Vanilla Dream: The combo of vanilla extract and scraped vanilla bean makes it taste like dessert from a fancy bakery.
- Kid-Approved Comfort: My picky nephew gobbles it up warm or cold, and it’s just as good for breakfast as it is for dessert.
- Stretches the Budget: A pound of short-grain rice and a gallon of milk make multiple batches, so it’s kind to my wallet.
Step-by-Step Instructions for Milky Rice Pudding
This method ensures a creamy, comforting result with perfectly infused vanilla flavor throughout.
Step 1: Toast the Rice for Depth
In a large, heavy-bottomed saucepan, melt the 2 tbsp Unsalted Butter over medium heat. Add the 0.75 cup Short-Grain White Rice and stir constantly for 2-3 minutes until the grains turn slightly translucent and smell nutty.
This toasting step enhances the rice’s natural flavor and prevents a starchy aftertaste. Watch carefully to avoid browning—just a light golden hue is perfect. The rice should sizzle gently in the butter without sticking to the pan.
Step 2: Simmer Rice in Milk Until Tender
Gradually pour in the 4 cups Whole Milk, stirring to prevent clumping. Add the 0.5 cup Granulated Sugar, 0.25 tsp Salt, and 0.5 cup Raisins (if using). Bring to a gentle simmer over medium-low heat, stirring frequently.
Once simmering, reduce heat to low and cook for 30-35 minutes, stirring every 5 minutes to prevent scorching. The mixture should thicken gradually and the rice should become tender but still retain a slight bite. You’ll notice the milk reducing and the pudding taking on a creamy consistency.
Step 3: Infuse with Vanilla and Spices
Remove the pan from heat. Stir in the 2 tsp Vanilla Extract, 0.5 tsp Ground Cinnamon, and 0.125 tsp Ground Nutmeg. If using the 1 whole Vanilla Bean, split it lengthwise, scrape out the seeds, and add both seeds and pod to the pudding for deeper flavor.
Let the mixture sit off heat for 10 minutes to allow the spices and vanilla to infuse fully. The pudding will continue to thicken as it cools slightly. Remove the vanilla pod before proceeding if used.
Step 4: Finish with Heavy Cream for Silkiness
Stir in the 0.5 cup Heavy Cream until fully incorporated. The cream adds a luxurious richness and ensures the pudding is velvety smooth. Return the pan to low heat for 2-3 minutes, stirring constantly, until the pudding reaches your desired consistency.
It should coat the back of a spoon but still be pourable. If it’s too thick, add a splash of milk to loosen. Taste and adjust sweetness with a bit more granulated sugar if needed.
Step 5: Cool and Serve Warm or Chilled
Transfer the pudding to a large bowl or individual serving dishes. Let it cool to room temperature, stirring occasionally to prevent a skin from forming on top. The pudding will thicken further as it cools.
Serve warm for ultimate comfort or chill for 2 hours for a firmer texture. Either way, the vanilla and spices will shine through. Garnish with a sprinkle of ground cinnamon or a dollop of whipped cream if desired.
Pro Tips For Making Milky Rice Pudding
- Stir Often: I learned this the hard way—rice pudding sticks fast, especially as it thickens, so keep that spoon moving every 2-3 minutes to avoid a burnt bottom.
- Use Short-Grain Rice: Sounds obvious, but long-grain won’t give you that creamy texture; short-grain absorbs the milk better and turns the pudding silky.
- Skip the Boil: After burning one batch, I now keep the heat at a gentle simmer—boiling makes the milk curdle and the rice cook unevenly.
- Split the Vanilla: Scrape the vanilla bean seeds into the pot early, but add the extract at the end—its flavor stays brighter if it doesn’t cook too long.
Troubleshooting Great milky rice pudding
Too Thin or Watery
If your pudding hasn’t thickened after 35 minutes, continue cooking on low heat while stirring more frequently. The starch from short-grain rice needs time to fully release. I often extend cooking by 5-10 minutes for the perfect consistency.
Scorching on the Bottom
This happens when heat is too high or stirring is infrequent. Always use medium-low heat and stir every 5 minutes. A heavy-bottomed pot like Le Creuset distributes heat evenly. If you see brown bits, immediately reduce heat and stir vigorously. 🔥
If scorching occurs, transfer the pudding to a clean pot to avoid bitter flavors from burnt milk.
Lumpy Texture
The rice may clump if not stirred while adding milk. Gradually pour in the 4 cups Whole Milk while whisking. For existing lumps, a quick blend with an immersion blender smooths it out without affecting flavor.
Weak Vanilla Flavor
Use both vanilla extract and a scraped vanilla bean for maximum impact. If using just extract, add an extra ½ tsp. Let the pudding sit off heat for 10 minutes to allow flavors to meld.
Skin on Top
To prevent a skin from forming while cooling, press plastic wrap directly onto the surface. Alternatively, stir occasionally during the first 30 minutes of cooling. This keeps the surface smooth and creamy. ✨
Nutrition Facts
Frequently Asked Questions
Can I use long-grain rice instead?
Long-grain rice won’t work as well. Its lower starch content makes the pudding less creamy. Stick with short-grain like Arborio for the best texture.
How can I make it dairy-free?
Swap whole milk for full-fat coconut milk and use coconut oil instead of butter. The flavor will be different but still delicious.
Why does my pudding have a skin on top?
This happens as it cools. Press plastic wrap directly onto the surface or stir occasionally during cooling to prevent it.
Can I make this ahead of time?
Yes! It stores well in the fridge for 4-5 days and reheats beautifully. Add a splash of milk when warming to restore creaminess.

- Mujadara Rice and Lentils Recipe: Earthy Spiced Lentils With Caramelized Onions - November 1, 2026
- Naija Fried Rice Recipe: Street-Style Spice With Veggie Crunch - November 1, 2026
- Mushy Rice Recipe: Fluffy Grains Transformed in Minutes - November 1, 2026