
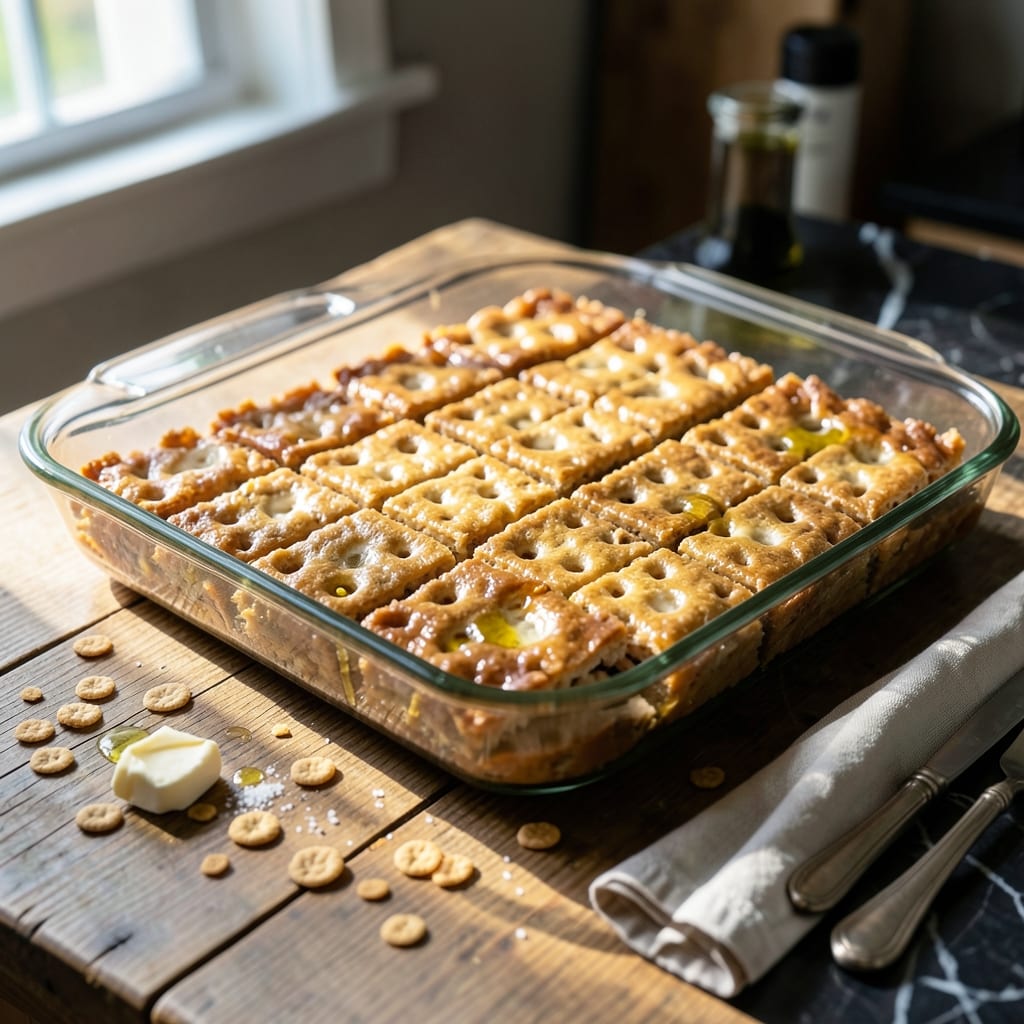
There’s an art to shaping Rice Krispie treats into clean, uniform squares without the mess. This method delivers perfect results every time, with crisp edges and a smooth finish that looks as good as it tastes.
I’ve refined this approach through years of trial and error, focusing on precise melting, proper mixing, and the right pressure during molding. The key is working quickly before the marshmallow mixture sets, ensuring even distribution in the pan.
What you’ll get are treats that hold their shape, cut cleanly, and maintain that signature snap with every bite. The process is simple but requires attention to detail—temperature, timing, and technique all play a role.
Follow these steps for a batch that impresses with both appearance and texture. The result is worth the extra care.
Ingredients for Molding Rice Krispie Treats
Just seven ingredients stand between you and perfectly shaped, crisp-edged treats.
| Ingredient | Amount | Notes |
|---|---|---|
| Rice Krispies Cereal 🥣 | 6 cups | Fresh for best crispiness |
| Mini Marshmallows 🍬 | 10 oz | Or 4 cups regular marshmallows |
| Unsalted Butter 🧈 | ¼ cup | For melting with marshmallows |
| Vanilla Extract 🌿 | 1 tsp | Pure for best flavor |
| Salt 🧂 | ¼ tsp | Fine grain for even distribution |
| Cooking Spray 🫒 | 1 can | For greasing pan and hands |
| Parchment Paper 📜 | 1 sheet | For lining pan |
The marshmallows are what hold everything together, so freshness is key—stale ones won’t melt as smoothly. Jet-Puffed or Kraft mini marshmallows are reliable brands. Butter quality matters for flavor, and unsalted lets you control the salt content. The cereal should be standard Rice Krispies (not puffed rice or generic brands), as the texture is specifically calibrated for this recipe.
No mini marshmallows? 4 cups of regular marshmallows work just as well. Out of vanilla extract? Almond extract at half the amount adds a nice twist. If you’re avoiding salt, you can omit it, but the treats may taste flat. For a richer flavor, some bakers add a pinch of cinnamon or cocoa powder to the mix.
Store treats in an airtight container at room temperature for up to 3 days (if they last that long). They’ll soften over time, so for best texture, eat within 24 hours. Freezing isn’t recommended—it ruins the crispy texture.
Why You’ll Love This Recipe
- One Bowl Wonder: I melt the butter and marshmallows in the same pot I mix everything in—cleanup is a breeze.
- Vanilla Magic: That splash of vanilla in the melted marshmallow-butter mix gives it a warmth that plain Rice Krispie treats just don’t have.
- Party Ready: I’ve shaped these into hearts for Valentine’s, pumpkins for Halloween—kids go wild for the fun shapes.
- Budget Winner: A box of cereal and a bag of mini marshmallows feed a crowd for under five bucks. Honestly, it’s my cheapest crowd-pleaser.
Step-by-Step Instructions for Molding Rice Krispie Treats
This method ensures perfectly shaped squares with that signature crispy-chewy texture.
Step 1: Melt Butter and Prepare Marshmallow Base
In a large saucepan, melt the 0.25 cup Unsalted Butter over low heat. Watch for the butter to completely liquefy and just begin to foam—this takes about 2-3 minutes. The low heat prevents browning, which would alter the flavor of your final product.
Immediately add all 10 oz Mini Marshmallows to the melted butter. Stir constantly with a silicone spatula for 3-5 minutes until the mixture is completely smooth with no visible marshmallow lumps. Remove from heat as soon as it’s fully melted to prevent scorching.
Stir in the 1 tsp Vanilla Extract and 0.25 tsp Salt. The mixture will be thick and glossy. This is your binding base that will hold the cereal together while adding rich flavor.
Step 2: Incorporate Rice Krispies Cereal
Working quickly while the marshmallow mixture is still hot, add all 6 cups Rice Krispies Cereal at once. Use the spatula to fold the cereal into the marshmallow base, pressing down gently to ensure every piece gets coated. You’ll notice the cereal begins to soften slightly as it absorbs the warm mixture.
Continue folding for 1-2 minutes until the cereal is evenly distributed and the mixture holds together when pressed. Be thorough but gentle—overmixing can crush the cereal and make your treats too dense. The mixture should look glossy and slightly sticky, with no dry cereal visible.
Step 3: Prepare Pan and Transfer Mixture
Lightly coat a 9×13-inch baking pan with the Cooking Spray, then line it with the Parchment Paper, leaving an overhang on all sides. This double protection ensures easy removal and clean edges. Spray the parchment paper lightly as well to prevent any sticking.
Transfer the cereal mixture to the prepared pan. Use the spatula to spread it evenly into all corners. The mixture will be warm and pliable—this is the ideal time to shape it before it sets.
Step 4: Press into Perfect Squares
Lightly coat your hands with additional Cooking Spray to prevent sticking. Press down firmly and evenly across the entire surface for 30-45 seconds. The goal is to compact the mixture just enough to hold its shape without crushing the cereal’s signature crispiness.
Pay special attention to the edges and corners, pressing them flat to create clean lines. You’ll feel the mixture start to set slightly as it cools. For truly perfect squares, use the flat bottom of a measuring cup to press down, creating an even surface across the entire pan.
Let the treats cool at room temperature for 1 hour until completely set. The surface should be firm to the touch and the edges should pull away slightly from the pan. Resist the temptation to cut too soon—this waiting period allows the marshmallow to fully bind the cereal together.
Pro Tips For Making Molding Rice Krispie Treats
- Melt Butter Slowly: Use low heat when melting the butter for your marshmallow mixture—high heat can cause the sugar in the marshmallows to caramelize too fast, making the treats harder to mold and chewier than intended.
- Use Fresh Marshmallows: I learned this the hard way—old marshmallows lose their puff and make the treats dense. Always check the bag’s freshness date before starting.
- Press While Warm: Don’t let the mixture cool completely before pressing it into the pan. Warm marshmallows are sticky enough to hold the shape, but wait too long and they’ll set before you can mold them properly.
- Butter Your Hands: Sounds weird, but it works: Lightly butter your hands or spatula before pressing the mixture into the pan to prevent sticking and make shaping easier.
Pro Cooking Tips for This Dish
Butter Melting Precision
Use low heat and a heavy-bottomed saucepan to prevent hot spots. I recommend All-Clad for even heat distribution. Melt the 0.25 cup butter until just foaming, not browned—this preserves the clean flavor.
Marshmallow Technique
Add all 10 oz mini marshmallows at once and stir constantly with a silicone spatula. The mixture should reach 180°F for smooth melting. Remove from heat immediately after melting to avoid scorching. 🌡️
Cereal Integration
Work quickly while the marshmallow is hot. Add all 6 cups Rice Krispies at once and fold gently with the spatula. Press down lightly to coat every piece without crushing the cereal’s crisp texture.
Pan Preparation
Line your 9×13-inch pan with parchment paper, leaving overhang on all sides. Spray both the pan and paper lightly with cooking spray. This double protection ensures clean release and sharp edges.
Pressing Perfection
Use the flat bottom of a measuring cup to press the mixture evenly. Apply firm, consistent pressure for 30-45 seconds. Pay special attention to edges and corners for clean lines.
Cooling Time
Let the treats cool for exactly 1 hour at room temperature. This allows the marshmallow to fully set while maintaining the cereal’s snap. Cutting too soon results in messy, uneven squares. 💡
Nutrition Facts
Frequently Asked Questions
What’s the best way to grease the pan?
Use cooking spray on both the pan and parchment paper. This double layer prevents sticking and ensures clean edges when removing the treats.
How long should I press the mixture?
Apply firm, even pressure with greased hands or a measuring cup for 30-45 seconds. This compacts the treats without crushing the cereal’s crisp texture.
Can I use a different pan size?
A 9×13-inch pan works best for uniform squares. A smaller pan makes thicker treats, while a larger one yields thinner, crispier results. Adjust pressing time slightly based on thickness.
Why did my treats turn out crumbly?
This usually happens if the marshmallow mixture wasn’t fully melted or the cereal wasn’t evenly coated. Ensure the marshmallow reaches 180°F and is smooth before mixing.

- Lump Rice Recipe Sri Lanka: Traditional Island-Style Texture - November 4, 2026
- Laos Sticky Rice Recipe: Traditional Steamed Perfection - November 4, 2026
- Magic Rice Recipe: One-Pot Aromatic Wonder - November 4, 2026