
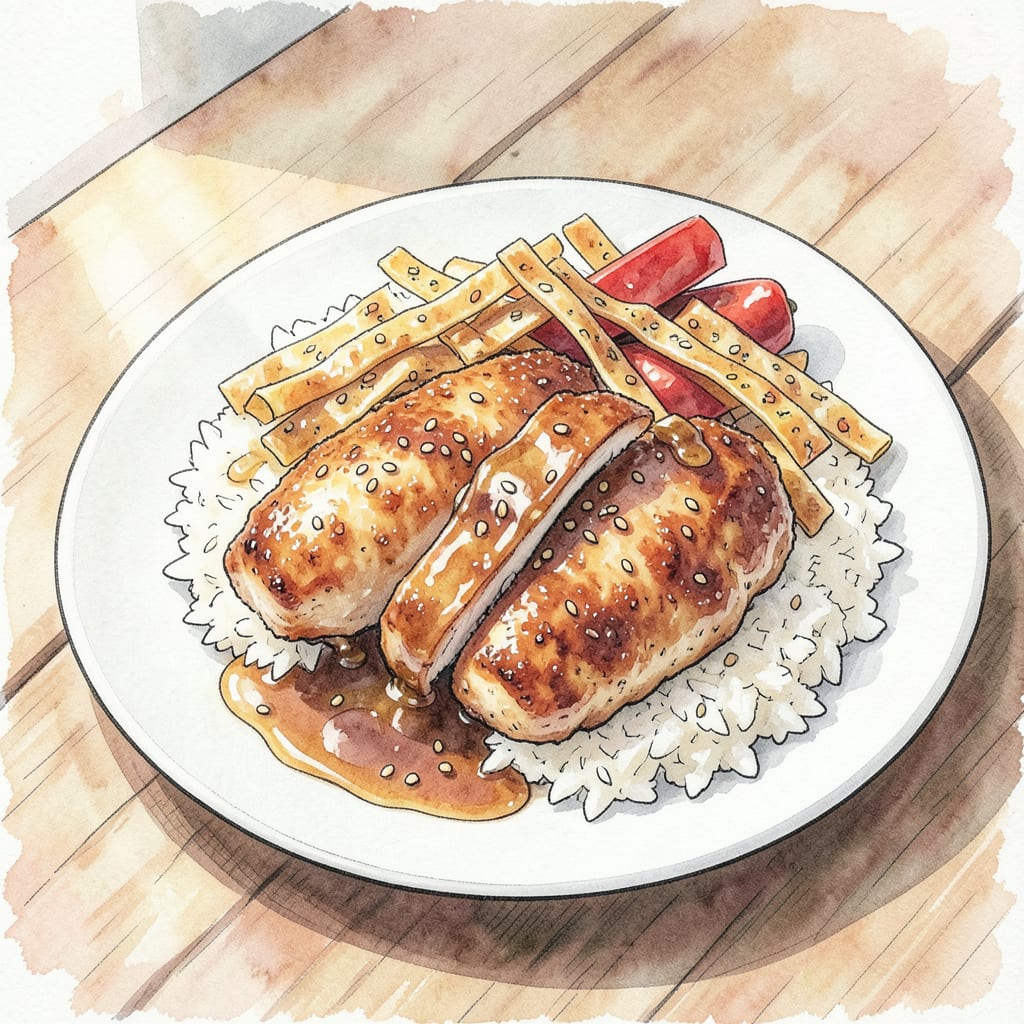
I’ve perfected a crispy honey chicken recipe that rivals P.F. Chang’s signature dish. This restaurant-style creation delivers a golden exterior and sweet honey glaze in just 30 minutes. Ready to impress?
The secret lies in a foolproof double-coating technique that creates an irresistible crunch. Paired with a rich honey sauce, this dish is sure to become a family favorite. Let’s get cooking and experience the magic of restaurant-quality chicken at home!
Ingredients for Pf Changs Crispy Honey Chicken
Crispy meets sweet in this restaurant-style honey chicken recipe, ready in 30 minutes.
| Ingredient | Amount | Notes |
|---|---|---|
| Chicken Breast Cutlets 🍗 | 1 ½ lb | Pounded to even thickness |
| All-Purpose Flour 🌾 | 1 ½ cups | For initial coating |
| Cornstarch 🌽 | ½ cup | For extra crispiness |
| Large Eggs 🥚 | 2 whole | Beaten for egg wash |
| Panko Breadcrumbs 🍞 | 1 ½ cups | For crunchy coating |
| Vegetable Oil 🫒 | 2 cups | For frying chicken |
| Honey 🍯 | ¾ cup | Pure honey for best flavor |
| Soy Sauce 🧂 | ¼ cup | Low-sodium preferred |
| Rice Vinegar 🥘 | 2 tbsp | For balanced flavor |
| Garlic Cloves 🧄 | 3 cloves | Minced for sauce |
| Ginger 🌿 | 1 tbsp | Freshly grated |
| Sesame Oil 🫒 | 1 tsp | For aromatic finish |
For the crispiest results, use Panko breadcrumbs and maintain oil temperature between 350°F-375°F. Most grocery stores carry Panko, but Asian markets often have better selection. For the honey sauce, pure honey makes all the difference—avoid artificial honey blends.
No Panko? Regular breadcrumbs work, but texture won’t be as light. For a gluten-free version, try gluten-free Panko or crushed rice cereal. The soy sauce can be adjusted for salt preference—start with low-sodium and taste as you go. Fresh ginger is worth grating for that authentic flavor.
Leftover chicken keeps for 3-4 days in the fridge. Reheat in the oven at 375°F for about 10 minutes to regain crispiness. The honey sauce thickens when chilled—just reheat gently to loosen. Freeze individual portions for up to 2 months.
Step-by-Step Instructions for P.F. Chang’s Crispy Honey Chicken
Follow these detailed steps to achieve restaurant-quality crispy honey chicken at home in just 30 minutes.
Step 1: Prepare the Chicken for Frying
Start by pounding the 1.5 lb Chicken Breast Cutlets to an even thickness of about ¼ inch. This ensures they cook uniformly and prevents overcooking the exterior before the interior is fully cooked. Season both sides with a pinch of salt – this enhances the flavor and helps the coating adhere.
In a shallow dish, combine the 1.5 cups All-Purpose Flour and 0.5 cup Cornstarch. The cornstarch is crucial for achieving that signature crispiness. In a separate dish, beat the 2 whole Large Eggs until well mixed – this egg wash will help the breadcrumb coating stick to the chicken. Finally, place the 1.5 cups Panko Breadcrumbs in a third dish. Having these stations set up makes the coating process efficient and mess-free.
Step 2: Coat the Chicken for Maximum Crispiness
Take each chicken cutlet and coat it evenly in the flour mixture, shaking off any excess. Then dip it in the beaten eggs, making sure it’s fully coated. Finally, roll it in the Panko breadcrumbs, pressing gently to ensure they adhere well. The key is to maintain even coating at each stage – this creates that perfect crispy exterior.
As you coat each piece, place it on a clean plate or tray. I like to use a fork to handle the chicken during coating – it helps minimize direct contact and prevents the coating from getting disturbed. Make sure not to overcrowd the plate, as this can cause the coating to stick together.
Step 3: Fry the Chicken to Golden Perfection
Heat the 2 cups Vegetable Oil in a large skillet or wok over medium-high heat until it reaches 350°F. While the oil is heating, prepare a wire rack set over a baking sheet to drain the fried chicken. Once the oil is hot, carefully add a few pieces of the coated chicken (don’t overcrowd the pan) and fry for 4-5 minutes per side until they reach a golden brown color and the internal temperature hits 165°F.
Use tongs to gently turn the chicken halfway through frying. If you notice the breadcrumbs browning too quickly, reduce the heat slightly. After frying, transfer the chicken to the prepared wire rack to drain excess oil. Repeat with the remaining chicken pieces, allowing the oil to return to temperature between batches.
Step 4: Make the Signature Honey Sauce
In a small saucepan, combine the 0.75 cup Honey, 0.25 cup Soy Sauce, and 2 tbsp Rice Vinegar. Add the 3 cloves Garlic Cloves (minced) and 1 tbsp Ginger (freshly grated) to the mixture. Bring the mixture to a simmer over medium heat, whisking constantly to prevent sticking.
Reduce the heat to low and let the sauce simmer gently for 5-7 minutes until it thickens slightly and develops a rich glaze. Remove from heat and stir in the 1 tsp Sesame Oil just before using. The sauce should have a smooth, glossy consistency that coats the back of a spoon.
Step 5: Combine and Serve
Once all the chicken is fried and the sauce is ready, it’s time to combine them. Add the fried chicken pieces to the saucepan with the honey sauce and toss gently to coat evenly. If the sauce has thickened too much, you can thin it slightly with a tablespoon or two of water.
Serve the crispy honey chicken hot, garnished with additional sliced green onions or sesame seeds if desired. The chicken should maintain its crispy exterior while being coated in the sweet and savory honey sauce. For the best experience, serve immediately while the coating is still crunchy.
Dietary Considerations for This Recipe
Gluten-Free Adaptation
To make this crispy honey chicken gluten-free, replace the 1.5 cups All-Purpose Flour with 1:1 gluten-free flour blend containing rice flour or cornstarch. Use gluten-free Panko breadcrumbs or crushed rice cereal for the coating. The rest of the recipe remains the same, but be sure to check that your Soy Sauce is gluten-free.
Keto Considerations
For a keto version, replace the 1.5 cups All-Purpose Flour with almond flour or coconut flour, and use pork rinds crushed in a food processor as a breadcrumb substitute. Be cautious with the honey sauce as honey is high in carbs—consider using a low-carb sweetener like monk fruit or keto maple syrup instead. Reduce the amount to 2-3 tbsp to keep it keto-friendly.
Dairy-Free Options
This recipe is naturally dairy-free, but be mindful of cross-contamination if you’re cooking for someone with severe dairy allergies. Some brands of Panko breadcrumbs may contain dairy—check labels carefully. The honey sauce is dairy-free as written.
Low-Sodium Modifications
To reduce sodium, use low-sodium Soy Sauce or replace it with coconut aminos. You can also decrease the amount of added salt in the flour coating. Be aware that Panko breadcrumbs can vary in sodium content—some brands offer lower-sodium options.
Other Dietary Adjustments
For a spicier version, add 1-2 tsp crushed red pepper flakes to the flour mixture or honey sauce. To make it nut-free, avoid using nut-based flours or coatings. For a vegan version, substitute chicken with breaded and fried tofu or tempeh, and use a vegan honey substitute in the sauce. The dish remains delicious and versatile with these adjustments. 🔥
Nutrition Facts
Frequently Asked Questions
What’s the secret to making the crispiest honey chicken?
The key is double-coating the chicken with a mixture of flour and cornstarch, followed by an egg wash, and finally Panko breadcrumbs. This creates a crunchy exterior that stays crispy even after adding the honey sauce.
Can I bake the chicken instead of frying it?
While baking is a healthier alternative, it won’t produce the same level of crispiness as frying. If you choose to bake, preheat your oven to 400°F and bake for 20-25 minutes, or until the chicken reaches an internal temperature of 165°F. The result will be slightly different, but still delicious.
How do I prevent the honey sauce from becoming too thick?
To maintain the perfect consistency, simmer the honey sauce gently over low heat for 5-7 minutes. If it thickens too much, you can thin it with a tablespoon or two of water. This will help you achieve a smooth, glossy glaze that coats the chicken beautifully.
Can I make the honey sauce ahead of time?
Yes, you can prepare the honey sauce in advance and store it in an airtight container in the refrigerator for up to 3 days. Simply reheat it gently before using. This can save you time when you’re ready to assemble the dish.

- Rice Paper Pancakes Recipe: Crispy Vietnamese Breakfast Delight - September 25, 2026
- Rice A Roni Pork Fried Rice Recipe: Quick Wok-Style Meal with Savory Bites - September 25, 2026
- Mandhi Rice Recipe: Yemeni Spiced Lamb and Rice Feast - September 25, 2026