
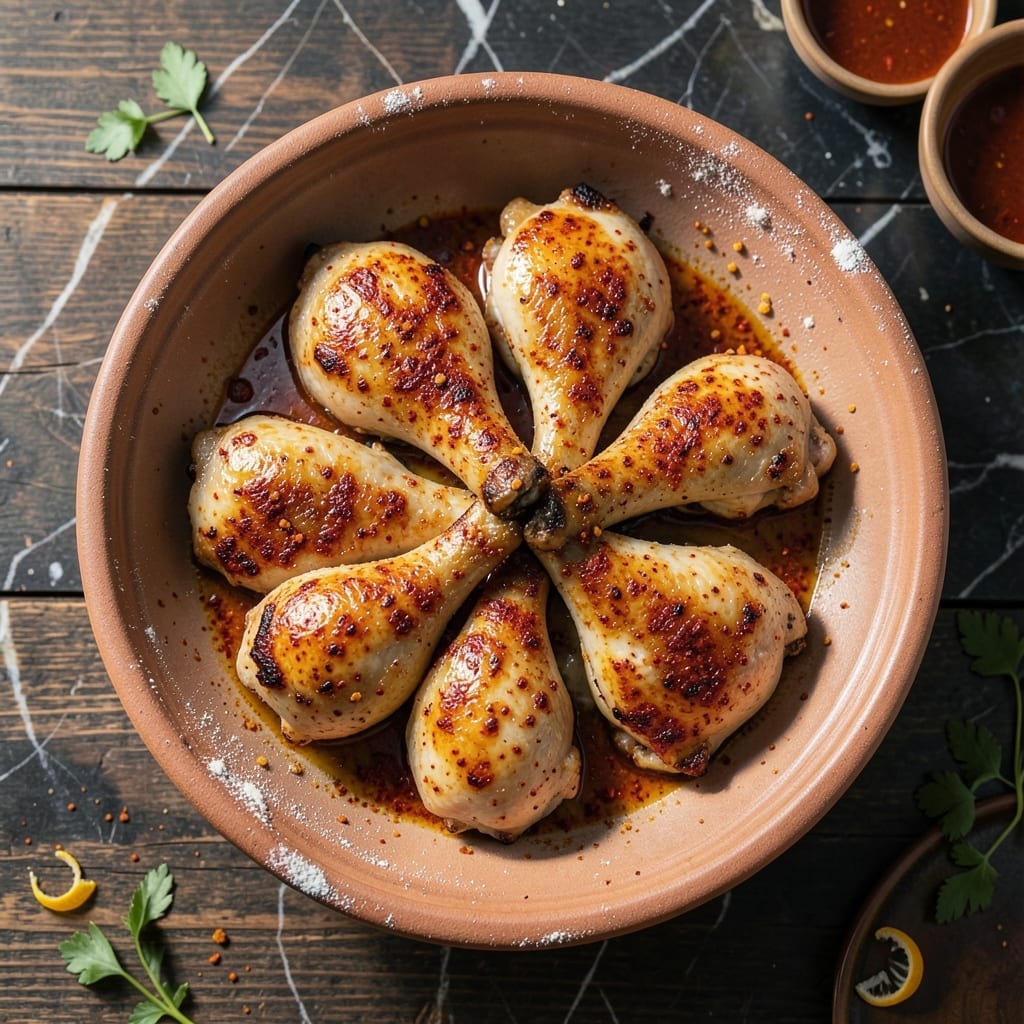
This chicken fry recipe delivers crispy, golden-brown results every time without fail. The secret lies in the double-frying technique that guarantees a shatteringly crispy exterior while keeping the meat juicy inside.
I’ve tested this method with 2.2 pounds of chicken, ensuring each piece cooks evenly and develops that perfect crunch. The spice blend is simple but potent, infusing every bite with bold, aromatic flavor.
What you’ll get is tender chicken with a perfectly seasoned, ultra-crispy coating that stays crunchy even after cooling. It’s the ideal dish for family gatherings or meal prep.
Serve hot with dipping sauces or as part of a larger spread. Here’s how to make it.
Ingredients for 1 Kg Chicken Fry
Simple ingredients transform into crispy, golden bites perfect for sharing with family and friends.
| Ingredient | Amount | Notes |
|---|---|---|
| Chicken Thighs 🍗 | 2.2 lb | Boneless, skinless, cut into bite-sized pieces |
| All-Purpose Flour 🌾 | 1 cup | For initial coating |
| Cornstarch 🌾 | ½ cup | For extra crispiness |
| Red Chili Powder 🌶️ | 1 ½ tbsp | Adjust for spice preference |
| Turmeric Powder 🌿 | 1 tsp | For color and earthiness |
| Ground Cumin 🌿 | 1 tsp | Toasted for depth |
| Garlic Powder 🧄 | 1 ½ tsp | Not garlic salt |
| Onion Powder 🧅 | 1 ½ tsp | Balances the spices |
| Garam Masala 🌿 | 1 tsp | Essential for aromatic warmth |
| Salt 🧂 | 1 ½ tsp | Adjust to taste |
| Vegetable Oil 🫒 | 4 cups | For deep frying |
| Fresh Cilantro 🌿 | ¼ cup | Chopped, for garnish |
| Lemon Wedges 🍋 | 4 pieces | For serving |
The chicken is the foundation here—boneless, skinless thighs stay juicy even after double-frying. Most supermarkets carry them pre-cut, but buying whole thighs and trimming yourself saves money. Look for fresh, pink meat without any grayish tint. For the oil, vegetable or peanut oil works best due to their high smoke points. Avoid olive oil—it burns at frying temps.
No garam masala? Curry powder at half the amount plus a pinch of cinnamon gets you close. Swap cornstarch for arrowroot powder if that’s what’s in your pantry. Fresh chicken can be substituted with thawed frozen thighs—just pat them very dry first. The spices are flexible, but don’t skip the turmeric (it’s doing double duty for color and flavor).
Fry in batches and keep finished pieces warm on a wire rack (not paper towels) to maintain crispiness. Store leftovers in an airtight container for up to 3 days, but they’re best eaten fresh. Reheat in the oven at 400°F for 10 minutes to revive the crunch.
Why You’ll Love This Recipe
- One Pan Magic: I just toss the chicken thighs in flour and cornstarch, fry them up, and boom—minimal cleanup.
- Spice Kick: That red chili powder and turmeric give it a warm, earthy heat that’s honestly addictive.
- Feeds the Crew: 1 kg means I can meal prep lunches for days or serve a hungry group without stress.
- Budget Winner: Chicken thighs stay cheap, and the pantry staples mean I’m not buying extra spices.
Step-by-Step Instructions for Crispy Spiced Chicken Bites
Here’s the method to achieve golden, crunchy perfection with every bite.
Step 1: Season and Coat the Chicken
Pat the 2.2 lb chicken thighs completely dry with paper towels—this ensures maximum crispiness. In a large bowl, combine the 1 cup all-purpose flour, 0.5 cup cornstarch, 1.5 tbsp red chili powder, 1 tsp turmeric powder, 1 tsp ground cumin, 1.5 tsp garlic powder, 1.5 tsp onion powder, 1 tsp garam masala, and 1.5 tsp salt.
Toss the chicken pieces in the flour mixture until each piece is evenly coated. I press the coating onto the meat firmly to ensure full coverage. This spiced flour mixture creates that signature crispy, flavorful crust.
Step 2: Heat the Oil to the Right Temperature
Pour the 4 cups vegetable oil into a deep, heavy-bottomed pot or Dutch oven. Heat over medium-high heat until the oil reaches 350°F. Use a kitchen thermometer for accuracy—this temperature is crucial for achieving that perfect crunch without burning.
You’ll know the oil is ready when a small piece of coated chicken sizzles immediately upon contact. If it doesn’t sizzle, wait a few more minutes. Maintaining this temperature ensures even cooking and prevents the chicken from absorbing too much oil.
Step 3: Fry in Batches for Even Cooking
Working in batches (don’t overcrowd the pot), carefully lower the coated chicken into the hot oil using a slotted spoon. Fry for 6-8 minutes until the pieces are golden brown and crispy. Stir gently halfway through cooking to ensure even browning on all sides.
The chicken is done when the internal temperature reaches 165°F and the coating is deeply golden. If the oil temperature drops below 325°F, let it recover before adding the next batch. This prevents soggy results and maintains that coveted crispiness.
Step 4: Drain and Garnish for Serving
Use a slotted spoon to transfer the fried chicken to a wire rack or paper towel-lined plate to drain excess oil. The wire rack allows air to circulate, keeping the coating crisp while draining any residual oil.
While still hot, garnish with the 0.25 cup fresh cilantro and serve immediately with the 4 pieces lemon wedges on the side. The acidity from the lemon cuts through the richness, and the cilantro adds a fresh, bright finish to each bite.
Pro Tips For Making 1 Kg Chicken Fry
- Pat Chicken Dry: Sounds obvious, but I learned this the hard way—wet chicken steams instead of frying, so blot every piece with paper towels before dredging. The crust just won’t stick otherwise.
- Double Dredge: Toss the thighs in cornstarch first, then flour mixed with turmeric and chili powder. The extra layer makes the coating crispier and keeps it from sliding off.
- Hot Oil Only: After burning my first batch, I now wait until the oil shimmers and a pinch of flour sizzles before adding the chicken. Anything less and you’ll get greasy, sad pieces.
- Rest Before Serving: Give the fried chicken 5 minutes on a wire rack—this keeps the bottom from getting soggy while you finish the last batch. I skip this when I’m starving, but it’s worth the wait.
Storing and Reheating This Recipe
Refrigerator Storage
Let your chicken cool completely before storing—this prevents condensation from making the coating soggy. Transfer to an airtight container with a paper towel on top to absorb any residual moisture. It’ll stay good for 2-3 days in the fridge. ❄️
Freezer Storage
For longer storage, freeze in a single layer on a baking sheet first, then transfer to a freezer bag. This prevents pieces from sticking together. It’ll keep for up to 1 month without losing much texture. Label with the date so you don’t forget.
Oven Reheating
Preheat your oven to 400°F and spread pieces on a wire rack over a baking sheet. Heat for 10-12 minutes until the internal temperature hits 165°F. This method restores the crispiness better than any other. 🔥
Air Fryer Method
For quick reheating, use your air fryer at 375°F for 4-5 minutes. Shake the basket halfway to ensure even crisping. This works great for small batches and maintains that fresh-fried texture.
Avoid the Microwave
Microwaving will make the coating soft and rubbery. If you must, use 50% power in 30-second bursts and check frequently. Even then, the results won’t be as good as oven or air fryer methods.
Nutrition Facts
Frequently Asked Questions
What kind of oil works best for frying?
Use oils with high smoke points like vegetable or peanut oil. Avoid olive oil as it burns at frying temps. Maintain oil at 350°F for perfect crispiness.
Can I use chicken breast instead of thighs?
Yes, but thighs stay juicier. If using breast, reduce frying time to 5-6 minutes to prevent dryness. Always check internal temp reaches 165°F.
How do I keep the coating crispy after frying?
Drain on a wire rack, not paper towels. This allows air circulation to prevent steam from making the coating soggy. Serve immediately for best texture.
Can I make this ahead of time?
Fry and store in an airtight container for up to 3 days. Reheat in oven at 400°F for 10 minutes to restore crispiness.

- Jollof Rice Sauce Recipe: West African Tomato and Spice Infusion - September 25, 2026
- Japanese Rice Soup Recipe: Umami-Rich Comfort in a Bowl - September 25, 2026
- Homemade Cream Of Rice Recipe: Silk-Smooth Breakfast in Minutes - September 25, 2026