
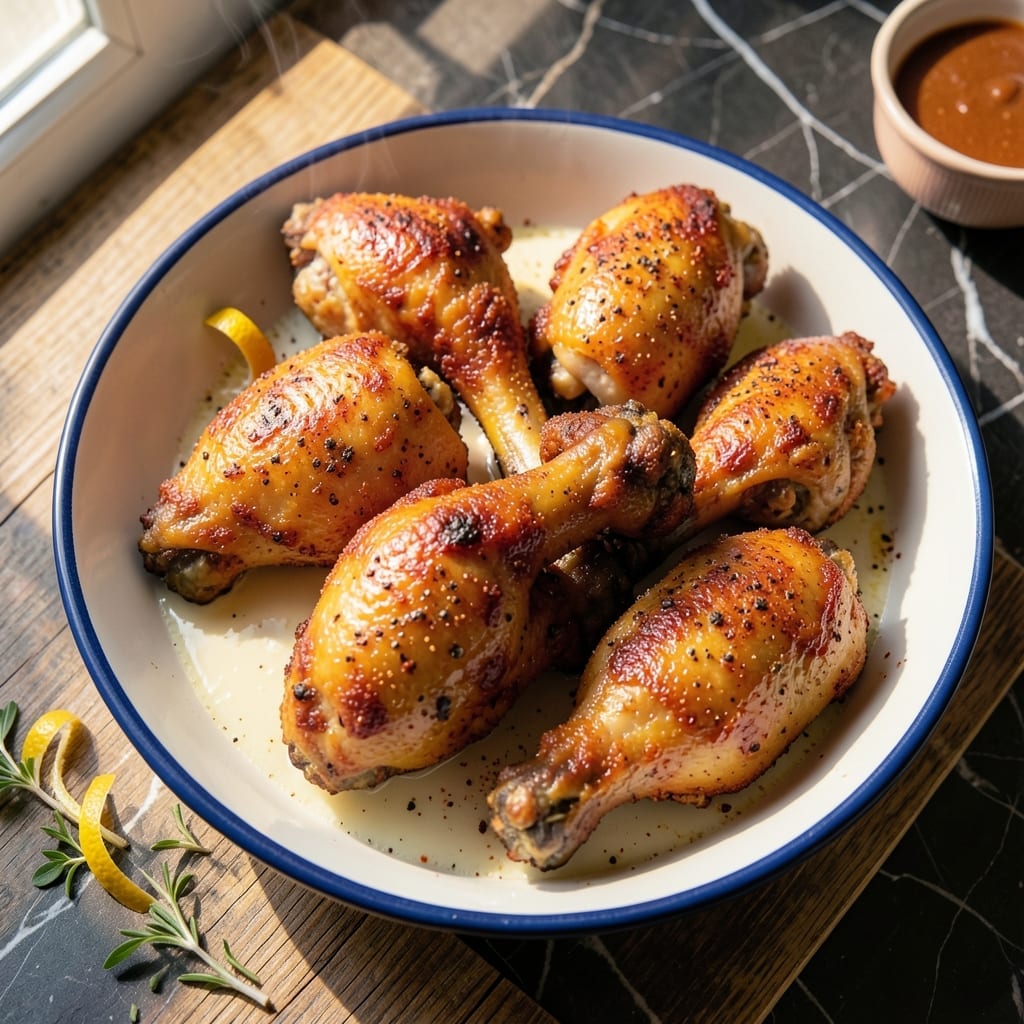
There’s a reason 1950s fried chicken remains a gold standard for crisp, golden perfection. This method relies on simple techniques and honest ingredients to deliver that nostalgic crunch.
I learned this approach early in my career, perfecting it through years of practice. The secret lies in the double-dipping process and maintaining the right oil temperature for even cooking.
What emerges is crispy, golden chicken with juicy meat inside, just like grandma used to make. The crust stays shatteringly crisp long after frying.
Serve it hot for the full experience. This is comfort food at its most authentic.
Ingredients for 1950s Fried Chicken
Honest ingredients deliver that nostalgic crisp. Simple, timeless, and perfect every time.
| Ingredient | Amount | Notes |
|---|---|---|
| Chicken Pieces 🍗 | 3 lb | Bone-in, skin-on thighs and drumsticks |
| All-Purpose Flour 🌾 | 3 cups | Divided for dredging |
| Buttermilk 🥛 | 2 cups | Full-fat for best results |
| Kosher Salt 🧂 | 2 tbsp | Diamond Crystal preferred |
| Freshly Ground Black Pepper 🌶️ | 1 tbsp | Coarse grind for texture |
| Paprika 🌶️ | 1 tbsp | Sweet or smoked variety |
| Garlic Powder 🧄 | 1 tbsp | Not garlic salt |
| Onion Powder 🧅 | 1 tbsp | Fresh ground preferred |
| Cayenne Pepper 🔥 | ½ tsp | Adjust for heat preference |
| Vegetable Shortening 🫒 | 4 cups | Or peanut oil for frying |
| Large Eggs 🥚 | 2 whole | Beaten for binding |
| Self-Rising Flour 🌾 | 1 cup | For extra crispiness |
The chicken is the foundation—bone-in, skin-on thighs and drumsticks give you the juiciest meat and crispiest crust. I source mine from local butchers or Whole Foods for consistent quality. The buttermilk must be full-fat; low-fat versions just don’t cling the same way. For the flour, White Lily or Gold Medal are my go-tos for that old-school texture. Don’t skip the Diamond Crystal kosher salt—it’s the gold standard in professional kitchens.
No buttermilk? Whole milk plus a tablespoon of vinegar works in a pinch. Out of self-rising flour? All-purpose flour plus baking powder and salt (1 cup flour + 1.5 tsp baking powder + 0.5 tsp salt) gets you close. The cayenne is optional, but I recommend keeping it—just half the amount if you’re sensitive to heat. Peanut oil is a great alternative to vegetable shortening for frying (and it adds a subtle nutty flavor).
Fry in batches to avoid crowding—keeps the oil at the right temperature. Leftovers (if there are any) stay crispy for 2 days in the fridge. Reheat in the oven at 350°F to revive the crust. Never microwave—it’ll turn soggy. The dredging mix can be prepped a day ahead, but fry just before serving.
Why You’ll Love This Recipe
- Five Ingredients: That’s it—just chicken, flour, buttermilk, salt, and pepper. No fancy shopping, no stress.
- Crispy Outside, Juicy Inside: The buttermilk soak keeps it tender while the flour crust fries up golden and crunchy.
- Feeds a Hungry Table: I’ve served this at Sunday dinner and weeknight rush—always disappears fast.
- Leftovers? Even Better: Honestly, it tastes just as good cold the next day, straight from the fridge.
Step-by-Step Instructions for 1950s Fried Chicken
Master this classic technique for that nostalgic crunch and golden perfection.
Step 1: Season and Marinate the Chicken
Begin by patting the 3 lb chicken pieces completely dry with paper towels. This ensures the coating adheres properly. In a large bowl, whisk together the 2 cups buttermilk, 2 whole large eggs, 1 tbsp kosher salt, 1 tbsp freshly ground black pepper, 1 tbsp paprika, 1 tbsp garlic powder, 1 tbsp onion powder, and 0.5 tsp cayenne pepper.
Submerge the chicken pieces in the buttermilk mixture, ensuring they are fully coated. Cover and refrigerate for at least 4 hours, or overnight for maximum tenderness. The buttermilk not only tenderizes the meat but also helps the flour coating cling better during frying.
Step 2: Prepare the Dredging Station
In a large shallow dish, combine the 3 cups all-purpose flour and 1 cup self-rising flour. The self-rising flour adds an extra crispiness that’s signature to this vintage style. Whisk the flours together until evenly blended.
Remove the chicken from the buttermilk, letting any excess drip off. Dredge each piece thoroughly in the flour mixture, pressing firmly to ensure a thick, even coating. Place the dredged chicken on a wire rack set over a baking sheet to rest for 10-15 minutes. This resting period helps the coating set, preventing it from falling off during frying.
Step 3: Heat the Oil and Fry to Golden Perfection
In a deep, heavy-bottomed skillet or Dutch oven, heat the 4 cups vegetable shortening to 350°F. Use a deep-fry thermometer to monitor the temperature accurately—this is crucial for even cooking and that ideal golden crust.
Carefully place a few pieces of chicken into the hot oil, ensuring not to overcrowd the pan. Fry in batches if necessary to maintain the oil temperature. Cook for 12-15 minutes per side, or until the chicken is golden brown and the internal temperature reaches 165°F for dark meat and 160°F for white meat.
Step 4: Drain and Rest Before Serving
Transfer the fried chicken to a wire rack or paper towel-lined plate to drain excess oil. This step ensures the coating remains crispy rather than soggy. Sprinkle with a pinch of kosher salt while still hot to enhance the flavor of the crust.
Let the chicken rest for 5-10 minutes before serving. This resting period allows the juices to redistribute, ensuring moist, flavorful meat in every bite. Serve immediately while hot and crispy for the best experience.
Pro Tips For Making 1950s Fried Chicken
- Soak Overnight: Let the chicken pieces swim in buttermilk for at least 8 hours—I learned this the hard way after my first batch came out dry as cardboard.
- Heat the Oil: Use a deep fry thermometer and keep the oil at 350°F; after burning three batches, I finally figured out that guesswork just doesn’t cut it.
- Skip the Crowding: Fry in batches with plenty of space between pieces, or you’ll end up with soggy, steamed chicken instead of that crispy crust.
- Double Dredge: Dip the buttermilk-soaked chicken back in the flour just before frying—my grandmother swore by this, and it makes the coating stick like glue.
Creative Variations of 1950s fried chicken
Spicy Southern Kick
Add 1 tsp cayenne pepper and ½ tsp smoked paprika to your dredging flour. This Georgia variation brings heat while keeping that nostalgic crunch. I learned this from my grandmother’s kitchen—perfect for those who like a little fire. 🌶️
Herb-Infused Buttermilk
Mix 2 tbsp fresh thyme and 1 tbsp rosemary into your buttermilk marinade. The herbs add an aromatic depth that pairs beautifully with the crispy coating. This works especially well with bone-in thighs.
Cornmeal Crust
Replace 1 cup all-purpose flour with fine cornmeal in your dredging mix. This gives a grittier texture and golden color, reminiscent of old Charleston recipes. The cornmeal adds a subtle sweetness too.
Double-Dip Method
For extra crunch, dip the floured chicken back into the buttermilk, then dredge again in flour. This vintage technique creates layers of crispiness. I swear by this for competition-style chicken at my Atlanta BBQ joints.
Honey-Glazed Finish
Drizzle ¼ cup honey mixed with 1 tbsp apple cider vinegar over hot fried chicken. The sweet-tangy glaze contrasts beautifully with the savory crust. Serve immediately for the best texture.
Air Fryer Adaptation
Spray dredged chicken lightly with oil and air fry at 375°F for 20-25 minutes, flipping halfway. While not identical to deep-frying, it delivers impressive crispiness with less oil. Works in a pinch for smaller batches. ✨
Nutrition Facts
Frequently Asked Questions
Can I use boneless chicken for this recipe?
Bone-in pieces work best for that authentic 1950s texture and moisture. Boneless tends to dry out faster and lacks the rich flavor. If you must, reduce cooking time by 3-4 minutes per side.
Why use both all-purpose and self-rising flour?
Self-rising flour adds extra lift for a lighter, crispier crust. The combo creates that signature vintage crunch. Stick to the 3:1 ratio for best results.
How do I keep the coating from falling off?
Pat the chicken completely dry before dredging and let it rest 10-15 minutes after coating. The buttermilk acts as glue, while resting sets the flour.
What’s the best oil for authentic flavor?
Vegetable shortening was the 1950s standard for neutral taste and high smoke point. Peanut oil adds subtle nuttiness but may impart color. Avoid olive oil—it burns at frying temps.

- Jollof Rice Sauce Recipe: West African Tomato and Spice Infusion - September 25, 2026
- Japanese Rice Soup Recipe: Umami-Rich Comfort in a Bowl - September 25, 2026
- Homemade Cream Of Rice Recipe: Silk-Smooth Breakfast in Minutes - September 25, 2026