
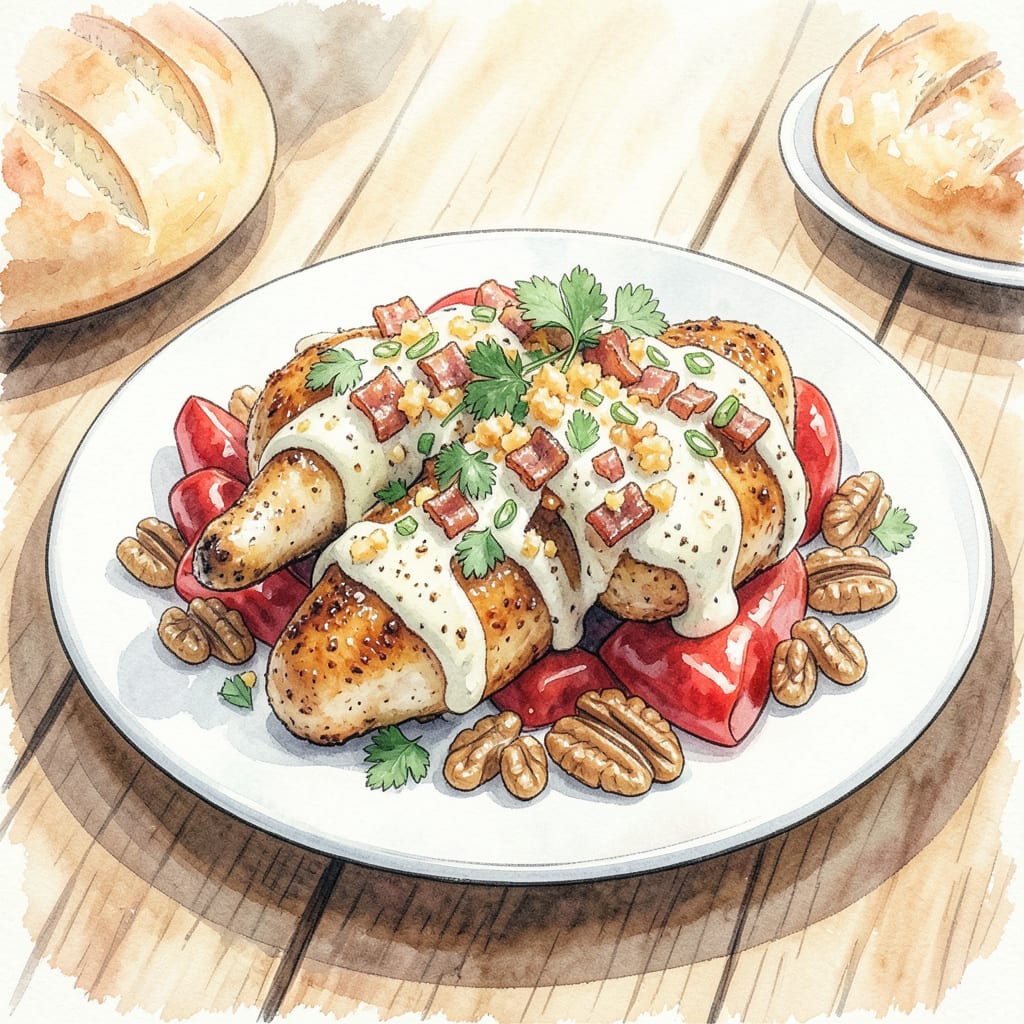
I’m excited to share my take on the 2 Fat 2 Fly Stuffed Chicken Wings Recipe, a game-changer for wing lovers. This recipe delivers crispy outside and juicy stuffed wings that are sure to impress.
With simple ingredients and straightforward instructions, you’ll achieve restaurant-quality results at home. The secret lies in the perfect balance of flavors and textures, making these stuffed chicken wings a perfect appetizer for any gathering.
Ingredients for 2 Fat 2 Fly Stuffed Chicken Wings
Simple ingredients come together to create these crispy outside, juicy stuffed wings.
| Ingredient | Amount | Notes |
|---|---|---|
| Chicken Wings 🍗 | 2 lb | Fresh, whole wings preferred |
| Cream Cheese 🧀 | 8 oz | Softened for easier mixing |
| Ranch Seasoning 🧂 | 1 tbsp | Or homemade ranch mix |
| Cheddar Cheese 🧀 | 1 cup | Shredded, sharp variety |
| Bacon Bits 🥓 | ½ cup | Crispy cooked bacon crumbled |
| Green Onions 🌿 | ¼ cup | Chopped, for garnish |
| All-Purpose Flour 🌾 | 1 cup | For dredging wings |
| Paprika 🌶️ | 1 tsp | Smoked or sweet paprika |
| Garlic Powder 🧄 | 1 tsp | Not garlic salt |
| Salt 🧂 | 1 tsp | Kosher salt preferred |
| Black Pepper 🌶️ | ½ tsp | Freshly ground preferred |
| Olive Oil 🫒 | 2 tbsp | For baking wings |
For the best results, use fresh, whole chicken wings rather than frozen. Look for wings with good meat distribution at your local butcher or Whole Foods. If you can’t find whole wings, drumettes and flats work too. The cream cheese should be softened to room temperature for easier mixing with other filling ingredients.
No ranch seasoning? Make your own with dried parsley, dill, garlic powder, and onion powder. For an extra kick, add some cayenne pepper or red pepper flakes to the filling. If you prefer a different cheese, Monterey Jack or Pepper Jack works well too. For the bacon, cook it until crispy before crumbling.
These wings can be prepared ahead and stored in the refrigerator for up to 24 hours before baking. Leftovers keep well in an airtight container in the fridge for 3-4 days. To reheat, bake in a preheated oven at 350°F until crispy again.
Step-by-Step Instructions for 2 Fat 2 Fly Stuffed Chicken Wings
Follow these detailed steps to achieve perfectly crispy outside and juicy stuffed chicken wings every time.
Step 1: Prepare the Chicken Wings
Start by carefully separating the 2 lb chicken wings into three parts: drumettes, wingettes, and tips. I use a sharp knife to make clean cuts through the joints. For this recipe, we’ll be using the drumettes and wingettes, so set the tips aside for making stock or discard them.
Next, I take the time to carefully remove the bones from the wingettes and drumettes, creating a pocket for the stuffing. This step requires some patience, but it’s crucial for achieving that perfect stuffed wing. Make sure not to puncture the skin while removing the bones.
Step 2: Make the Cream Cheese Stuffing
In a large mixing bowl, combine the 8 oz cream cheese, 1 tbsp ranch seasoning, 1 cup cheddar cheese, 0.5 cup bacon bits, and 0.25 cup green onions. Mix everything together until you have a smooth, well-incorporated filling. I like to use an electric mixer for this step to ensure the cream cheese is fully softened and blended with the other ingredients.
Taste the mixture and adjust the seasoning if needed. You can add more ranch seasoning if you prefer a stronger flavor, or more cheddar cheese for an extra cheesy kick. Once you’re happy with the flavor, set the mixture aside until you’re ready to stuff the wings.
Step 3: Stuff and Dredge the Wings
Take the prepared chicken wings and generously fill them with the cream cheese mixture, making sure to fill them as much as possible without tearing the skin. Once filled, I gently dredge the wings in the 1 cup all-purpose flour, shaking off any excess. This step helps create a crispy exterior when baked.
In a separate bowl, mix together the 1 tsp paprika, 1 tsp garlic powder, 1 tsp salt, and 0.5 tsp black pepper. Sprinkle this spice mixture evenly over the floured wings, ensuring they’re well-coated. This blend adds a depth of flavor that complements the creamy filling.
Step 4: Bake the Stuffed Wings to Perfection
Preheat your oven to 400°F. Line a baking sheet with parchment paper or aluminum foil for easy cleanup, and arrange the stuffed wings on it in a single layer. Drizzle the 2 tbsp olive oil over the wings to help them brown and crisp up in the oven.
Bake the wings for 25-30 minutes or until they reach a golden brown color and the internal temperature reaches 165°F. I like to check on them halfway through the cooking time to ensure they’re baking evenly. If needed, you can flip them to achieve an even crispiness.
Step 5: Serve and Enjoy
Once the wings are done, remove them from the oven and let them cool for a few minutes on the baking sheet. This resting period allows the juices to redistribute, making the wings even more tender and flavorful.
Serve the 2 Fat 2 Fly stuffed chicken wings hot, garnished with additional chopped green onions if desired. They’re perfect as an appetizer or main course, and they’re sure to be a hit with anyone who tries them. The combination of the crispy exterior, juicy chicken, and creamy filling is absolutely irresistible.
Troubleshooting Great 2 fat 2 fly stuffed chicken wings
Common Issues with Stuffing
One of the most common problems with stuffed chicken wings is the filling bursting out during cooking. To prevent this,
Wing Preparation Challenges
Removing bones from chicken wings can be tricky, but using the right technique makes it easier. Start by cutting through the joint to separate the wing parts, then carefully loosen the meat from the bone using a sharp knife or kitchen shears. Practice makes perfect here.
Crispy Exterior Troubleshooting
If your wings aren’t getting crispy, check your oven temperature with an oven thermometer. Sometimes ovens run hot or cold, affecting results. Also,
Undercooked or Overcooked Wings
To avoid under or overcooking, always use a meat thermometer to check the internal temperature of the wings. They should reach 165°F for safe consumption. If you notice wings cooking unevenly, rotate the baking sheet halfway through the cooking time.
Saving Wings that Burst Open
If some wings burst open during baking, don’t worry! You can still salvage them by serving with extra ranch or blue cheese dressing to mask any exposed filling. For future batches, try chilling the stuffed wings in the refrigerator for 30 minutes before baking to help them hold their shape better.
Storage and Reheating Tips
For leftovers, store the cooled wings in an airtight container in the refrigerator for up to 3 days. To reheat, bake in a preheated oven at 350°F until crispy again, usually about 10-15 minutes. You can also freeze them on a baking sheet, then transfer to a freezer bag for storage up to 3 months.
Nutrition Facts
Frequently Asked Questions
What’s the best way to prevent the filling from bursting out during baking?
To keep the filling inside, make sure not to overfill the wings and chill them in the refrigerator for 30 minutes before baking. This helps the filling set and adhere to the chicken better.
Can I make the stuffed wings ahead of time?
Yes, you can prepare the stuffed wings up to 24 hours in advance. Store them covered in the refrigerator until you’re ready to bake. This can be helpful for party planning or meal prep.
How do I achieve crispy skin on the wings?
For crispy skin,
Can I freeze the stuffed wings? Yes, you can freeze the stuffed wings on a baking sheet, then transfer them to a freezer bag for storage up to 3 months. When you’re ready to bake, simply bake them frozen at 400°F for an additional 10-15 minutes.

- Jollof Rice Sauce Recipe: West African Tomato and Spice Infusion - September 25, 2026
- Japanese Rice Soup Recipe: Umami-Rich Comfort in a Bowl - September 25, 2026
- Homemade Cream Of Rice Recipe: Silk-Smooth Breakfast in Minutes - September 25, 2026