
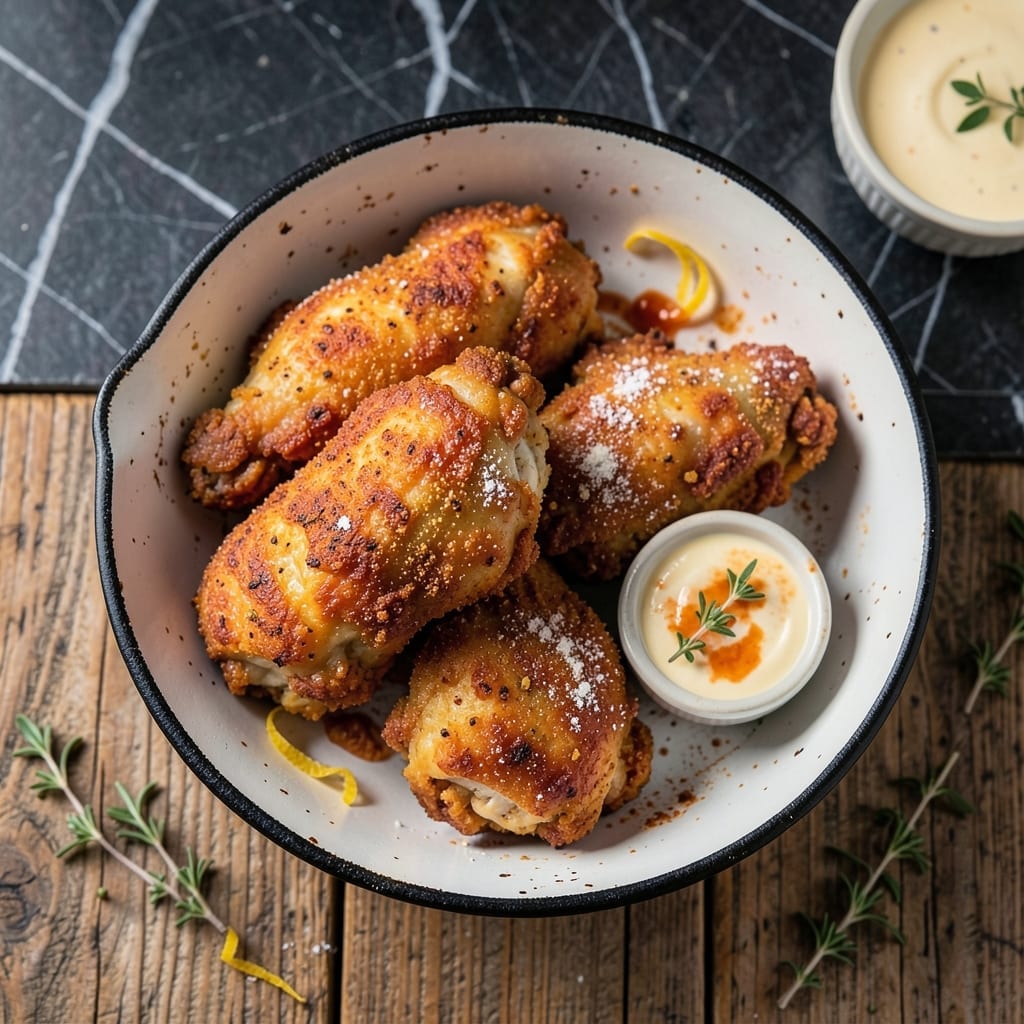
This copycat version delivers the crispy, golden exterior and juicy interior that grocery store fried chicken is known for. I developed this method after countless attempts to match that signature crunch at home.
The secret lies in a two-step breading process and maintaining the right oil temperature. Each piece emerges with a shatteringly crispy coating that stays intact, even after resting. The seasoning blend captures that familiar, comforting flavor profile.
What you get is chicken that’s perfectly cooked through with a coating that crackles with every bite. The method ensures consistent results, whether you’re frying a small batch or feeding a crowd.
Serve hot for the best texture. Here’s how to recreate this classic at home.
Ingredients for Albertsons Fried Chicken
Pantry staples and a quick grocery run. Nothing exotic, just solid ingredients.
| Ingredient | Amount | Notes |
|---|---|---|
| Chicken Thighs 🍗 | 3 lb | Bone-in, skin-on for best crunch |
| Buttermilk 🥛 | 2 cups | Full-fat for extra tenderness |
| All-Purpose Flour 🌾 | 2 ½ cups | Divided for breading process |
| Cornstarch 🌽 | ½ cup | For extra crispiness |
| Paprika 🌶️ | 2 tbsp | Sweet or smoked variety |
| Garlic Powder 🧄 | 1 tbsp | Not garlic salt |
| Onion Powder 🧅 | 1 tbsp | Essential for flavor base |
| Salt 🧂 | 2 tsp | Kosher or sea salt |
| Black Pepper 🌶️ | 1 tsp | Freshly ground preferred |
| Cayenne Pepper 🔥 | ½ tsp | Adjust for heat preference |
| Vegetable Oil 🫒 | 4 cups | For frying, high smoke point |
| Large Eggs 🥚 | 2 whole | For egg wash in breading |
| Hot Sauce 🌶️ | 2 tbsp | Optional for buttermilk marinade |
The chicken is everything here. Bone-in, skin-on thighs give you that juicy interior and crispy exterior—boneless just doesn’t cut it. Albertsons usually has good options, or hit Costco for bulk savings. For the buttermilk, full-fat makes a difference (trust me on this). If you’re making your own buttermilk, whole milk plus a splash of vinegar works in a pinch.
No buttermilk? Plain yogurt thinned with milk gets you close. Swap cornstarch for instant flour if that’s what you’ve got. The paprika can be regular or smoked—both work. Want more kick? Add an extra pinch of cayenne. The hot sauce in the marinade is optional but adds that signature tang (I use Crystal or Tabasco).
Fry in batches so the oil stays hot. Leftovers keep 3-4 days in the fridge but lose some crunch—reheat in the oven at 375°F to crisp back up. Honestly best eaten fresh, straight from the fryer.
Why You’ll Love This Recipe
- One Bowl Wonder: I love that I can mix the flour, cornstarch, and paprika right in the same bowl I use for dredging—less cleanup, more flavor.
- That Crispy Magic: The buttermilk soak makes the chicken so juicy, while the cornstarch gives it that addictive crunch.
- Weeknight Hero: Honestly, it’s my go-to for busy evenings—ready faster than takeout and way better.
- Budget Crowd-Pleaser: Chicken thighs are cheap, and this recipe stretches to feed a family with leftovers that reheat surprisingly well.
Step-by-Step Instructions for Grocery Store Copycat Fried Chicken
This method delivers that signature crispy coating with juicy meat inside every time.
Step 1: Marinate the Chicken Thighs in Buttermilk
In a large bowl, whisk together the 2 cups Buttermilk and 2 tbsp Hot Sauce until smooth. Add the 3 lb Chicken Thighs and make sure each piece is fully coated. Cover and refrigerate for at least 4 hours, or overnight if you want maximum tenderness.
The buttermilk works like magic to break down proteins, making the chicken incredibly juicy. I always use full-fat for the richest flavor. You’ll see the meat turn slightly opaque as it marinates—that’s how you know it’s working.
Step 2: Prepare the Seasoned Breading Mixture
In a large shallow dish, combine 2.5 cups All-Purpose Flour, 0.5 cup Cornstarch, 2 tbsp Paprika, 1 tbsp Garlic Powder, 1 tbsp Onion Powder, 2 tsp Salt, 1 tsp Black Pepper, and 0.5 tsp Cayenne Pepper. Whisk until everything is evenly distributed and no streaks of spice remain visible.
This blend is the secret to that grocery store crunch. The cornstarch adds extra crispiness, while the paprika gives it that familiar golden color. I like to use smoked paprika for a bit of depth, but sweet works too.
Step 3: Bread the Chicken with Egg Wash
Beat the 2 whole Large Eggs in a separate shallow dish until well combined. Working with one piece at a time, remove a chicken thigh from the buttermilk, letting excess drip off, then dip it in the egg wash, coating completely. Immediately press it into the flour mixture, turning to coat all sides.
Press firmly to make sure the breading adheres well—this creates those craggy bits that get extra crispy. Place breaded pieces on a wire rack set over a baking sheet. Let them rest for 10-15 minutes to help the coating set before frying.
Step 4: Fry to Golden Perfection
Heat the 4 cups Vegetable Oil in a large, heavy pot or Dutch oven to 350°F. Use a deep-fry thermometer to monitor the temperature—it’s crucial for even cooking. Carefully lower 3-4 breaded chicken thighs into the hot oil, being careful not to overcrowd the pot.
Fry for 12-15 minutes, turning occasionally, until the chicken is deep golden brown and the internal temperature reaches 165°F. The oil should bubble steadily but not violently. If it’s smoking, your oil is too hot and needs to cool slightly.
Transfer the fried chicken to a wire rack or paper towels to drain. Let it rest for 5 minutes before serving—this keeps the coating crispy instead of soggy from trapped steam.
Pro Tips For Making Albertsons Fried Chicken
- Double Dredge: Coat the chicken in flour once, dip in buttermilk, then dredge again in the flour-cornstarch mix—I learned this the hard way when my first batch had bald spots.
- Heat the Oil: Use a thermometer to keep the oil at 350°F; after burning three batches, I finally figured out that guessing leads to sad, greasy chicken.
- Pat Thighs Dry: Blot the chicken thighs with paper towels before dredging, or the coating slides right off—yes, even if you’re impatient like me.
- Rest Before Frying: Let the dredged chicken sit for 10 minutes on a rack; sounds weird, but it works to set the crust so it doesn’t flake off in the oil.
Common Mistakes When Making albertsons fried chicken
Incorrect Oil Temperature
Using oil that’s too hot or too cool ruins everything. At 325°F or below, your chicken will absorb oil and turn greasy. Above 375°F, the outside burns before the inside cooks. I check with a deep-fry thermometer—it’s the only reliable way. 🌡️
Skipping the Resting Step
Rushing to serve straight from the fryer makes the coating steam and go soggy. Always let it rest for 5 minutes on a wire rack. This keeps the crust shatteringly crispy while the juices redistribute through the meat.
Overcrowding the Pot
Adding too many pieces at once drops the oil temperature dramatically. Fry in batches with 2-3 inches between pieces. I use a Dutch oven for better heat retention. This ensures even cooking and prevents steaming.
Poor Breading Adhesion
If your coating falls off during frying, you didn’t press firmly enough. After dipping in egg wash, really pack the flour mixture onto each piece. Let breaded chicken rest for 10-15 minutes before frying to help the coating set properly.
Inconsistent Piece Sizes
Mixing large and small thighs leads to uneven cooking. Trim pieces to similar sizes (about 6-8 oz each). I use kitchen shears to cut larger thighs in half. This way, every piece cooks through perfectly in the same timeframe.
Using Cold Chicken
Straight-from-the-fridge chicken lowers oil temperature and cooks unevenly. Take it out 30 minutes before frying to bring to room temperature. This helps maintain that 350°F oil temperature for consistent results. 💡
Nutrition Facts
Frequently Asked Questions
Can I use chicken breasts instead of thighs?
You can, but thighs stay juicier. Breasts dry out faster and may cook unevenly. If using, reduce frying time to 10-12 minutes and monitor internal temp closely.
What oil works best for frying?
Any oil with a high smoke point works: vegetable, canola, or peanut oil are ideal. Avoid olive oil—it burns at frying temps. Maintain 350°F throughout.
How do I keep the coating crispy longer?
Drain on a wire rack, not paper towels. Store in a single layer in the oven at 200°F until serving. This prevents steam buildup.
Can I bake instead of fry?
Yes, but texture differs. Bake at 400°F for 25-30 minutes on a rack. Spray with oil first for extra crispness. Won’t match deep-fried crunch though.

- Rice Paper Pancakes Recipe: Crispy Vietnamese Breakfast Delight - September 25, 2026
- Rice A Roni Pork Fried Rice Recipe: Quick Wok-Style Meal with Savory Bites - September 25, 2026
- Mandhi Rice Recipe: Yemeni Spiced Lamb and Rice Feast - September 25, 2026