
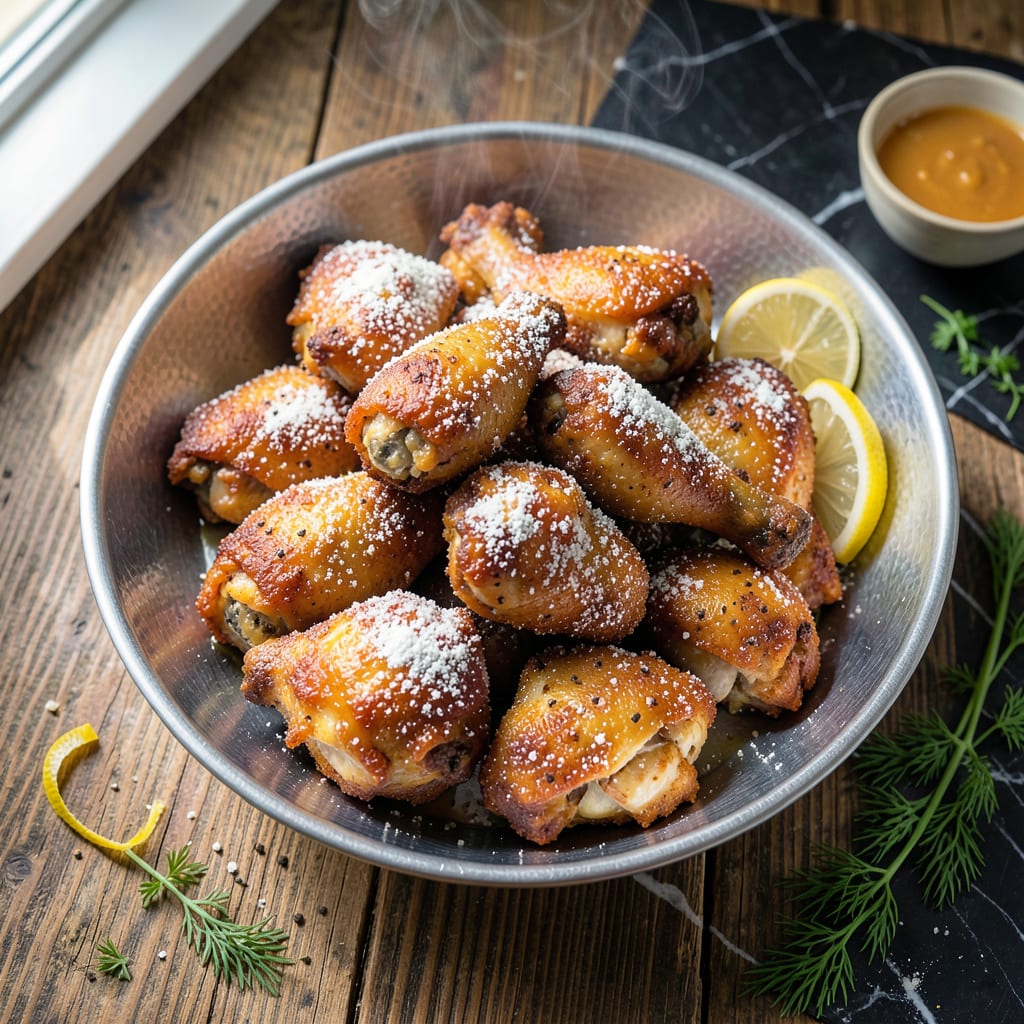
This recipe delivers the crispy fried chicken America’s Test Kitchen is known for, with a double-dipped coating that ensures every bite stays perfectly crunchy. The method combines traditional techniques with modern precision for foolproof results.
By frying at the right temperature and timing each step carefully, you’ll achieve golden-brown chicken that’s tender inside with a shatteringly crispy exterior. This approach guarantees consistent success every time.
Ingredients for America’s Test Kitchen Fried Chicken
These ingredients create that signature shatteringly crispy coating and juicy interior.
| Ingredient | Amount | Notes |
|---|---|---|
| Chicken Thighs and Drumsticks 🍗 | 3 ½ lb | Bone-in, skin-on for crispiness |
| Buttermilk 🥛 | 2 cups | Full-fat for best texture |
| All-Purpose Flour 🌾 | 3 cups | Plus extra for dredging |
| Cornstarch 🌽 | ½ cup | For extra crispiness |
| Baking Powder 🧂 | 2 tsp | Aluminum-free preferred |
| Salt 🧂 | 1 tbsp | Diamond Crystal kosher salt |
| Black Pepper 🌶️ | 1 tbsp | Freshly ground preferred |
| Paprika 🌶️ | 2 tsp | Sweet or smoked variety |
| Garlic Powder 🧄 | 1 tsp | Not garlic salt |
| Onion Powder 🧅 | 1 tsp | Fresh ground preferred |
| Cayenne Pepper 🔥 | ½ tsp | Adjust for heat preference |
| Vegetable Oil 🫒 | 8 cups | For frying, high smoke point |
| Large Eggs 🥚 | 2 whole | Beaten into buttermilk |
| Hot Sauce 🌶️ | 2 tbsp | Optional, for marinade |
[recipeingredientscaler]
The chicken is the foundation—bone-in, skin-on thighs and drumsticks yield the juiciest results with maximum crunch. ButcherBox or Whole Foods offer high-quality options, but standard supermarket chicken works if brined properly. For the coating, King Arthur Flour provides consistent texture. The buttermilk must be full-fat; reduced-fat versions lack the acidity needed for proper tenderizing.
No buttermilk? Whole milk with 1 tbsp vinegar per cup works in a pinch. For the flour, all-purpose is non-negotiable—cake flour lacks structure, bread flour makes it dense. Adjust the cayenne to taste, but don’t omit the paprika; it’s essential for color. The baking powder is the secret to extra crispiness by creating tiny air pockets in the crust.
The marinade can sit overnight for deeper flavor, but 4 hours minimum is ideal. Store raw chicken in the coldest part of your fridge—use within 2 days. Leftovers keep 3-4 days refrigerated, though they’re best eaten fresh. Reheat in the oven to maintain some crispiness.
Why You’ll Love This Recipe
- One Pan Magic: I love that I can fry everything in a single skillet—no juggling multiple batches or pots.
- Crispy Perfection: The cornstarch and baking powder combo gives it that shatteringly crisp crust with juicy meat inside.
- Weeknight Hero: Honestly, it’s my go-to for busy evenings when I need something hearty and satisfying.
- Budget Friendly: Chicken thighs and drumsticks stretch further than breasts, and the buttermilk marinade keeps them tender without breaking the bank.
Step-by-Step Instructions for America’s Test Kitchen Fried Chicken
This double-dipping method guarantees an ultra-crispy coating that stays shatteringly crisp long after frying.
Step 1: Brine and Marinate the Chicken
Whisk together the 2 cups Buttermilk, 2 whole Large Eggs, and 2 tbsp Hot Sauce in a large bowl. Add the 3.5 lb Chicken Thighs and Drumsticks, ensuring each piece is fully coated. Cover and refrigerate for at least 12 hours or up to 24 hours.
The buttermilk’s acidity tenderizes the chicken while the salt in the mixture seasons it deeply. This extended marinating time is crucial for flavor penetration and moisture retention during frying.
Step 2: Prepare the Double-Dip Coating
In a large bowl, combine the 3 cups All-Purpose Flour, 0.5 cup Cornstarch, 2 tsp Baking Powder, 1 tbsp Salt, 1 tbsp Black Pepper, 2 tsp Paprika, 1 tsp Garlic Powder, 1 tsp Onion Powder, and 0.5 tsp Cayenne Pepper. Whisk until fully incorporated.
The cornstarch and baking powder are the secrets to extra crispiness—the cornstarch creates a delicate, lacy crust, while the baking powder raises the pH of the coating, promoting browning and a lighter texture.
Step 3: Double-Dip and Rest the Chicken
Remove the chicken from the buttermilk marinade, allowing excess to drip off. Dredge each piece in the flour mixture, pressing firmly to adhere. Dip back into the buttermilk, then dredge in the flour mixture a second time. Place the coated pieces on a wire rack set over a baking sheet.
This double-dipping technique creates a thick, craggy crust that fries up incredibly crisp. Let the chicken rest for 15-20 minutes before frying to allow the coating to set, which prevents it from sliding off during cooking.
Step 4: Fry to Golden Perfection
Heat the 8 cups Vegetable Oil in a large Dutch oven or heavy pot over medium-high heat to 375°F. Use a deep-fry thermometer to monitor the temperature accurately. Carefully lower 3-4 pieces of chicken into the oil, being careful not to overcrowd the pot.
Fry the chicken for 12-15 minutes, turning occasionally, until the coating is deep golden brown and the internal temperature reaches 165°F for dark meat. Drain on a wire rack or paper towels to maintain crispiness.
Between batches, allow the oil to return to 375°F before adding more chicken. This ensures even cooking and prevents a greasy, soggy coating. Serve immediately while hot and crisp.
Pro Tips For Making America’S Test Kitchen Fried Chicken
- Double-Dredge the Chicken: Soak the chicken in buttermilk, then dredge in the flour-cornstarch-baking powder mix, dip back in buttermilk, and dredge again—this builds a thicker, crispier crust that actually stays put.
- Rest the Coated Chicken: After dredging, let the chicken rest on a wire rack for 15-20 minutes—this helps the coating adhere better and prevents it from sliding off in the oil.
- Use a Dutch Oven: A heavy Dutch oven maintains steady heat better than a thin pan, and the deep sides prevent oil splatter while keeping the temperature consistent for even frying.
- Skip Cold Chicken: Let the chicken sit at room temperature for 20-30 minutes before frying—cold chicken lowers the oil temp too much, leading to greasy, undercooked pieces.
Storing and Reheating This Dish
Refrigerator Storage
Let your fried chicken cool completely before storing—this takes about 1 hour at room temperature. Place pieces in a single layer in an airtight container with paper towels between layers to absorb moisture. It stays fresh for up to 4 days at 40°F or below. ❄️
Freezer Storage
For longer storage, freeze in a single layer on a baking sheet first, then transfer to a gallon-size freezer bag. Squeeze out excess air to prevent freezer burn. It keeps for up to 3 months without losing too much texture. I always label with the date to track freshness.
Oven Reheating
Preheat your oven to 400°F and place chicken on a wire rack over a baking sheet. Heat for 10-12 minutes until the internal temperature reaches 165°F. This method helps restore some crispiness to the coating. 🔥
Air Fryer Reheating
Arrange pieces in a single layer in your air fryer basket—don’t overcrowd. Reheat at 375°F for 5-6 minutes, shaking halfway through. The circulating air helps revive the crunch better than a microwave ever could.
Microwave Option
Place a damp paper towel over the chicken and microwave on 50% power for 1-2 minutes. While this won’t restore crispiness, it warms the chicken through without drying it out. Add a few drops of water if needed.
Nutrition Facts
Frequently Asked Questions
Why use both flour and cornstarch in the coating?
The flour builds the base, while cornstarch creates an ultra-crispy, lacy crust. This combo gives that signature shatter when you bite into it.
Can I use chicken breasts instead of thighs?
Yes, but they cook faster and can dry out. Reduce frying time to 8-10 minutes and check internal temp reaches 165°F. Thighs stay juicier.
How do I keep the coating from falling off?
Let the double-dipped chicken rest for 15-20 minutes before frying. This helps the coating adhere better during cooking.
What if my oil temperature drops too low?
Pause and let it return to 375°F between batches. Low oil temp causes greasy, soggy chicken. A thermometer is essential.

- Jollof Rice Sauce Recipe: West African Tomato and Spice Infusion - September 25, 2026
- Japanese Rice Soup Recipe: Umami-Rich Comfort in a Bowl - September 25, 2026
- Homemade Cream Of Rice Recipe: Silk-Smooth Breakfast in Minutes - September 25, 2026