
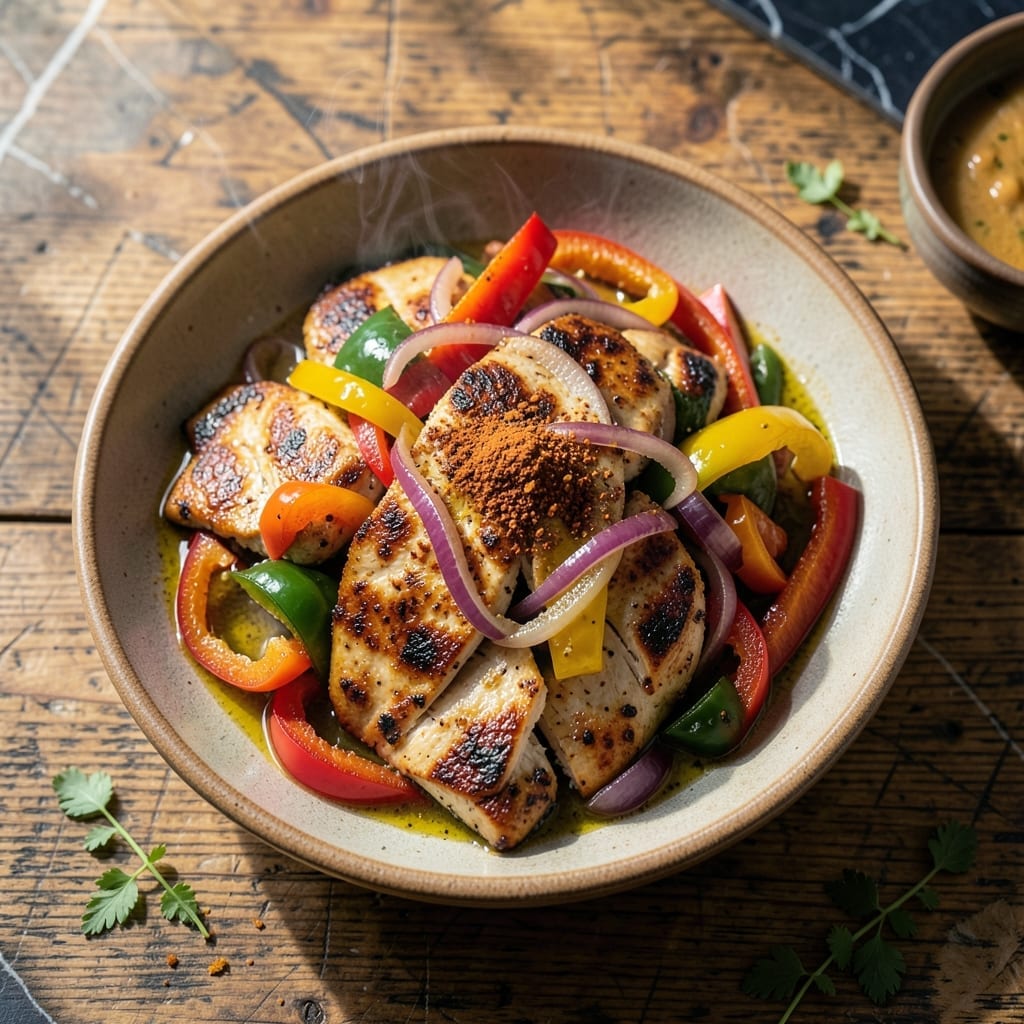
This sheet pan approach transforms fajita night into a hands-off, flavor-packed experience. I developed this method after years of standing over a hot stove, stirring constantly—now the oven does all the work.
The key is cutting chicken and vegetables uniformly and spreading them in a single layer on the pan. This ensures everything cooks evenly at 400°F with minimal effort. The spices create a smoky, aromatic crust that locks in moisture.
You’ll end up with tender chicken strips, perfectly charred peppers and onions, all infused with Tex-Mex flavors. The best part? Only one pan to clean when you’re done, making this ideal for busy weeknights.
Serve with warm tortillas, sour cream, and fresh cilantro for a complete meal. Here’s how to make it.
Ingredients for Baked Chicken Fajita
Everything you need for smoky, tender chicken and charred veggies. One pan, big flavor.
| Ingredient | Amount | Notes |
|---|---|---|
| Boneless Skinless Chicken Breasts 🍗 | 1 ½ lb | Sliced into thin strips |
| Bell Peppers 🌶️ | 3 whole | Assorted colors, sliced |
| Red Onion 🧅 | 1 whole | Thinly sliced into strips |
| Olive Oil 🫒 | 3 tbsp | Divided for coating |
| Lime Juice 🍋 | 2 tbsp | Freshly squeezed |
| Chili Powder 🌶️ | 2 tsp | Mild or hot variety |
| Ground Cumin 🌿 | 1 tsp | Toasted for deeper flavor |
| Smoked Paprika 🌶️ | 1 tsp | Essential for smoky depth |
| Garlic Powder 🧄 | 1 tsp | Not garlic salt |
| Dried Oregano 🍃 | 1 tsp | Mexican oregano if available |
| Salt 🧂 | 1 tsp | Kosher or sea salt |
| Black Pepper 🌶️ | ½ tsp | Freshly ground preferred |
| Flour Tortillas 🌮 | 8 pieces | Warm before serving |
| Fresh Cilantro 🌿 | ½ cup | Chopped for garnish |
| Sour Cream 🥛 | ½ cup | For serving |
The chicken is the star here. Boneless, skinless breasts stay juicy when sliced thin—thighs work too if you prefer darker meat. I grab mine from Costco for bulk savings, but any supermarket will do. Look for uniform thickness in the breasts to ensure even cooking. The bell peppers should be firm and vibrant in color—no soft spots or wrinkles.
No smoked paprika? Regular paprika plus a pinch of cayenne gets you close. Out of fresh lime? Bottled works in a pinch (but fresh is brighter). The tortillas can be corn if you’re avoiding gluten—just warm them first so they don’t crack. If cilantro tastes like soap to you (it’s genetic!), swap in parsley or avocado slices for garnish.
Leftovers keep 4-5 days in the fridge, reheat in a dry pan to crisp everything back up. Freezes well for 3 months too—portion into bags for easy grab-and-go fajitas. The spices stay potent in a cool, dark cabinet for about 6 months.
Why You’ll Love This Recipe
- One Sheet Magic: I toss the chicken, peppers, and onions with olive oil and lime juice, spread on a pan, and let the oven do the work.
- Zesty Kick: The lime juice brightens everything up, and the peppers caramelize just enough to make every bite ridiculously good.
- Weeknight Hero: Honestly, I make this on Sundays and pack the leftovers for lunches all week—still tastes fresh.
- Budget Friendly: Between us, chicken breasts and seasonal peppers keep this dish solid without breaking the bank.
Step-by-Step Instructions for Baked Chicken Fajitas
This sheet pan method delivers bold flavors with almost no cleanup.
Step 1: Season the Chicken and Vegetables
In a large bowl, combine 1.5 lb Boneless Skinless Chicken Breasts sliced into thin strips with 3 whole Bell Peppers and 1 whole Red Onion, both sliced into strips. Drizzle with 2 tbsp Olive Oil and add 2 tbsp Lime Juice, 2 tsp Chili Powder, 1 tsp Ground Cumin, 1 tsp Smoked Paprika, 1 tsp Garlic Powder, 1 tsp Dried Oregano, 1 tsp Salt, and 0.5 tsp Black Pepper.
Toss everything together until evenly coated. I like to use my hands for this—it ensures every piece gets a good layer of seasoning. Let it marinate for 10 minutes while the oven preheats.
Step 2: Spread on Sheet Pan and Bake
Preheat your oven to 400°F. Spread the seasoned chicken and vegetables in a single layer on a large sheet pan. Drizzle with the remaining 1 tbsp Olive Oil to help with browning.
Bake for 20-25 minutes, stirring halfway through, until the chicken is cooked through and the vegetables are tender with slightly charred edges. You’ll know it’s done when the chicken reaches 165°F internally and the peppers have softened.
Step 3: Warm the Tortillas and Assemble
While the chicken bakes, warm the 8 pieces Flour Tortillas. I wrap them in a damp paper towel and microwave for 30 seconds, but you can also heat them in a dry skillet for 10-15 seconds per side.
The tortillas should be soft and pliable, not crispy. This makes them easier to fold and prevents them from tearing when you add the filling.
Step 4: Serve with Fresh Garnishes
Transfer the baked chicken and vegetables to a serving platter. Garnish with 0.5 cup Fresh Cilantro, chopped. Serve with the warmed tortillas and 0.5 cup Sour Cream on the side.
Let everyone build their own fajitas at the table. The chicken should be juicy and flavorful, the vegetables tender with a slight smokiness from the spices. A squeeze of extra lime on top brightens everything up perfectly.
Pro Tips For Making Baked Chicken Fajita
- Slice Against the Grain: Cut the chicken breasts into thin strips against the grain—this keeps them tender and prevents chewy bites, even if they overcook slightly in the oven.
- Roast Peppers Separately: Bell peppers take longer to soften than onions, so give them a 5-minute head start in the oven before adding the onions to ensure even cooking.
- Don’t Overcrowd the Pan: Spread the chicken and veggies in a single layer on the baking sheet—crowding steams them instead of roasting, and you’ll end up with soggy fajitas.
- Marinate 15 Minutes: Toss the chicken with olive oil, lime juice, and spices and let it sit while the oven preheats—just 15 minutes makes a real difference in flavor without requiring planning ahead.
Regional Styles of These Flavors
Texas Style
In true Texas fashion, I swap bell peppers for poblano peppers and add 1 tsp cayenne to the spice blend. This brings serious heat while keeping the dish authentic. The poblanos roast beautifully at 400°F, developing deep, smoky flavors. 🌶️
California Fusion
West Coast versions often include zucchini and mushrooms alongside traditional veggies. I add 1 sliced zucchini and 8 oz cremini mushrooms to the sheet pan. The extra moisture from these veggies creates a juicier final product with a lighter touch.
New Mexico Green Chile
For a Southwestern twist, I stir in 2 chopped roasted Hatch green chiles after baking. The mild heat and earthy flavor of these chiles are iconic in New Mexico. Serve with blue corn tortillas for an authentic regional experience.
Baja Style
This coastal version gets a citrus boost with 1 orange (zested and juiced) added to the marinade. I also include 1 tsp ground coriander for brightness. The acidity tenderizes the chicken beautifully during the 20-minute bake. 💛
Midwest Comfort
Heartland adaptations often include shredded cheddar cheese sprinkled over the chicken before serving. I add 1 cup shredded cheddar in the last 5 minutes of baking. This creates a melty, gooey topping that kids especially love.
Arizona Sonoran
The Sonoran desert influence means using flour tortillas that are slightly thicker. I warm them with a sprinkle of queso fresco inside before adding the filling. This style often includes pinto beans as a side for extra heartiness.
Nutrition Facts
Frequently Asked Questions
What temperature should I bake chicken fajitas at?
Bake at 400°F for best results. This high heat ensures the chicken cooks through while giving the veggies a slight char in 20-25 minutes.
Can I use chicken thighs instead of breasts?
Yes! Thighs stay juicier and can handle the 20-25 minute bake time well. Just slice them thinly for even cooking.
How do I keep the chicken from drying out?
Slice breasts into thin strips and don’t overbake. Check at 20 minutes—it’s done at 165°F internally.
Can I prep this ahead of time?
Chop and season everything, then refrigerate up to 8 hours before baking. Add 5 minutes to cook time if cold.

- Jollof Rice Sauce Recipe: West African Tomato and Spice Infusion - September 25, 2026
- Japanese Rice Soup Recipe: Umami-Rich Comfort in a Bowl - September 25, 2026
- Homemade Cream Of Rice Recipe: Silk-Smooth Breakfast in Minutes - September 25, 2026