
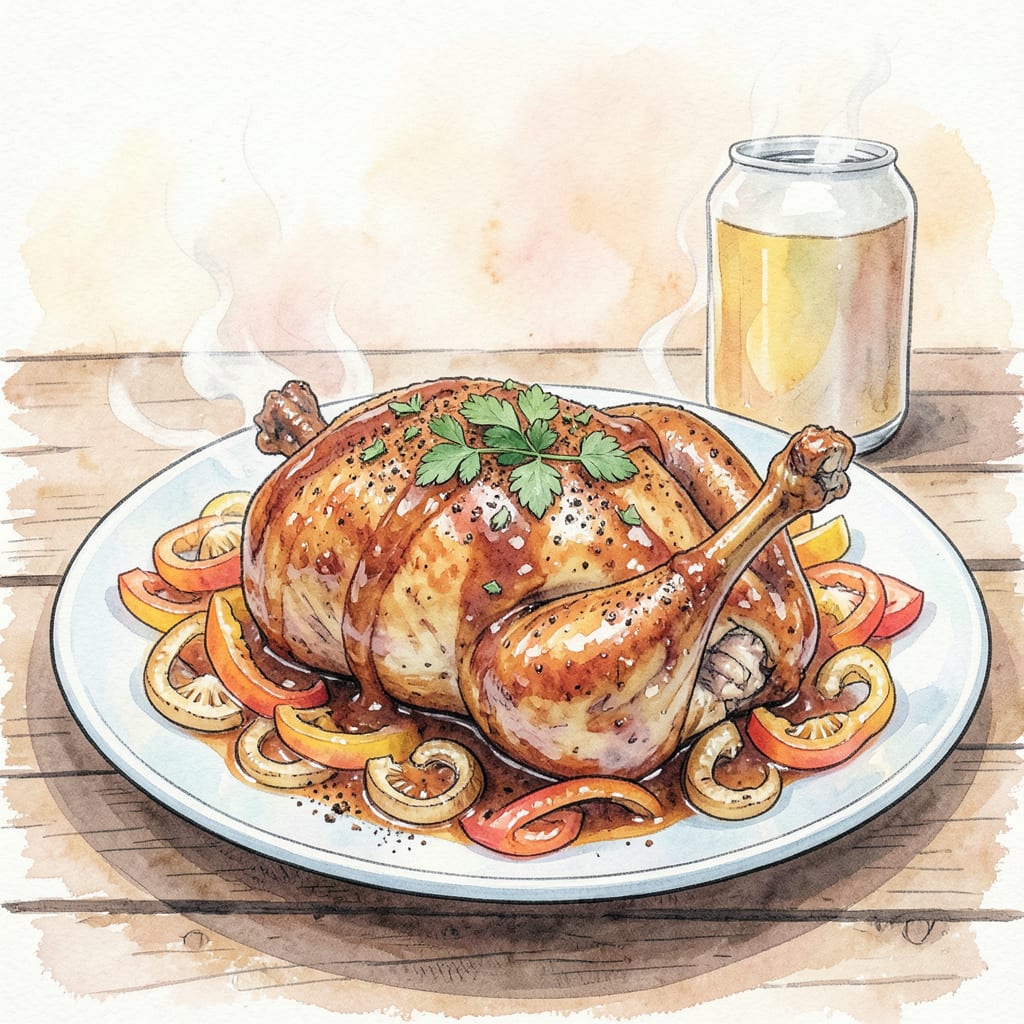
I’ve perfected the art of grilling chicken with a technique that’s both simple and impressive: BBQ beer can chicken. This method yields moist and flavorful results every time, with the beer adding a depth of flavor that’s hard to achieve through traditional grilling methods.
The secret to this perfect dish lies in the combination of the beer can’s steam infusion and the grill’s dry heat, creating a tender interior and crispy exterior. With precise temperature control and a few simple steps, you’ll achieve grilled perfection that’s sure to impress.
Ingredients for Bbq Beer Can Chicken
Gather these ingredients for a show-stopping BBQ beer can chicken that’s both moist and flavorful.
| Ingredient | Amount | Notes |
|---|---|---|
| Whole Chicken 🐓 | 1 whole | 3-4 lbs, rinsed, patted dry |
| Beer 🍺 | 1 can | Any light beer, 12 oz can |
| Olive Oil 🫒 | 2 tbsp | For chicken rub |
| Smoked Paprika 🌶️ | 1 tbsp | For smoky flavor |
| Garlic Powder 🧄 | 1 tsp | Not garlic salt |
| Onion Powder 🧅 | 1 tsp | Adds depth |
| Salt 🧂 | 1 tsp | Kosher salt preferred |
| Black Pepper 🌶️ | ½ tsp | Freshly ground |
| Brown Sugar 🍮 | 1 tbsp | Balances flavors |
| Chili Powder 🔥 | ½ tsp | Optional, for heat |
| Lemon Wedges 🍋 | 2 slices | For serving |
| Fresh Herbs 🌿 | ¼ cup | Chopped, for garnish |
The beer can is crucial—any 12 oz light beer works. Budweiser or Coors are fine, but feel free to experiment with local brews. For the chicken, look for 3-4 lb birds at your grocery store or butcher. Some stores sell them pre-rinsed and patted dry, which saves time. If not, just make sure to pat them dry yourself before seasoning.
No smoked paprika? Regular paprika works, but you’ll lose that deep smoky flavor. If you want more heat, increase the chili powder to 1 tsp or add some cayenne. The brown sugar helps balance the spices—don’t skip it. For the fresh herbs, parsley or thyme work well. You can also mix and match based on what you have on hand.
Leftover chicken keeps for 3-4 days in the fridge. Store it in an airtight container and reheat gently to maintain moisture. You can also shred the chicken and use it in sandwiches or salads. Freeze the leftovers if you won’t be eating them within a few days—they’ll keep for up to 3 months.
Step-by-Step Instructions for BBQ Beer Can Chicken
Mastering this technique yields a perfectly moist and flavorful chicken every time.
Step 1: Prepare the Chicken and Beer Can
Preheat your grill to 350°F, setting it up for indirect heat. I like to use a mix of charcoal and wood chunks for that authentic BBQ flavor. Open the 1 can Beer and pour out about ¼ of it – this prevents overflow during cooking. Add the 1 tbsp Brown Sugar, 1 tsp Garlic Powder, and 1 tsp Onion Powder to the remaining beer. Stir gently to combine.
While the beer mixture is preparing, take the 1 whole Whole Chicken and remove any giblets from the cavity. Pat the chicken dry inside and out with paper towels – this helps the skin crisp up nicely. I always make sure to get into all the nooks and crannies for the best results.
Step 2: Season and Prepare the Chicken for Grilling
In a small bowl, mix together the 2 tbsp Olive Oil, 1 tbsp Smoked Paprika, 1 tsp Salt, 0.5 tsp Black Pepper, and 0.5 tsp Chili Powder. Rub this mixture all over the chicken, making sure to get some under the skin as well. Don’t be shy – use it all up. The 1 tsp Salt helps to enhance the natural flavors, while the Smoked Paprika gives it that deep, smoky taste.
Carefully lower the chicken onto the beer can, making sure it’s standing upright. The beer can should be partially filled and inserted into the chicken’s cavity. This might take a little practice to get right, but it’s worth it. The chicken should be stable and not tip over.
Step 3: Grill the Chicken to Perfection
Place the chicken, with the beer can still inside, on the grill over indirect heat. Close the grill lid and cook for 45-60 minutes, or until the internal temperature reaches 165°F in the thickest part of the thigh. You’ll know it’s done when the skin is golden brown and crispy, and the meat is tender.
Keep an eye on the temperature and adjust the grill as needed to maintain a consistent 350°F. If you notice the chicken browning too quickly, you can tent it with foil to prevent burning. The beer inside the cavity will steam the chicken from the inside out, keeping it moist and flavorful.
Step 4: Rest and Serve
Once the chicken is cooked, carefully remove it from the grill and let it rest for 10-15 minutes. Be careful when handling as the chicken and beer can will be hot. After resting, carve the chicken and serve with the 2 slices Lemon Wedges on the side. Garnish with the 0.25 cup Fresh Herbs for a pop of color and freshness.
The result is a beautifully cooked chicken that’s both moist and full of flavor, with a crispy skin that’s sure to impress. The beer can helps to keep the chicken moist while adding a subtle flavor that complements the spices perfectly.
Pro Cooking Tips for Great bbq beer can chicken
Temperature Control
Maintaining a consistent grill temperature is crucial for perfect beer can chicken. I preheat my grill to 350°F and use a mix of charcoal and wood chunks for that authentic BBQ flavor. Keep an eye on the temperature throughout the cook and adjust as needed.
Beer Can Preparation
Open the beer can and pour out about ¼ of it to prevent overflow during cooking. Add 1 tbsp brown sugar, 1 tsp garlic powder, and 1 tsp onion powder to the remaining beer. This mixture enhances the flavor and helps keep the chicken moist.
Chicken Preparation
Pat the chicken dry inside and out with paper towels to help the skin crisp up. Mix together 2 tbsp olive oil, 1 tbsp smoked paprika, 1 tsp salt, 0.5 tsp black pepper, and 0.5 tsp chili powder. Rub this mixture all over the chicken, making sure to get some under the skin as well.
Grilling Technique
Place the chicken on the grill over indirect heat and close the lid. Cook for 45-60 minutes or until the internal temperature reaches 165°F. Keep the grill temperature consistent at 350°F. If the chicken browns too quickly, tent it with foil to prevent burning.
Resting the Chicken
Once cooked, carefully remove the chicken from the grill and let it rest for 10-15 minutes. This allows the juices to redistribute, making the chicken even more tender and flavorful. Be careful when handling as both the chicken and beer can will be hot 🔥.
Serving Suggestions
Carve the chicken and serve with lemon wedges on the side. Garnish with fresh herbs like parsley or thyme for added freshness and color. The result is a moist and flavorful chicken with crispy skin that’s sure to impress your guests.
Nutrition Facts
Frequently Asked Questions
What’s the best type of beer to use for beer can chicken?
Any 12 oz light beer works well, such as Budweiser or Coors. The beer adds moisture and flavor, but the type doesn’t significantly impact the final result. You can experiment with local brews for different flavor profiles.
How do I know when the chicken is done cooking?
The chicken is done when it reaches an internal temperature of 165°F in the thickest part of the thigh. Cooking time typically takes 45-60 minutes at 350°F. Let it rest for 10-15 minutes before carving.
Can I use a different cooking method if I don’t have a grill?
Yes, you can make beer can chicken in the oven. Preheat to 375°F and cook for about 45-60 minutes, or until the internal temperature reaches 165°F. The skin won’t be as crispy, but it’ll still be delicious.
How do I prevent the chicken from tipping over on the grill?
To keep the chicken stable, make sure it’s centered on the beer can and that the can is partially filled with beer. You can also use a beer can chicken holder or a cast-iron pan to prevent tipping. This ensures even cooking and prevents accidents.

- Jollof Rice Sauce Recipe: West African Tomato and Spice Infusion - September 25, 2026
- Japanese Rice Soup Recipe: Umami-Rich Comfort in a Bowl - September 25, 2026
- Homemade Cream Of Rice Recipe: Silk-Smooth Breakfast in Minutes - September 25, 2026