
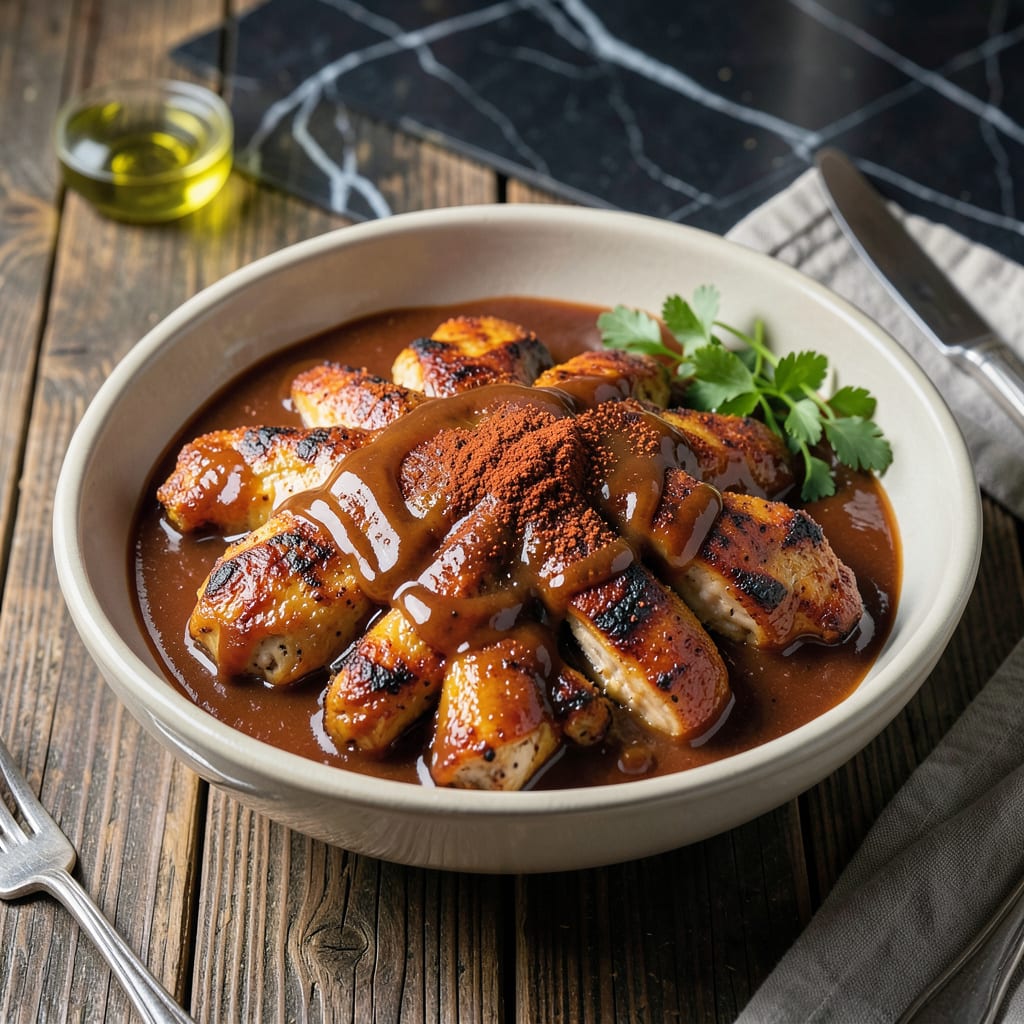
This basting sauce transforms ordinary chicken into a smoky, caramelized masterpiece on the grill. A perfect balance of sweet, tangy, and spicy creates layers of flavor that cling to every bite.
With just a few pantry staples and 10 minutes of prep, you’ll have a versatile sauce that elevates grilled meats, vegetables, or even as a dipping sauce. No fancy techniques required.
Ingredients for Bbq Chicken Basting Sauce
Ten pantry staples create this smoky, tangy, sweet glaze that clings beautifully.
| Ingredient | Amount | Notes |
|---|---|---|
| Ketchup 🍅 | 1 cup | Use quality brand for depth |
| Apple Cider Vinegar 🍏 | ¼ cup | Balances sweetness with tang |
| Brown Sugar 🍚 | ¼ cup | Light or dark works fine |
| Molasses 🍯 | 2 tbsp | Adds deep, rich sweetness |
| Worcestershire Sauce 🫒 | 2 tbsp | Umami depth essential here |
| Smoked Paprika 🌶️ | 1 tsp | Key for that smoky flavor |
| Garlic Powder 🧄 | 1 tsp | Fresh minced works too |
| Onion Powder 🧅 | 1 tsp | Builds savory base flavor |
| Salt 🧂 | ½ tsp | Kosher or sea salt preferred |
| Black Pepper 🌶️ | ½ tsp | Freshly ground for best results |
[recipeingredientscaler]
The ketchup is your base, so Heinz or Hunts work best—generic brands can be watery. Molasses is non-negotiable for that deep caramelized finish; find it near the pancake syrups at any grocery store. Worcestershire adds that umami punch, but check the label—Lea & Perrins is the classic. Smoked paprika is the secret weapon here (the good stuff, not the dusty old jar in your cabinet).
No molasses? Honey or maple syrup works in a pinch, but the flavor shifts sweeter. Swap brown sugar for white sugar with a splash of maple for depth. Out of smoked paprika? Regular paprika plus half a teaspoon of liquid smoke gets you close. The vinegar can be white if that’s what you’ve got, but cider vinegar’s fruitiness balances the sweetness better.
This keeps in the fridge for up to 2 weeks in a sealed jar. For longer storage, freeze in ice cube trays—3 months easy. Always give it a stir before using; the spices settle. Perfect for basting chicken, ribs, or even brushing on grilled veggies (zucchini loves this stuff).
Why You’ll Love This Recipe
- 5-Minute Mix: I just dump everything in one bowl—ketchup, vinegar, the works—and stir. No chopping, no fuss.
- Sticky Sweet Balance: That molasses and brown sugar combo gives it a caramelized depth, while the vinegar cuts through with just the right tang.
- Grill or Oven: I slather it on chicken thighs for a weeknight dinner or use it as a glaze for ribs when guests come over.
- Stretches Far: One batch covers a whole chicken plus extra for leftovers. Honestly, it tastes even better the next day.
Step-by-Step Instructions for BBQ Chicken Basting Sauce
This method ensures a perfectly balanced glaze with smoky depth and just the right stickiness.
Step 1: Combine Wet Ingredients for Base
In a medium saucepan, combine the 1 cup ketchup, 0.25 cup apple cider vinegar, 0.25 cup brown sugar, 2 tbsp molasses, and 2 tbsp Worcestershire sauce. Stir until the brown sugar begins to dissolve into the liquid mixture.
I always use a whisk for this step—it helps break up any clumps in the brown sugar and creates a uniform base. The mixture will look thin at this stage, but don’t worry, it will thicken as it simmers.
Place the saucepan over medium heat and bring to a gentle simmer, stirring occasionally to prevent sticking.
Step 2: Incorporate Spices for Depth
Once the wet ingredients are fully combined and just beginning to bubble at the edges, add the 1 tsp smoked paprika, 1 tsp garlic powder, 1 tsp onion powder, 0.5 tsp salt, and 0.5 tsp black pepper.
Stir well to distribute the spices evenly throughout the mixture. The smoked paprika will give it that signature BBQ aroma, while the garlic and onion powders build a savory foundation.
Real talk: this is where the magic happens. The spices bloom in the warm liquid, releasing their full flavor potential.
Step 3: Simmer to Perfect Consistency
Reduce the heat to medium-low and let the sauce simmer uncovered for 10-12 minutes. You’ll notice it starting to thicken and darken slightly as the sugars caramelize.
Stir occasionally during this time, paying special attention to the edges where the sauce might start to stick. The sauce is ready when it coats the back of a spoon and leaves a clear trail when you run your finger through it.
Here’s the thing—if it thickens too much, just add a splash of water to reach your desired consistency. You want it thick enough to cling to the chicken but still easy to brush on.
Step 4: Cool and Test the Flavor
Remove the saucepan from heat and let the basting sauce cool to room temperature. This takes about 15-20 minutes. The sauce will continue to thicken slightly as it cools.
Once cooled, taste and adjust seasoning if needed. I’ve found that the flavors deepen as it sits, so resist the urge to oversalt initially.
Transfer to an airtight container or jar. This sauce keeps in the refrigerator for up to 1 week, though I doubt it’ll last that long.
Pro Tips For Making Bbq Chicken Basting Sauce
- Simmer Low and Slow: After burning two batches, I learned this sauce thickens best on medium-low heat—keep it just bubbling for 10-15 minutes to meld the flavors without scorching the sugars.
- Balance the Sweetness: I was skeptical until I tried it, but a splash of apple cider vinegar at the end brightens the molasses and brown sugar richness—start with 1 tablespoon, then adjust.
- Skip the Boiling: Resist the urge to crank the heat—boiling makes the sauce thin and can separate the ketchup, leaving you with a watery mess instead of a glossy glaze.
- Use Fresh Molasses: Sounds obvious, but old molasses loses its depth. If yours has been in the pantry for years, replace it—fresh molasses actually changes the outcome with its bold, rich flavor.
Essential Equipment for This Recipe
Saucepan Selection
I always use a 2-quart stainless steel saucepan with a heavy bottom for even heat distribution. A thick base prevents hot spots that can burn your sauce. All-Clad is my go-to brand, but any heavy-bottomed pan works.
Whisk for Smoothness
A wire whisk is essential for breaking up brown sugar clumps and creating a uniform mixture. I prefer a 10-inch silicone-tipped whisk—it reaches all edges and is heat-resistant. The silicone won’t scratch your pan either. 💡
Measuring Tools
Accurate measurements matter here. I use OXO Good Grips measuring cups and spoons—they nest neatly and have clear markings. For the molasses, a liquid measuring cup with a spout makes pouring a breeze.
Simmer Control
Maintaining the right temperature is crucial. I rely on my instant-read thermometer to monitor the sauce stays between 180-200°F. Too hot and it’ll burn; too cool and it won’t thicken properly.
Storage Containers
Once cooled, transfer your sauce to glass mason jars or airtight plastic containers. I love the Ball 16oz jars—they’re perfect for single batches and easily stack in the fridge. 🔥
Basting Tools
For application, a silicone basting brush is ideal. It withstands high heat and spreads sauce evenly. I keep a dedicated brush just for basting to avoid cross-contamination with raw meats.
Nutrition Facts
Frequently Asked Questions
Can I substitute honey for molasses?
Yes, but expect a lighter, sweeter flavor. Use the same 2 tablespoons measurement, though you may want to add 1/2 teaspoon of liquid smoke to maintain depth.
How thick should the basting sauce be?
It should coat the back of a spoon but still drip slowly. If too thin, simmer 2-3 minutes longer. If too thick, thin with 1 tablespoon of water.
Can I use this sauce for dipping?
The flavor works great as a dip for chicken tenders or veggies. For a thicker dip, reduce it by 5 minutes during simmering.
What’s the best way to store leftovers?
Keep in an airtight container in the fridge for up to 10 days. For longer storage, freeze in ice cube trays for 3 months.

- Jollof Rice Sauce Recipe: West African Tomato and Spice Infusion - September 25, 2026
- Japanese Rice Soup Recipe: Umami-Rich Comfort in a Bowl - September 25, 2026
- Homemade Cream Of Rice Recipe: Silk-Smooth Breakfast in Minutes - September 25, 2026