
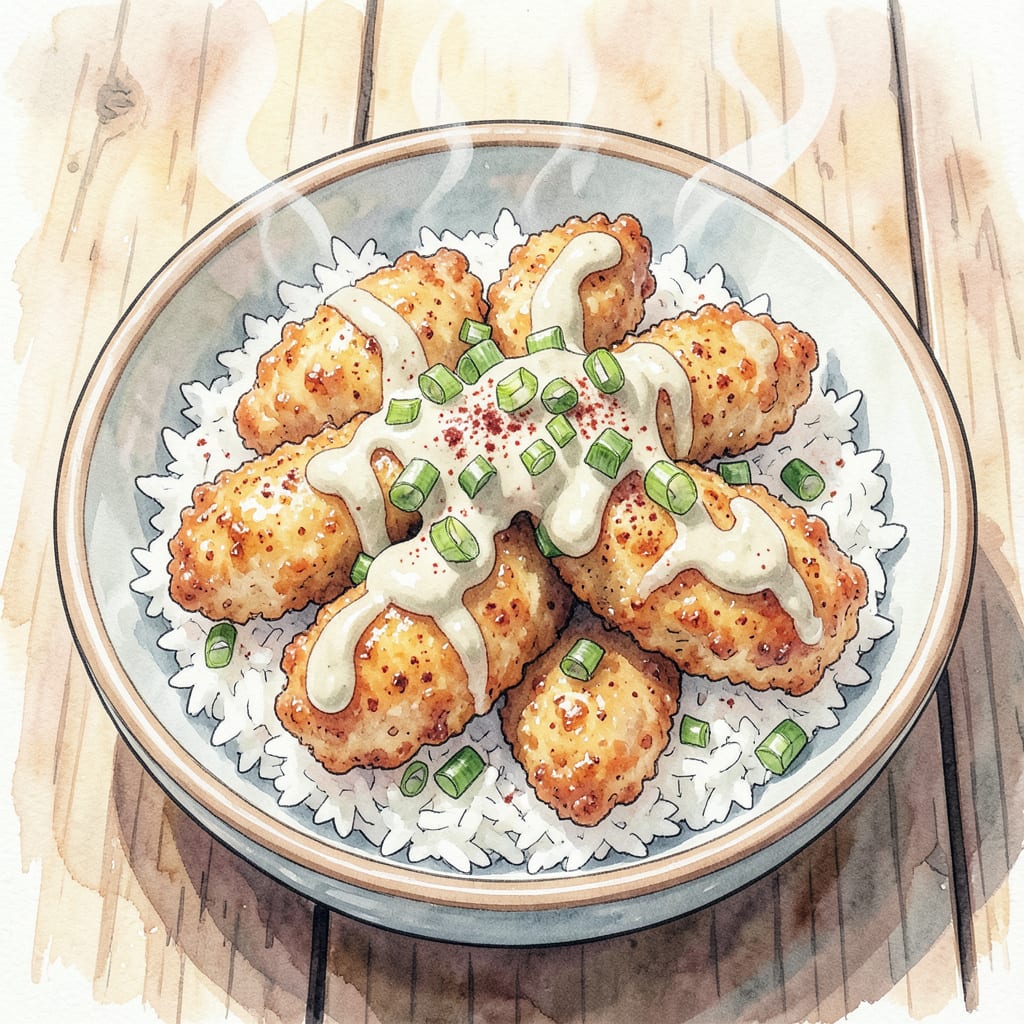
I’ve perfected a quick and delicious Bisquick chicken tenders recipe that delivers crispy coating in minutes. Using Bisquick mix simplifies the breading process while maintaining that perfect crunch.
These tender chicken strips cook in just 15-20 minutes at 400°F, making them perfect for busy weeknights. Serve with your favorite dipping sauce for a meal that’s both satisfying and easy to prepare.
Ingredients for Bisquick Chicken Tenders
Quick, crispy, and tender – just what you need for busy weeknights with simple ingredients.
| Ingredient | Amount | Notes |
|---|---|---|
| Chicken Breast Tenders 🍗 | 1 lb | Fresh, boneless, skinless |
| Bisquick Mix 🥖 | 1 cup | Original recipe mix |
| Large Eggs 🥚 | 2 whole | Beaten for egg wash |
| Milk 🥛 | ½ cup | For egg wash mixture |
| Garlic Powder 🧄 | 1 tsp | For added flavor |
| Paprika 🌶️ | ½ tsp | Smoked or sweet |
| Salt 🧂 | ¼ tsp | Kosher or sea salt |
| Black Pepper 🌶️ | ¼ tsp | Freshly ground |
| Vegetable Oil 🫒 | ½ cup | For frying tenders |
For the best results, use fresh chicken breast tenders rather than frozen. If you can find them, Perdue or Tyson are good quality brands that are widely available. Most grocery stores carry them in the meat department, usually near the chicken breasts. Look for tenders that are similar in size so they cook evenly – some stores sell them pre-cut, which saves time.
No Bisquick? Make your own mix using 1 cup flour, 2 tsp baking powder, 1 tsp salt, and 1 tbsp cold butter – blend until crumbly. For extra crispiness, try adding 1/4 cup grated Parmesan to the Bisquick mix. The eggs and milk create a rich coating – don’t skip beating them together until smooth. If you want to get fancy, add 1 tsp dried herbs like thyme or parsley to the egg mixture for extra flavor.
These chicken tenders reheat beautifully in the oven at 350°F for 10-12 minutes. Store leftovers in an airtight container in the fridge for up to 3 days. Freeze cooked tenders on a baking sheet, then transfer to a freezer bag for up to 3 months – reheat straight from frozen.
Step-by-Step Instructions for Crispy Chicken Tenders
Let’s get started with making these delicious chicken tenders – it’s easier than you think.
Step 1: Prepare the Egg Wash Mixture
In a large bowl, whisk together the 2 whole Large Eggs and 0.5 cup Milk until well combined. The mixture should be smooth and free of any egg whites strands. Add the 1 tsp Garlic Powder, 0.5 tsp Paprika, 0.25 tsp Salt, and 0.25 tsp Black Pepper to the egg mixture and whisk until fully incorporated. This step is crucial as it ensures the chicken tenders are evenly seasoned.
Make sure to use a fork or whisk to beat the eggs properly, as this will help in creating a smooth coating. The garlic powder adds a nice flavor depth, while the paprika gives a subtle smokiness. If you’re using smoked paprika, it will add a more pronounced smoky flavor.
Step 2: Coat the Chicken Tenders
Place the 1 cup Bisquick Mix in a separate large bowl or plate. Dip each of the 1 lb Chicken Breast Tenders into the egg wash mixture, coating it completely, then roll it in the Bisquick Mix to coat evenly. Press the coating onto the chicken gently to ensure it adheres well. Place the coated chicken tenders on a plate or tray. The Bisquick Mix gives a light and crispy coating, making it perfect for chicken tenders.
Ensure that each tender is coated evenly, as this will affect the final texture. If you find that the coating is not sticking well, you can try pressing the coating onto the chicken more firmly or chilling the coated tenders in the refrigerator for 10-15 minutes before frying.
Step 3: Fry the Chicken Tenders
Heat the 0.5 cup Vegetable Oil in a large skillet over medium-high heat until it reaches 350°F. To check if the oil is ready, you can drop a small piece of the Bisquick Mix coating into the oil – if it sizzles and rises to the surface quickly, the oil is ready. Carefully place a few of the coated chicken tenders into the hot oil, being careful not to overcrowd the skillet. Fry for 5-7 minutes on each side or until golden brown and cooked through.
The chicken tenders are done when they reach an internal temperature of 165°F and the coating is crispy and golden. If you don’t have a thermometer, you can check for doneness by cutting into one of the tenders – it should be white and juicy inside. Repeat with the remaining chicken tenders.
Step 4: Drain and Serve
Once the chicken tenders are cooked, remove them from the oil with a slotted spoon and place them on a paper towel-lined plate to drain any excess oil. This step helps in keeping the coating crispy. Serve the chicken tenders hot with your favorite dipping sauce. The crispy exterior and juicy interior make these tenders perfect for a quick meal or snack.
For the best results, serve the chicken tenders immediately after frying. If you need to keep them warm for a longer period, you can place them in a 200°F oven for up to 30 minutes without losing their crispiness.
Wine and Beer Pairings for This Recipe
Perfect Wine Pairings
For these crispy chicken tenders, a crisp white wine works beautifully. I recommend a Sauvignon Blanc from the Loire Valley – its citrus and grassy notes complement the herbal flavors in the dish. Alternatively, a dry Pinot Grigio from Italy pairs nicely with the tender chicken and crunchy coating. The acidity in these wines cuts through the richness of the fried coating.
Beer Pairing Options
If you prefer beer, a light lager is an excellent choice. I find that Pilsner Urquell or Budweiser cleanse the palate between bites without overpowering the delicate chicken flavor. For craft beer enthusiasts, a Belgian-style witbier with its citrus and coriander notes provides interesting flavor interplay. The beer’s crispness helps balance the meal’s richness.
Consider the Dipping Sauce
Your choice of dipping sauce can influence the beverage pairing. For spicy sauces like buffalo or sriracha mayo, a sweeter Riesling can help tame the heat. If you’re using a tangy BBQ sauce, a hoppy IPA can stand up to the bold flavors. For classic honey mustard, stick with a crisp white wine or light beer to maintain balance.
Serving Suggestions
When serving these chicken tenders, consider adding a fresh side salad or coleslaw to provide contrast. The cool, crisp vegetables help balance the warm, crispy chicken. You can also serve with fresh-cut fries or roasted vegetables for a more filling meal. For a casual gathering, set up a dipping station with various sauces for guests to customize their experience.
Final Tips
When pairing beverages with fried chicken, remember that acidity is key. Whether you choose wine or beer, look for options with good acidity to cut through the richness. I often serve these tenders with a refreshing drink to create a perfect harmony of flavors. Experiment with different pairings to find your favorite combination.
Nutrition Facts
Frequently Asked Questions
Can I bake the chicken tenders instead of frying?
Yes, you can bake them at 400°F for 15-20 minutes, flipping halfway through. The coating won’t be as crispy as frying, but it’s a healthier alternative. For extra crispiness, try broiling for an additional 2-3 minutes after baking.
How do I keep the coating from falling off?
To keep the coating intact,
Can I make the Bisquick mix from scratch? Yes, you can make a homemade version by mixing 1 cup flour, 2 tsp baking powder, 1 tsp salt, and 1 tbsp cold butter until crumbly. For extra crispiness, add 1/4 cup grated Parmesan to the mix. This homemade mix works beautifully as a substitute in the recipe.
How do I store leftovers?
Store leftover chicken tenders in an airtight container in the refrigerator for up to 3 days. To reheat, bake in a 350°F oven for 10-12 minutes until crispy again. You can also freeze cooked tenders on a baking sheet, then transfer to a freezer bag for up to 3 months.

- Jollof Rice Sauce Recipe: West African Tomato and Spice Infusion - September 25, 2026
- Japanese Rice Soup Recipe: Umami-Rich Comfort in a Bowl - September 25, 2026
- Homemade Cream Of Rice Recipe: Silk-Smooth Breakfast in Minutes - September 25, 2026