
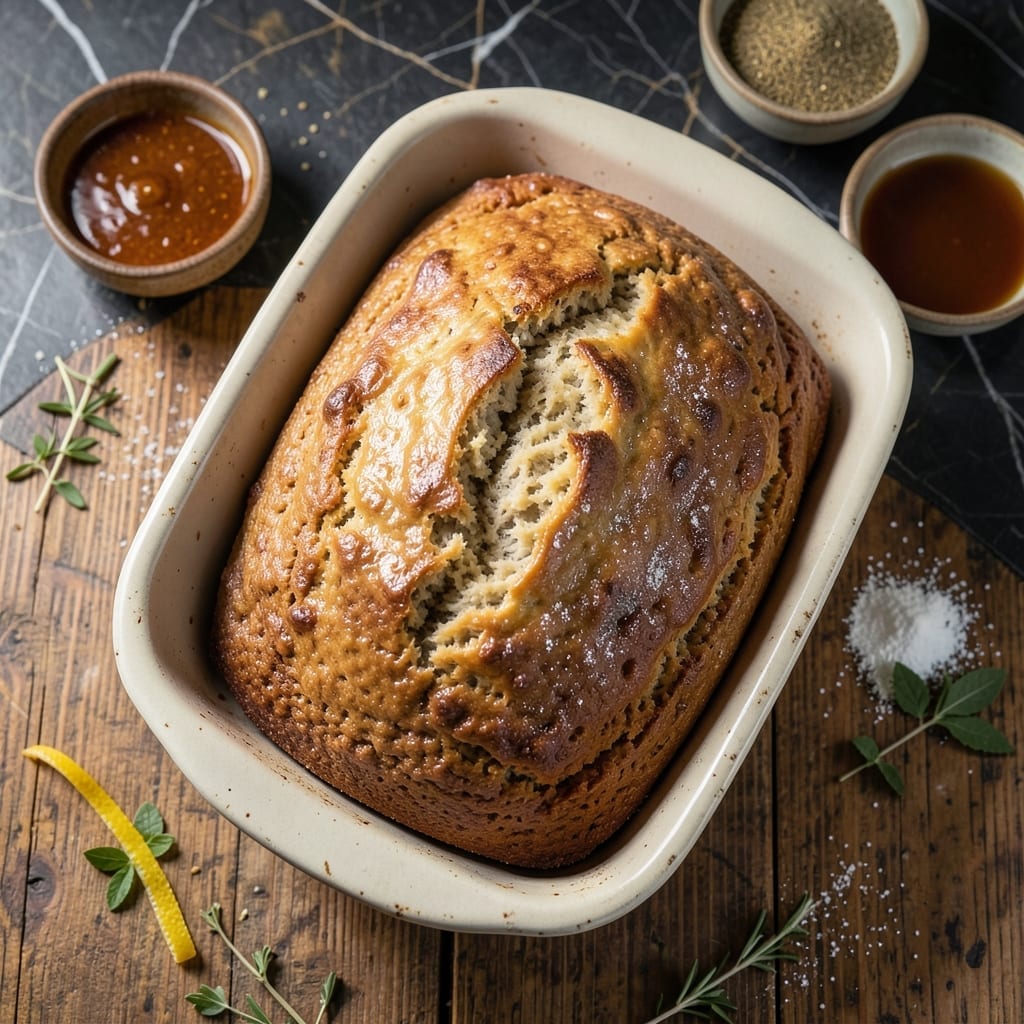
Creating gluten-free bread at home doesn’t need to be complicated. This blender method simplifies the process while delivering a tender, flavorful loaf every time.
I developed this recipe after years of testing to ensure consistent results. The blender does all the mixing, so there’s no kneading or messy dough to handle.
You’ll love how this bread bakes up with a soft interior and a lightly crisp crust. It’s perfect for sandwiches, toast, or enjoying fresh from the oven.
David gives this version his highest approval, and that says a lot. Here’s how to make it.
Ingredients for Blender Rice Bread
A few gluten-free staples blend into a perfect loaf with no kneading required.
| Ingredient | Amount | Notes |
|---|---|---|
| White Rice Flour 🌾 | 2 cups | Fine, super-fine preferred |
| Brown Rice Flour 🌾 | 1 cup | For nutty depth of flavor |
| Tapioca Starch 🌾 | ½ cup | Adds chewiness and structure |
| Potato Starch 🥔 | ¼ cup | Keeps bread moist longer |
| Xanthan Gum 🧪 | 1 tsp | Essential for binding gluten-free flours |
| Salt 🧂 | 1 tsp | Fine sea salt preferred |
| Sugar 🍚 | 1 tbsp | Feeds yeast, enhances browning |
| Instant Yeast 🍞 | 2 ¼ tsp | Or one packet, active dry works too |
| Warm Water 💧 | 1 ½ cups | 110°F, not hot |
| Apple Cider Vinegar 🍏 | 1 tbsp | Balances flavors, aids rise |
| Olive Oil 🫒 | 2 tbsp | Light or extra-virgin works |
| Flaxseed Meal 🌿 | 2 tbsp | Mixed with 6 tbsp water for flax egg |
For gluten-free baking, Bob’s Red Mill is my go-to for rice flours and starches—they’re consistently fresh and finely milled. Xanthan gum is non-negotiable here; it mimics gluten’s elasticity. Skip the generic brands for this one. I buy my yeast in bulk from Costco (great value) but any instant yeast with a recent expiration date works. The vinegar might seem odd, but it reacts with the baking process for better texture.
No rice flour? Sorghum flour at a 1:1 ratio works, though the texture will differ slightly. Out of potato starch? Cornstarch at the same amount is an acceptable swap. For the flax egg, chia seeds plus water in equal parts does the trick (grind them first). If you can’t find instant yeast, active dry works—just let it bloom in the warm water with sugar for 10 minutes before adding other ingredients.
Store all flours and starches in the freezer to prevent spoilage—they’ll last 6-12 months this way. The baked loaf stays fresh at room temperature for 2-3 days (if it lasts that long) or freezes beautifully for 1 month. Slice before freezing for easy toast portions.
Why You’ll Love This Recipe
- Blender Magic: I just dump the rice flours, starches, and xanthan gum in—no mixing bowls, no mess.
- Warm and Toasty: Fresh from the oven, it’s got that soft, slightly chewy crumb with a subtle nuttiness from the brown rice flour.
- Meal Prep Hero: I slice and freeze loaves ahead so gluten-free sandwiches are ready in a flash.
Step-by-Step Instructions for Blender Rice Bread
This no-knead method delivers a perfectly textured gluten-free loaf with minimal effort.
Step 1: Prepare the Flax Egg
Combine the 2 tbsp Flaxseed Meal with 6 tbsp Warm Water in a small bowl and stir well. Let it sit for 5 minutes until it thickens to a gel-like consistency. This flax egg replaces traditional eggs, providing structure and binding for your gluten-free bread.
I always prepare this first so it’s ready when needed. The mixture should look viscous and slightly frothy when it’s ready to use. This step ensures your bread holds together without gluten.
Step 2: Blend the Dry Ingredients
In your blender, combine the 2 cups White Rice Flour, 1 cup Brown Rice Flour, 0.5 cup Tapioca Starch, 0.25 cup Potato Starch, 1 tsp Xanthan Gum, 1 tsp Salt, 1 tbsp Sugar, and 2.25 tsp Instant Yeast.
Blend on low speed for 15-20 seconds until all ingredients are evenly distributed and no clumps remain. The xanthan gum is critical here—it mimics gluten’s elasticity in traditional bread. The sugar will help activate the yeast for proper rise.
Step 3: Add Wet Ingredients and Mix
With the blender running on low speed, pour in the 1.5 cups Warm Water, 1 tbsp Apple Cider Vinegar, 2 tbsp Olive Oil, and the prepared flax egg. Increase speed to medium and blend for 30-45 seconds until the batter is smooth and slightly sticky.
The batter should be thick but pourable, similar to pancake batter. If it appears too thick, add 1-2 tbsp Warm Water and blend briefly. The apple cider vinegar helps balance the flavors and aids in the rising process.
Step 4: Proof the Dough
Pour the batter into a greased 9×5-inch loaf pan. Smooth the top with a wet spatula. Cover loosely with a clean kitchen towel and let it rise in a warm place for 45-60 minutes, or until the dough has risen to about 1 inch below the pan’s rim.
I like to place my pan in an oven with the light on for consistent warmth. The dough won’t double like traditional bread, but you should see visible expansion and small bubbles on the surface.
Step 5: Bake to Golden Perfection
Preheat your oven to 375°F. Bake the bread for 45-50 minutes, or until the top is deep golden brown and a toothpick inserted in the center comes out clean. The internal temperature should reach 205-210°F.
If the top browns too quickly, tent the pan with aluminum foil. Let the bread cool in the pan for 10 minutes, then transfer to a wire rack to cool completely before slicing. This cooling period allows the structure to set, preventing a gummy texture.
Pro Tips For Making Blender Rice Bread
- Preheat Your Blender: I learned this the hard way—blending cold ingredients can make your rice bread dense. Pour warm water (about 110°F) into the blender first and let it sit for 2 minutes before adding dry ingredients.
- Weigh Your Flours: Rice flour compacts easily, so volume measurements can be off by 20%. Use a kitchen scale for 1:1 accuracy with the starches—your loaf will rise better.
- Don’t Overmix: After adding xanthan gum, blend just until combined—about 15 seconds. Overmixing develops too much elasticity, giving you a gummy crumb instead of a light one.
- Let It Rest: After pouring the batter into the pan, wait 10 minutes before baking. This lets the starches hydrate fully and prevents that dreaded center sink.
Make-Ahead Tips for This Recipe
Prep the Night Before
I mix the dry ingredients in my blender the evening before baking. Store in an airtight container at room temperature. The next morning, just add wet ingredients and blend. This cuts morning prep to 5 minutes flat.
Flax Egg Advance
The flax egg can also be prepared 24 hours ahead and refrigerated. Just give it a quick stir before using. David swears this makes the bread even more tender.
Batter Rest Trick
After blending, let the batter rest for 10 minutes before pouring into the pan. This gives the flours time to hydrate fully. I notice the crumb texture improves with this small pause.
Freeze for Later
Baked loaves freeze beautifully for up to 1 month. Slice before freezing, then toast straight from frozen. Wrap individual slices in parchment paper then foil for best results. 💡
Double Batch
This recipe doubles perfectly for meal prep. Use a large capacity blender like my Vitamix. Two loaves mean you’ll have sandwich bread for the week, and the second one freezes like a dream.
Room Temperature Rise
In warm Austin summers, I let the dough rise on the counter. In cooler months, I use my oven’s proof setting at 80°F. The dough tells you when it’s ready—look for that slight dome. 🔥
Nutrition Facts
Frequently Asked Questions
Can I use a regular blender for this?
Yes, any standard blender works. For best results, use one with at least 500 watts of power to handle the thick batter. A high-speed blender like Vitamix makes it even smoother.
Why does my bread sink in the middle?
This usually means the dough didn’t proof long enough or the oven wasn’t fully preheated. Ensure it rises to 1 inch below the pan rim before baking. Also check your yeast’s freshness.
Can I make this without xanthan gum?
Xanthan gum is essential for structure, but in a pinch, use 1 tbsp psyllium husk mixed with 3 tbsp water as a substitute. The texture may differ slightly.
How do I store leftover bread?
Keep it in an airtight container at room temperature for 2-3 days. For longer storage, slice and freeze for up to 1 month. Toast slices straight from frozen.

- Jollof Rice Sauce Recipe: West African Tomato and Spice Infusion - September 25, 2026
- Japanese Rice Soup Recipe: Umami-Rich Comfort in a Bowl - September 25, 2026
- Homemade Cream Of Rice Recipe: Silk-Smooth Breakfast in Minutes - September 25, 2026