
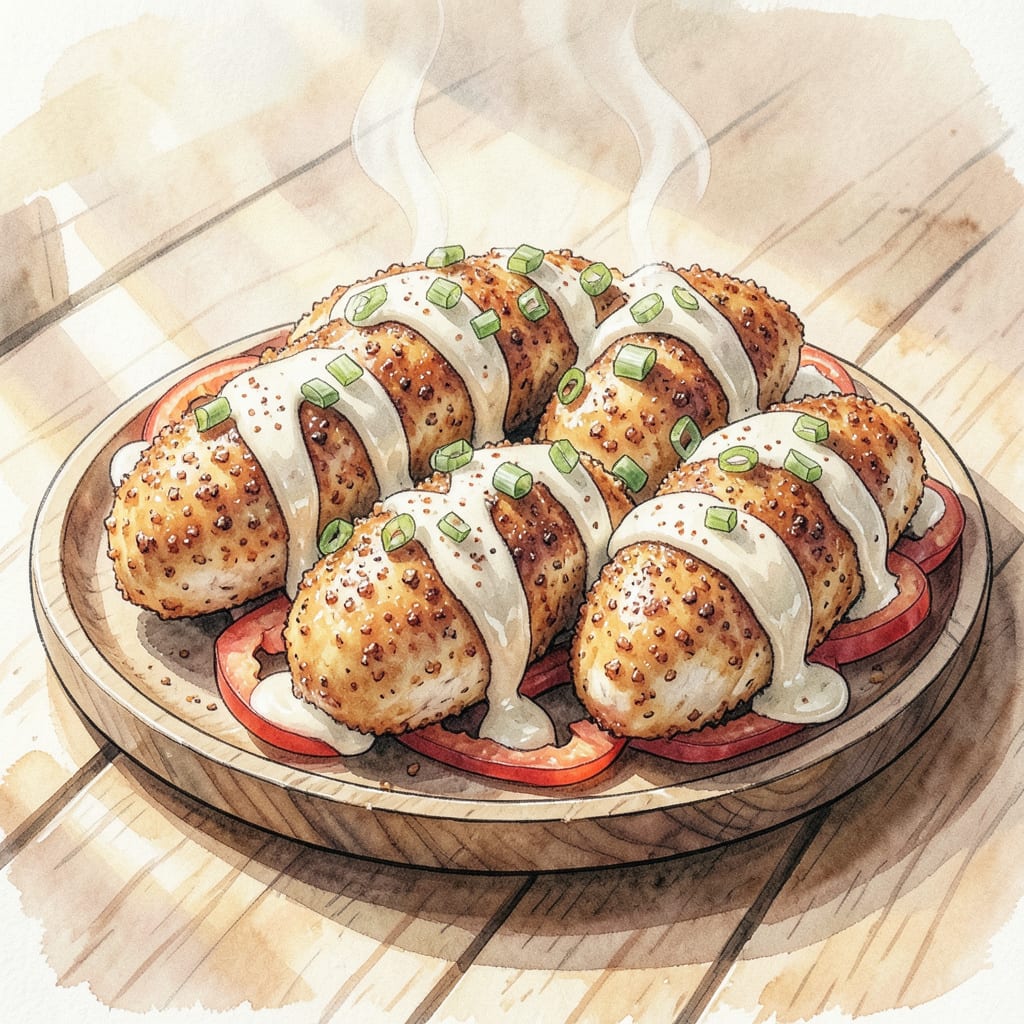
I’m excited to share my Bloomin’ Onion Chicken Recipe, a creative twist on the classic appetizer. This dish features crispy chicken breasts topped with caramelized onions and a blend of savory spices, all in one satisfying meal.
Ready in under an hour, this recipe delivers restaurant-quality results with minimal effort. The combination of crunchy exterior and tender interior will make this a new family favorite. Let’s get cooking!
Ingredients for Bloomin Onion Chicken
Crispy chicken breasts meet sweet caramelized onions in this restaurant-quality dinner.
| Ingredient | Amount | Notes |
|---|---|---|
| Chicken Breasts 🍗 | 4 whole | Boneless, skinless preferred |
| All-Purpose Flour 🌾 | 1 cup | For dredging chicken |
| Paprika 🌶️ | 2 tbsp | Smoked or sweet variety |
| Garlic Powder 🧄 | 1 tbsp | Not garlic salt |
| Onion Powder 🧅 | 1 tbsp | Fresh ground preferred |
| Salt 🧂 | 1 tsp | Kosher or sea salt |
| Black Pepper 🌶️ | ½ tsp | Freshly ground preferred |
| Large Eggs 🥚 | 2 whole | Beaten for egg wash |
| Panko Breadcrumbs 🍞 | 1 ½ cups | For crispy coating |
| Olive Oil 🫒 | ½ cup | For frying chicken |
| Yellow Onions 🧅 | 2 whole | Thinly sliced for caramelization |
| Butter 🧈 | 2 tbsp | For caramelizing onions |
For the crispiest coating, use Panko breadcrumbs—the Japanese kind make all the difference. I like to keep store-bought onion powder on hand, but if you’ve got whole onions, toast them in a dry pan first for deeper flavor. Freshly ground black pepper is a must—pre-ground just doesn’t have the same kick. Most grocery stores carry everything you need, but Trader Joe’s has great Panko if you’re shopping there.
No Panko? Regular breadcrumbs with Italian seasoning are a decent backup. For the onions, any color works but yellow onions caramelize the best. If you’re short on time, you can prep the onions ahead—the fridge is their friend for a day or two. Want extra crispy chicken? Double-dip it in the egg wash and breadcrumbs. The paprika can be smoked or sweet—smoked gives it that restaurant vibe.
Leftover chicken keeps for 3-4 days in the fridge. The caramelized onions? Freeze them for 3 months and use in everything. Reheat the chicken in the oven to keep it crispy—microwaving makes it soggy. You can prep the onion mixture ahead too, just reheat it gently before serving.
Step-by-Step Instructions for Bloomin’ Onion Chicken
Here’s the method to achieve perfectly crispy chicken with caramelized onions every time.
Step 1: Prepare the Chicken for Breading
Start by preparing the 4 whole chicken breasts. I like to pound them to an even thickness of about ½ inch to ensure they cook evenly. This step is crucial for achieving that perfect crispy exterior and juicy interior.
Next, mix together the 1 cup all-purpose flour, 2 tbsp paprika, 1 tbsp garlic powder, 1 tbsp onion powder, 1 tsp salt, and 0.5 tsp black pepper in a shallow dish. This spice blend is what gives our chicken that signature Bloomin’ Onion flavor. Make sure to mix it well so that all the spices are evenly distributed.
Step 2: Bread the Chicken Cutlets
Now it’s time to bread the chicken. Dip each chicken breast first in the flour mixture, coating both sides evenly. Then, dip the floured chicken breast in the 2 whole beaten large eggs, making sure they’re fully coated. Finally, roll the egg-coated chicken breast in the 1.5 cups panko breadcrumbs, pressing the crumbs onto the chicken to ensure they stick. Place the breaded chicken on a plate or tray.
The triple-dipping process (flour, egg, breadcrumbs) is key to achieving that crispy coating. The flour helps the egg wash adhere, and the panko breadcrumbs provide the crunch we’re after. I like to press the crumbs onto the chicken gently to make sure they stick properly.
Step 3: Fry the Chicken to Perfection
Heat the 0.5 cup olive oil in a large skillet over medium-high heat until it reaches 350°F. When the oil is hot enough, carefully place the breaded chicken breasts in the skillet. Fry for 4-5 minutes per side until they’re golden brown and the internal temperature reaches 165°F.
Don’t overcrowd the skillet—fry the chicken in batches if necessary. You want to maintain that high heat to keep the oil crispy. When done, transfer the fried chicken to a paper towel-lined plate to drain excess oil.
Step 4: Caramelize the Onions
While the chicken is cooking, start caramelizing the 2 whole yellow onions. Thinly slice the onions and separate them into rings. In a separate large skillet, melt the 2 tbsp butter over medium-low heat. Add the sliced onions and cook for 20-25 minutes, stirring occasionally, until they’re deep golden brown and caramelized.
The key to perfect caramelization is low and slow cooking. Don’t rush this step—those onions need time to develop that deep, sweet flavor. You’ll know they’re done when they’re dark brown and have a rich, caramelized aroma.
Step 5: Serve the Chicken with Caramelized Onions
To serve, place a fried chicken breast on each plate and top with a generous helping of those delicious caramelized onions. The combination of the crispy chicken and sweet onions is what makes this Bloomin’ Onion Chicken recipe so special. I like to serve it hot, straight from the skillet, for the best flavor and texture.
Enjoy your crispy Bloomin’ Onion chicken with the sweet, caramelized onions—it pairs perfectly with your favorite dipping sauce or a simple side salad. This dish is sure to be a hit with family and friends!
Troubleshooting This Dish
Common Frying Issues
One of the most common problems with fried chicken is uneven cooking. To avoid this, make sure your oil reaches the correct temperature of 350°F before adding the chicken. I always use a thermometer to ensure accuracy. If the oil is too cold, the coating will absorb excess oil and become greasy.
Breading Adhesion Problems
If your breading isn’t sticking properly, check that you’re using the right egg wash technique. Beat the 2 large eggs thoroughly and make sure the chicken is fully coated before dredging in Panko breadcrumbs. Pressing the crumbs gently onto the chicken helps them adhere better during frying.
Onion Caramelization Challenges
Caramelizing onions can be tricky if you’re short on time or patience. The key is cooking them slowly over medium-low heat for 20-25 minutes, stirring occasionally. If you’re in a hurry, you can speed up the process slightly by adding a pinch of sugar to help them brown faster.
Temperature Control Tips
Maintaining the right oil temperature is crucial for crispy fried chicken. If you’re frying in batches, let the oil recover between batches. I like to keep my oil between 325°F and 350°F for the best results. Using a thermometer helps maintain consistent temperature.
Storage and Reheating Solutions
If you have leftovers, store them in an airtight container in the refrigerator for up to 3-4 days. To reheat, use an oven preheated to 375°F for about 10-15 minutes to maintain crispiness. Avoid microwaving as it can make the coating soggy. 🔥
Adjusting Flavor Profiles
If you want to customize the flavor, try adding different seasonings to your flour mixture. For a spicy kick, add 1 tsp cayenne pepper. For a more savory flavor, increase the garlic powder to 1.5 tbsp. Experiment with different combinations to find your perfect taste.
Nutrition Facts

- Jollof Rice Sauce Recipe: West African Tomato and Spice Infusion - September 25, 2026
- Japanese Rice Soup Recipe: Umami-Rich Comfort in a Bowl - September 25, 2026
- Homemade Cream Of Rice Recipe: Silk-Smooth Breakfast in Minutes - September 25, 2026